Luv 2 Stamp Group Blog Hop – April 2021
Welcome to the Luv 2 Stamp Group’s 2021 Blog Hop! We are excited to share projects with you this year and hope to inspire you to create beautiful new projects. Each month we will have a different theme based on the next month’s celebrations using Stampin’ Up! products.
This month’s theme is “Teacher Appreciation”! Once you are done with each post, you can click on the “Next” button to go to the next post in line or scroll down to the list of Blog Hop participants and click on a name to go directly to that person’s post. Happy crafting!
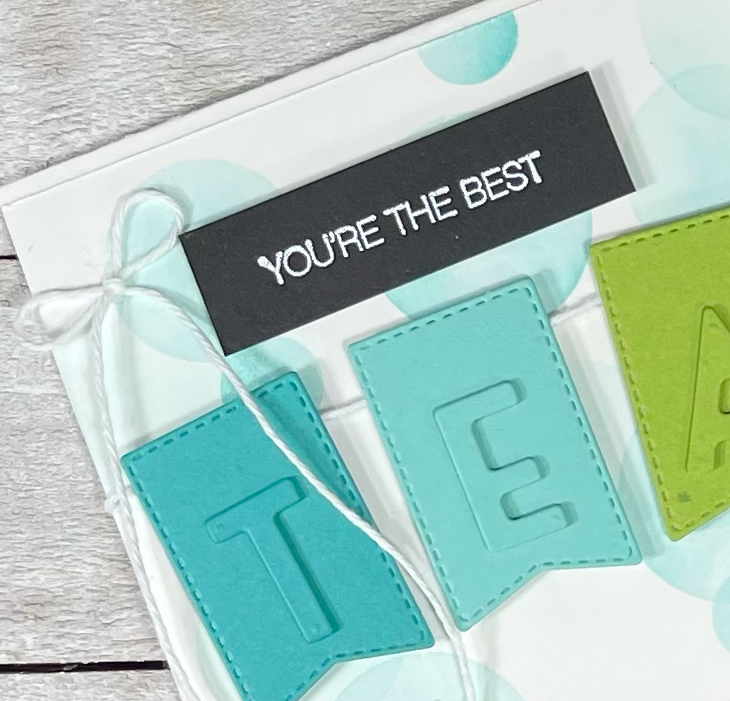
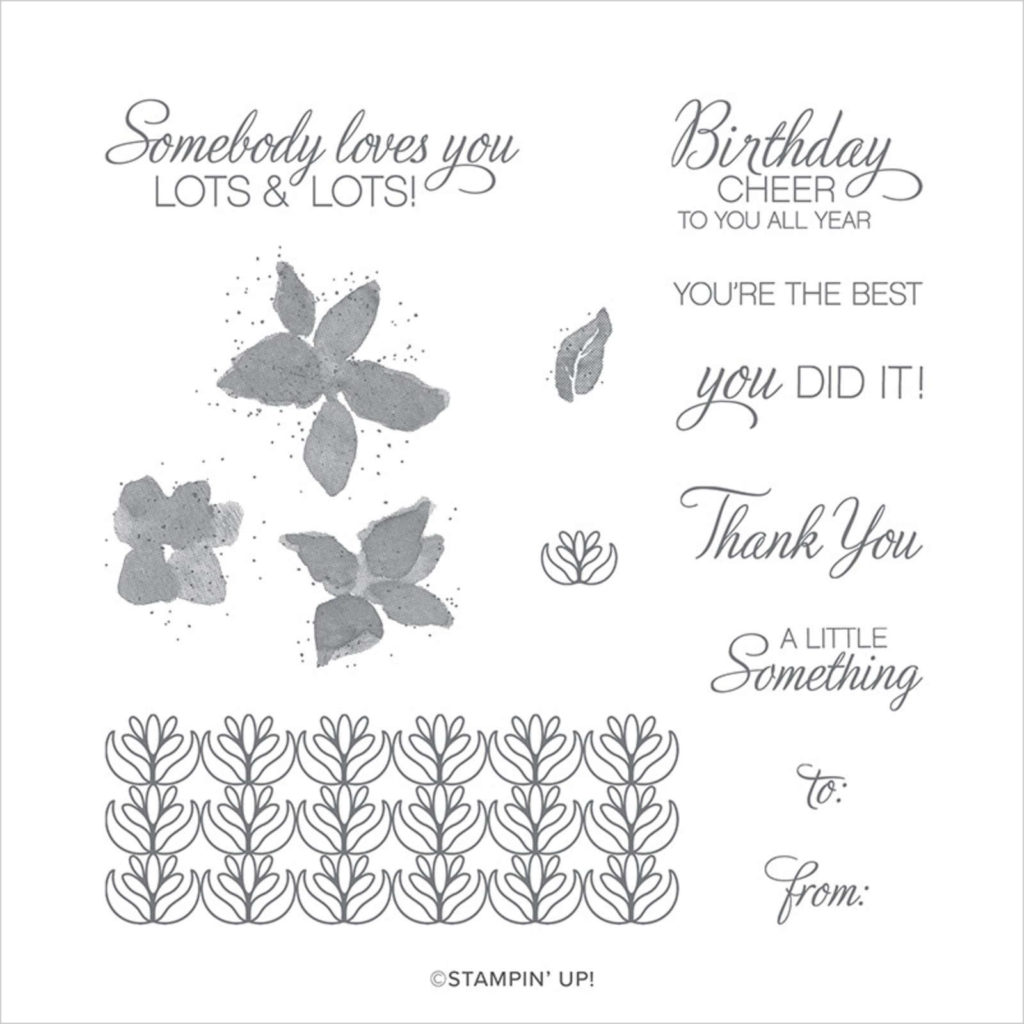
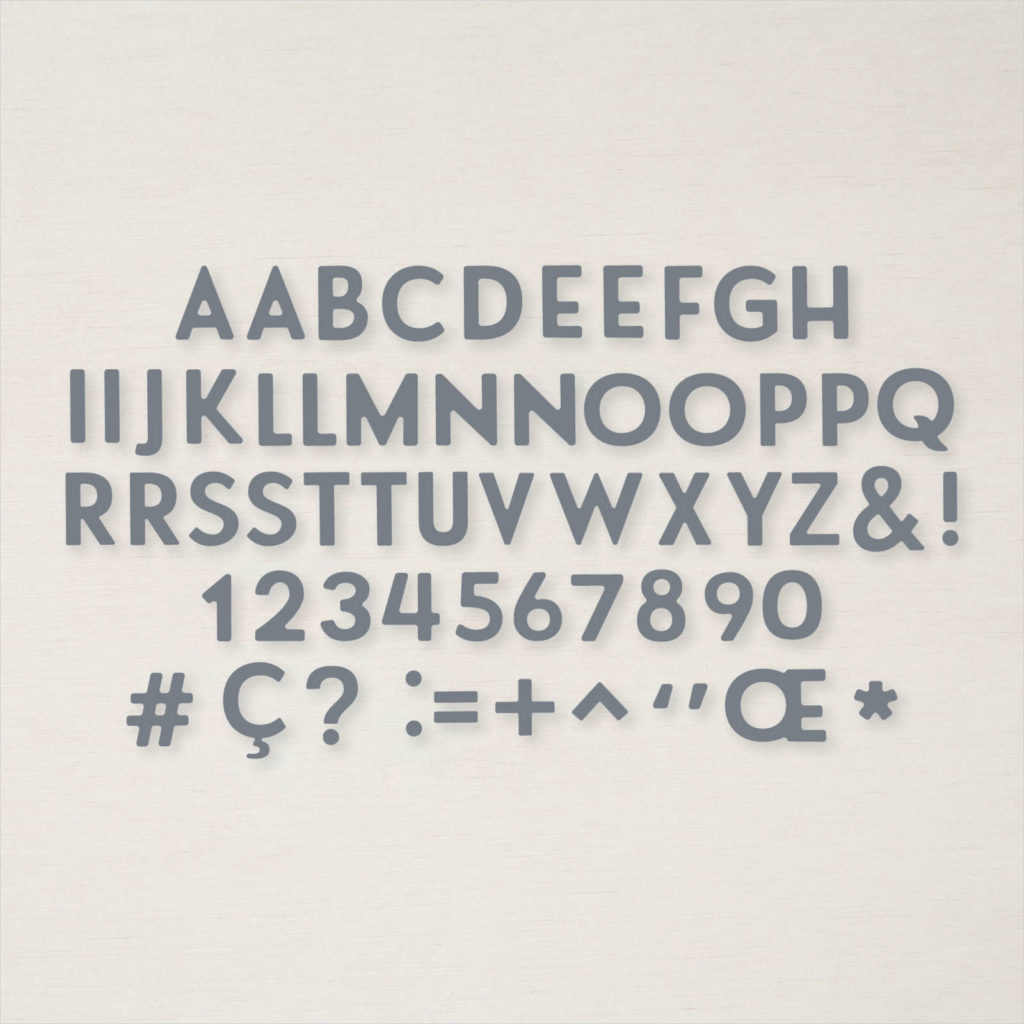
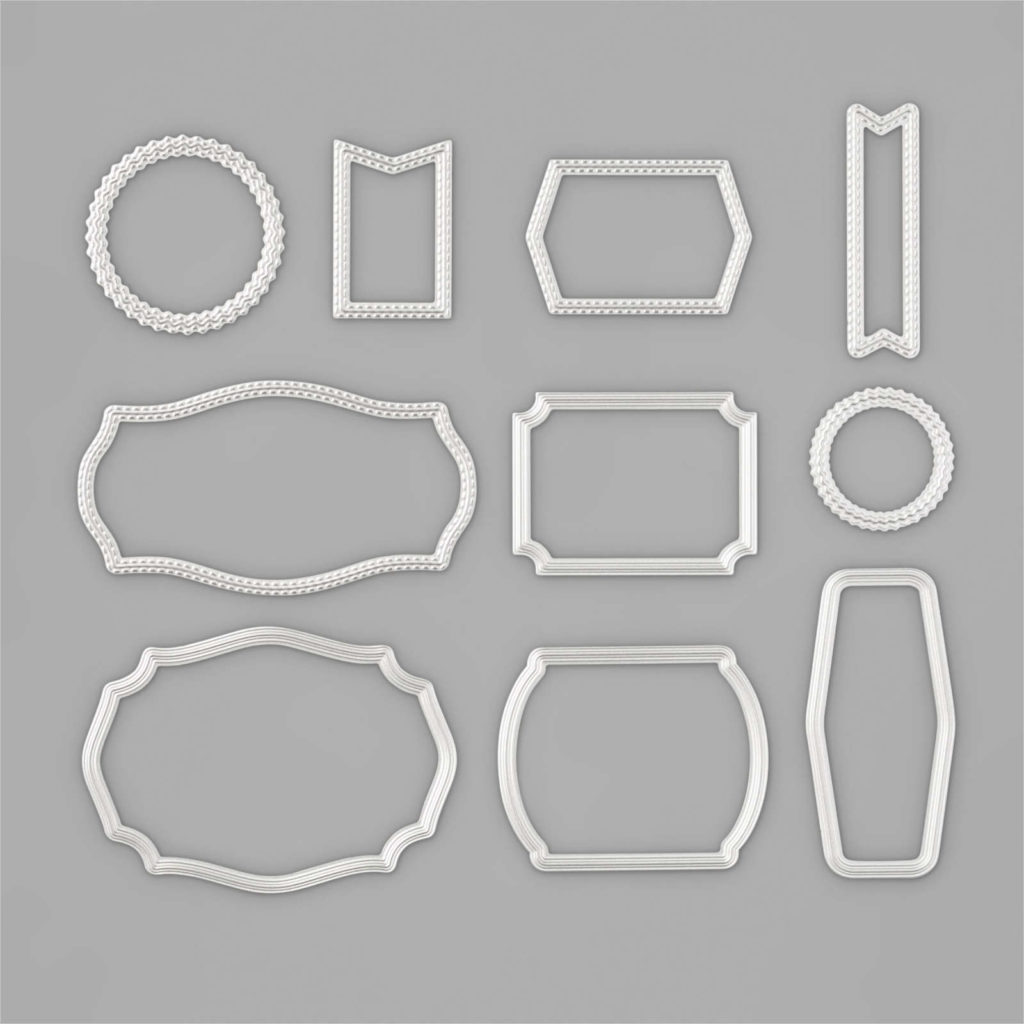
My Teacher Appreciation card is inspired by a beautiful card posted recently by @kreativblogbyclaudi. My card features the Parcels & Petals Cling Stamp Set, Playful Alphabet Dies, and the Tasteful Labels Dies. The color palette I used is Basic White, Basic Black, Bermuda Bay, Coastal Cabana, Granny Apple Green, Daffodil Delight, Calypso Coral, Flirty Flamingo, and Melon Mambo.
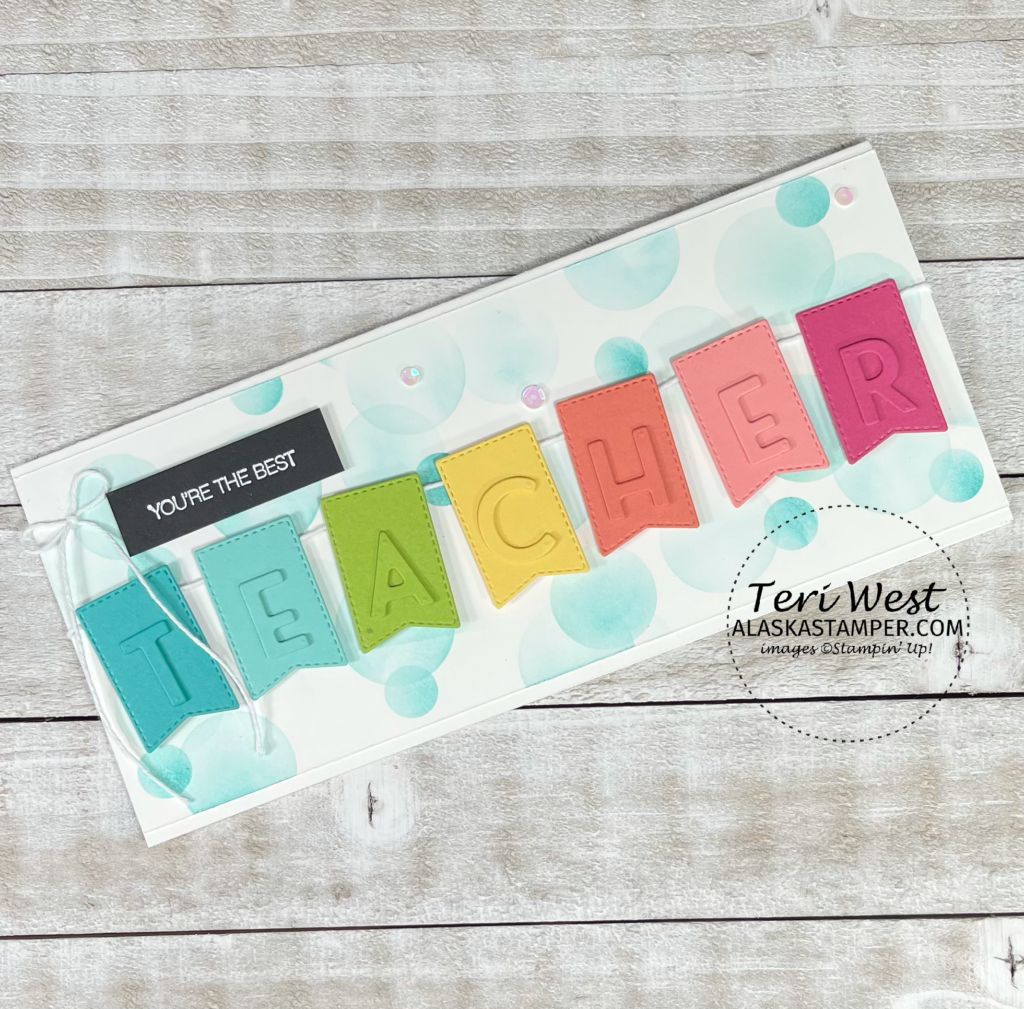
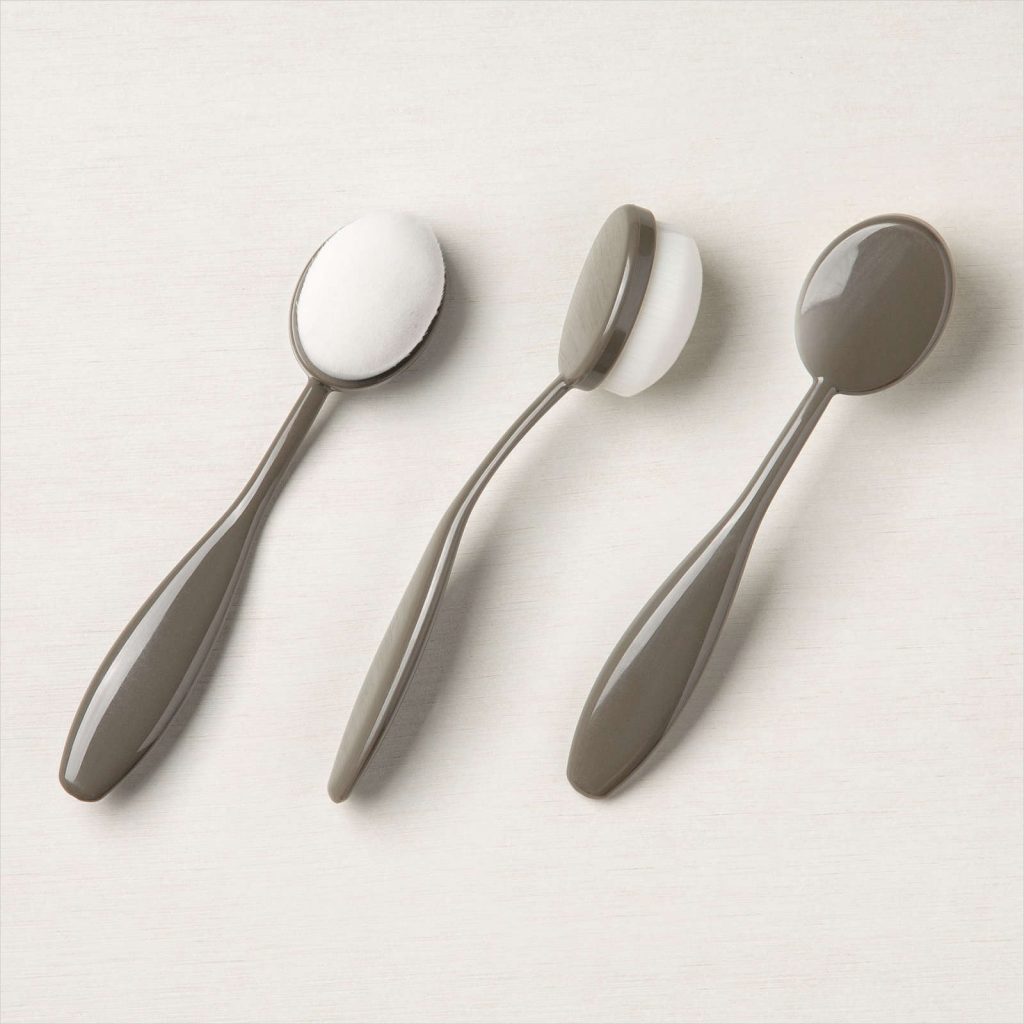
My card base needed to be a long slimline card in order to fit all the pennants to spell the word “TEACHER”. This slimline card is cut from Basic White 7 1/2″ x 8 1/2″ and scored in half at 3 3/4″. A second piece of basic was cut for the card front just slight smaller than the base; 3 1/2″ x 8 1/2″. On the card front piece I created a bokeh dot background with Bermuda Bay ink and a blending brush using a window sheet template I made some time ago from 3 sizes of circle dies/punches.
The pennants were cut using the pennant die from the Tasteful Labels Dies. The letters were cut from the Playful Alphabet Dies. The sentiment came from the Parcels & Petals Cling Stamp set and stamped with Versamark on Basic Black cardstock and heat embossed with White Stampin’ Emboss Powder. The letters were attached to the pennants with glue dots that were rolled into a tube shape to give the letters a bit of height. The pennants were attached to White Bakers Twine with a glue dot at the top. Then a Stampin’ Dimensional was attached to the back of the pennants and placed on the bokeh dot card front. The twine ends were adhered to the back of the card front. The last steps were attaching the card front to the base, attaching the sentiment with more Stampin’ Dimensionals, and attaching a twine bow and sequins with glue dots.
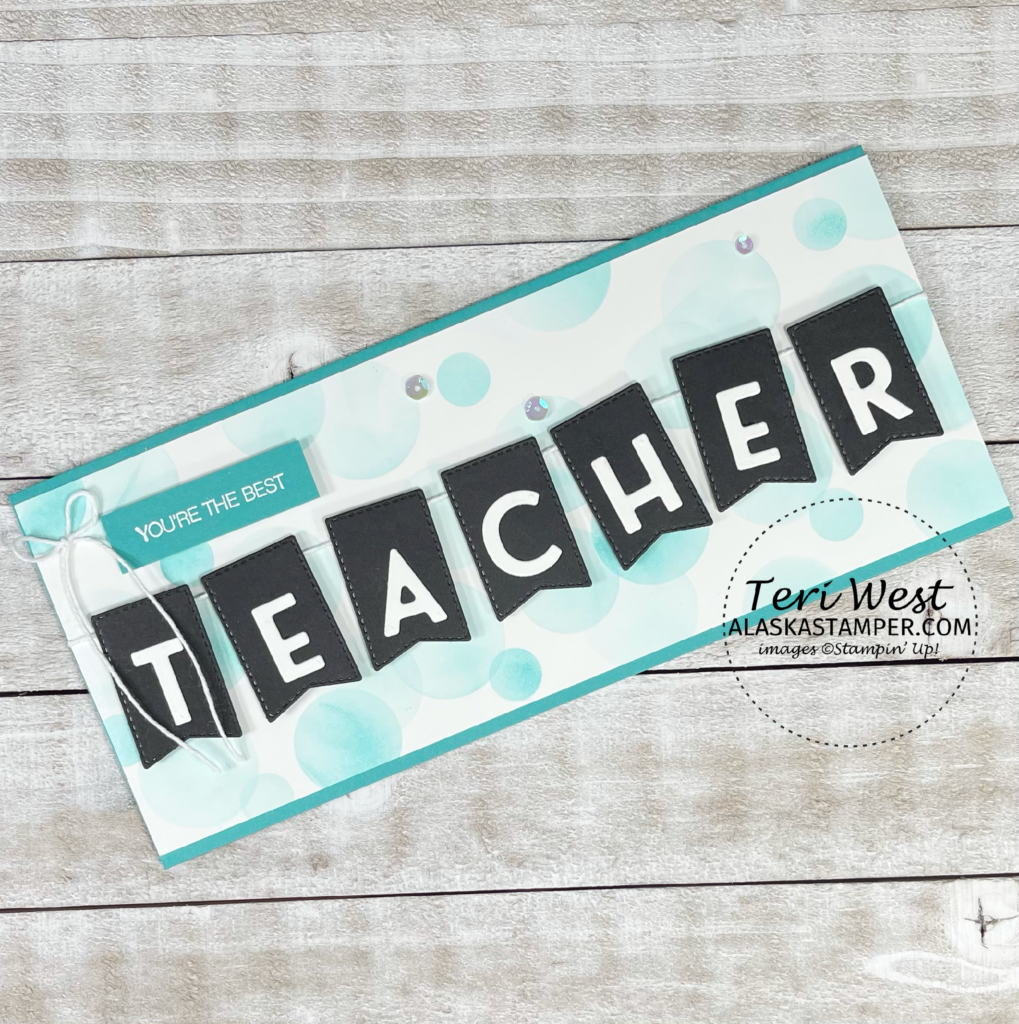
I really loved the look of all the colors, but my daughter felt that the letters didn’t stand out enough. So, I created a second card with black pennants and white letters to imitate a chalkboard. I still like the colors better. What do you think?
For more inspiration from the Luv 2 Stamp Group Blog Hop Team, click on the image below to visit the talented Laurie Bradshaw. Don’t forget to continue following links on each blog to see everyone’s teacher appreciation projects!
Luv 2 Stamp Group Blog Roll:
Thank you for visiting my blog! Below are the supplies and tools used on my project. Click on photos to view the product detail information or click the buttons below to add items to your shopping cart.
STAMPS, DIES, AND EMBOSSING FOLDERS
PAPER AND PACKAGING
INK AND COLORING
EMBELLISHMENTS
ADHESIVES
TOOLS



Such a cute card! I need to try a slimline card!!
Thank you Christy!
What a wonderful project. I am definitely going to be casing this for my Teacher friends for sure. Great job Teri
Thanks Tammy!
Amazing, Teri!!! OMG I love this and may have to make one, too!!
Thank you Kurstan!
Amazingly marvelous idea!! Love it!
Thank you Patty!
Such a great card, Teri! I love the sentiment and cheery colors of your card!
I just got the letters, and I will definitely make those cute banners to personalize my cards. Thank you Teri!
oh my gosh…I just love this!
I absolutely adore your card! That bokeh background and rainbow banner are perfect together. The black and white banner is cute too! Great work!
I love both cards! I love the slimline cards, I still haven’t created one yet!