Stamping INKspirations Blog Hop – April 2023
Welcome to the April 2023 Stamping INKspirations Blog Hop! This month’s theme is “Fun Fold”. The Stamping INKspirations Blog Hop Team will be sharing with you fun-folds that may be new to them or sharing one of their all time favorites.
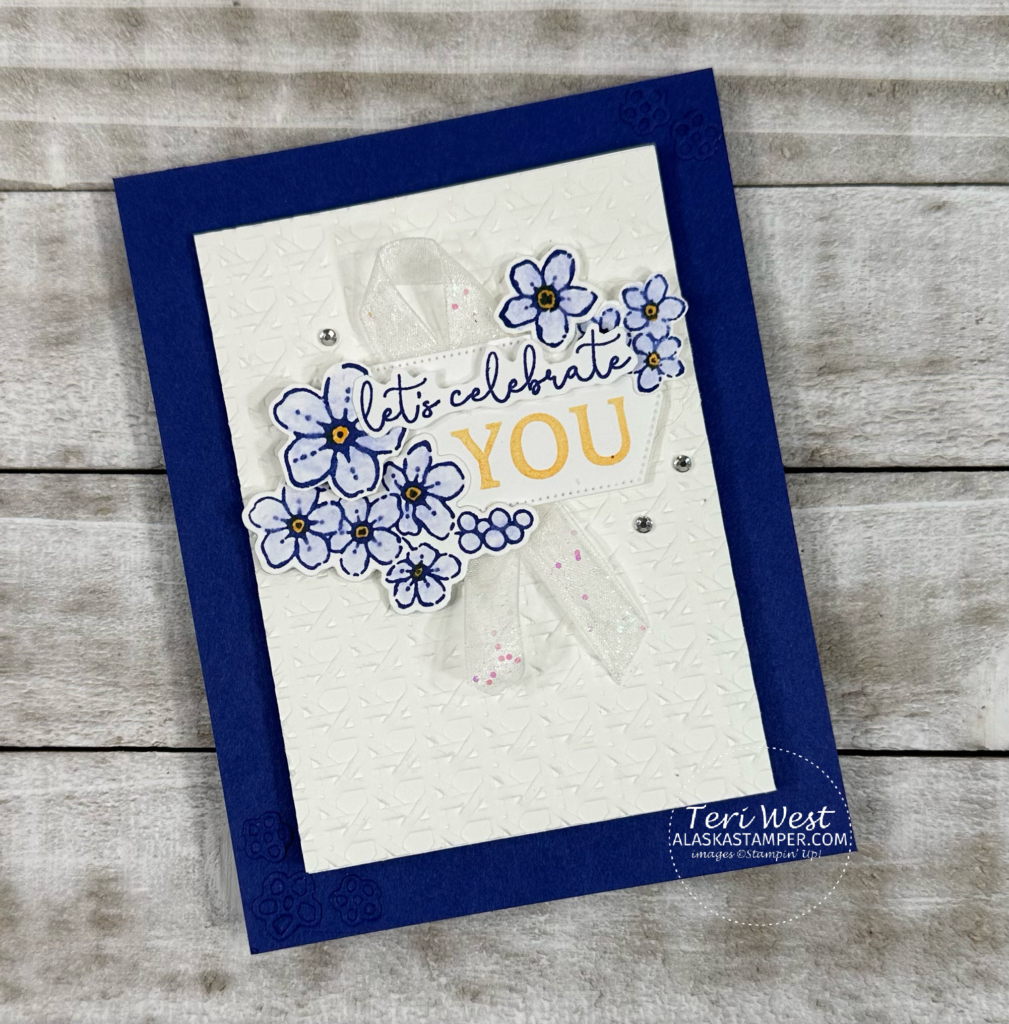
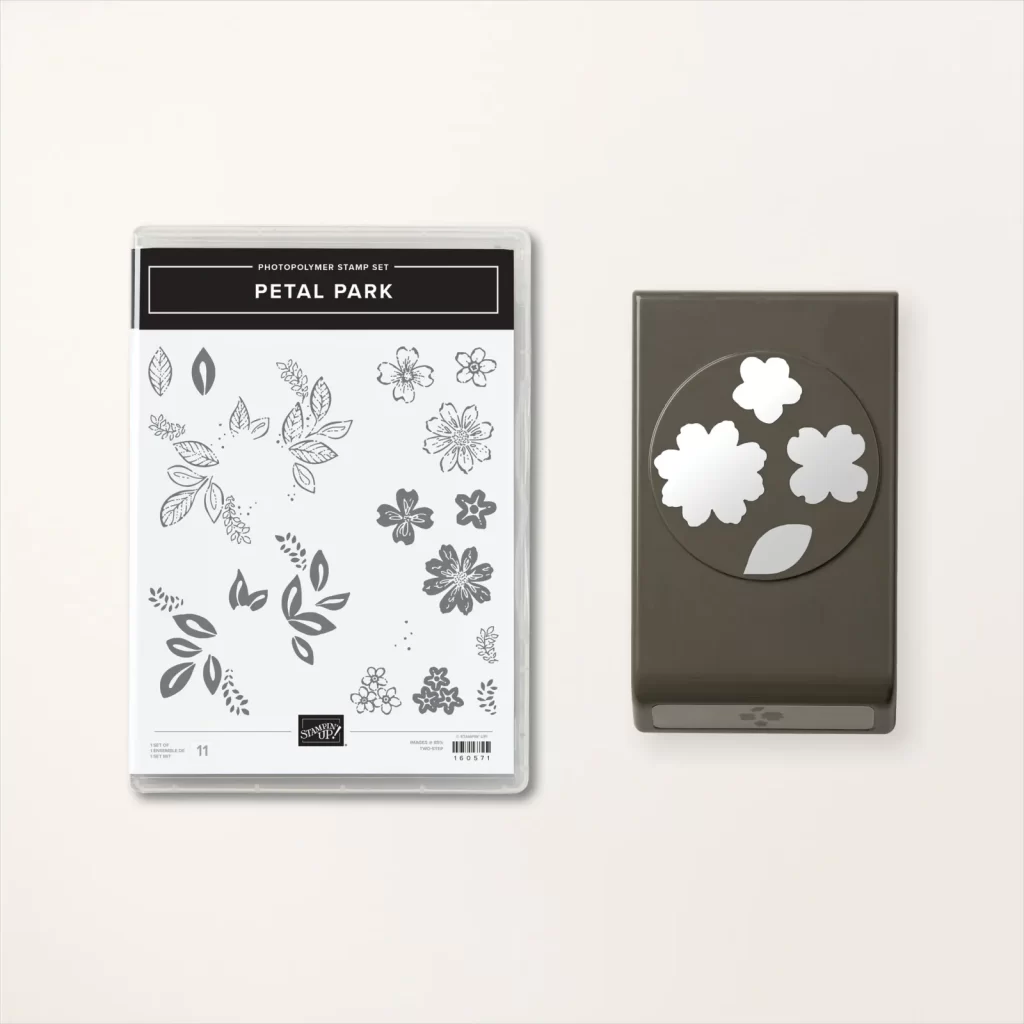
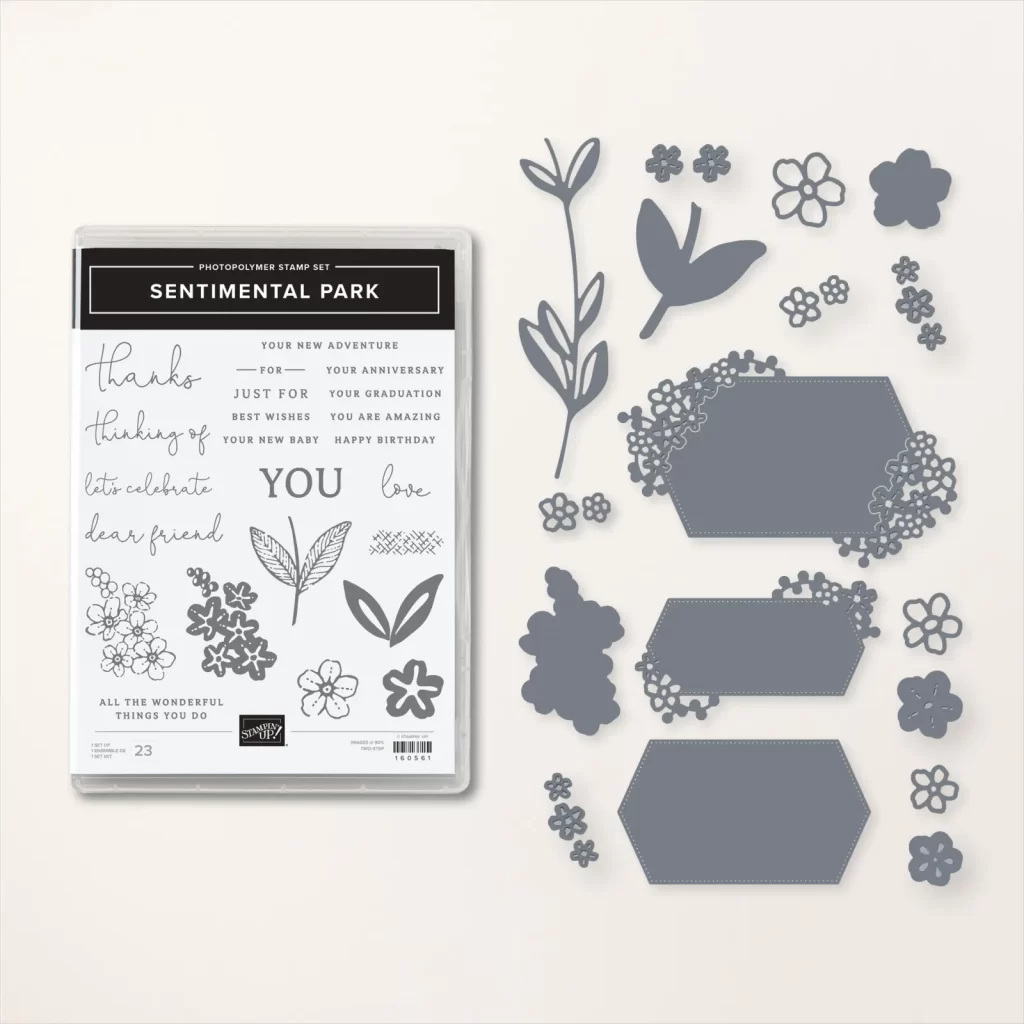
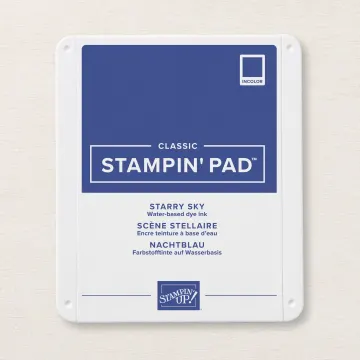
My project this month is a fun-fold that is new to me. My fun fold features the Petal Park Bundle and the Sentimental Park Bundle. I used a simple color palette: Starry Sky, Mango Melody and Basic White.
Paper Supplies:
- 4 1/4″ x 5 1/2″ piece of Starry Sky cardstock, scored (card base)
- 4 1/2″ x 9 3/4″ piece of Basic White cardstock (scored at 3 1/4″ and 6 1/2″)
- 3 1/4″ x 4 1/2″ piece of Basic White cardstock (card front)
- Starry Sky cardstock scraps
- Basic White cardstock scraps
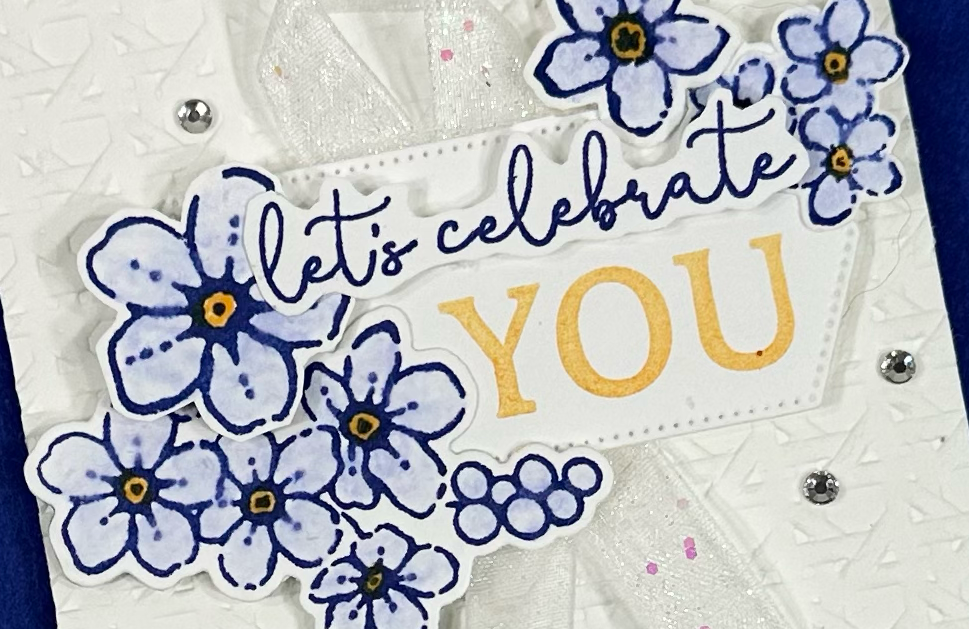
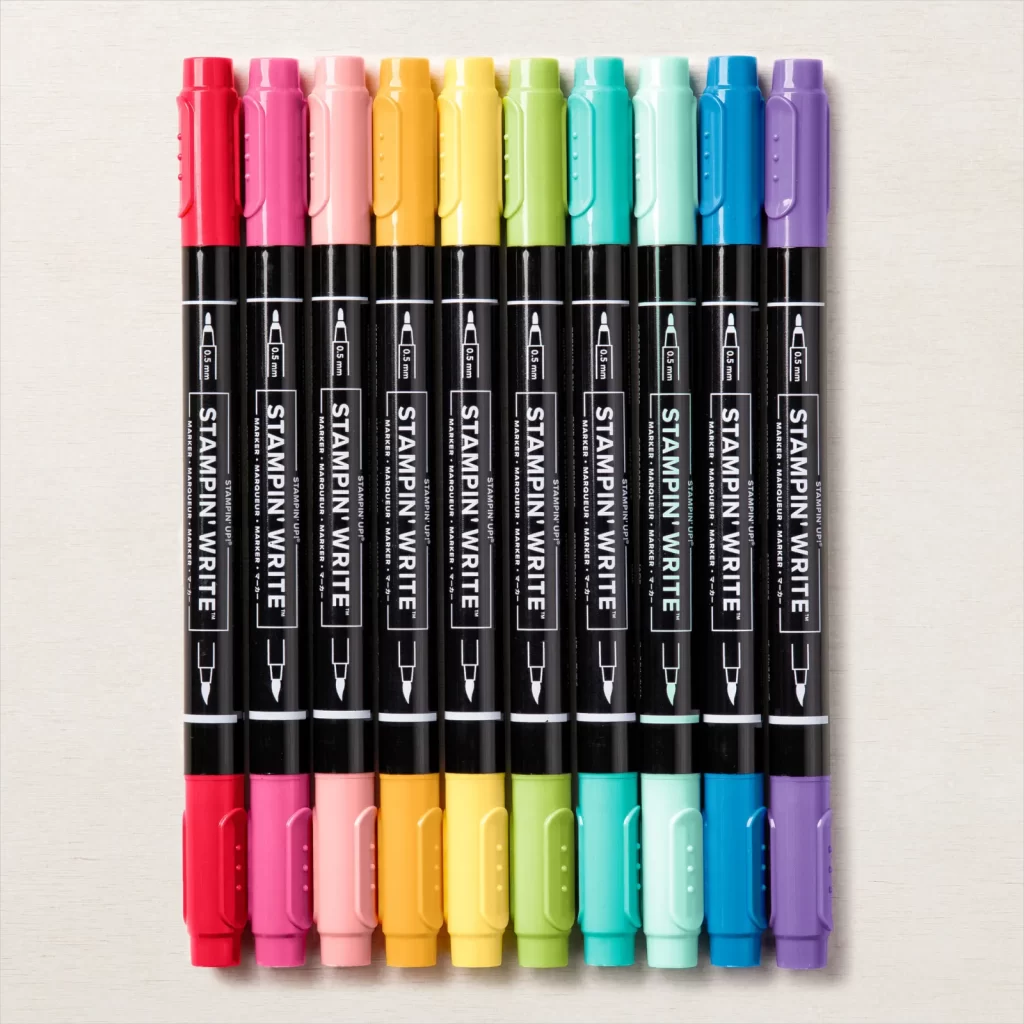
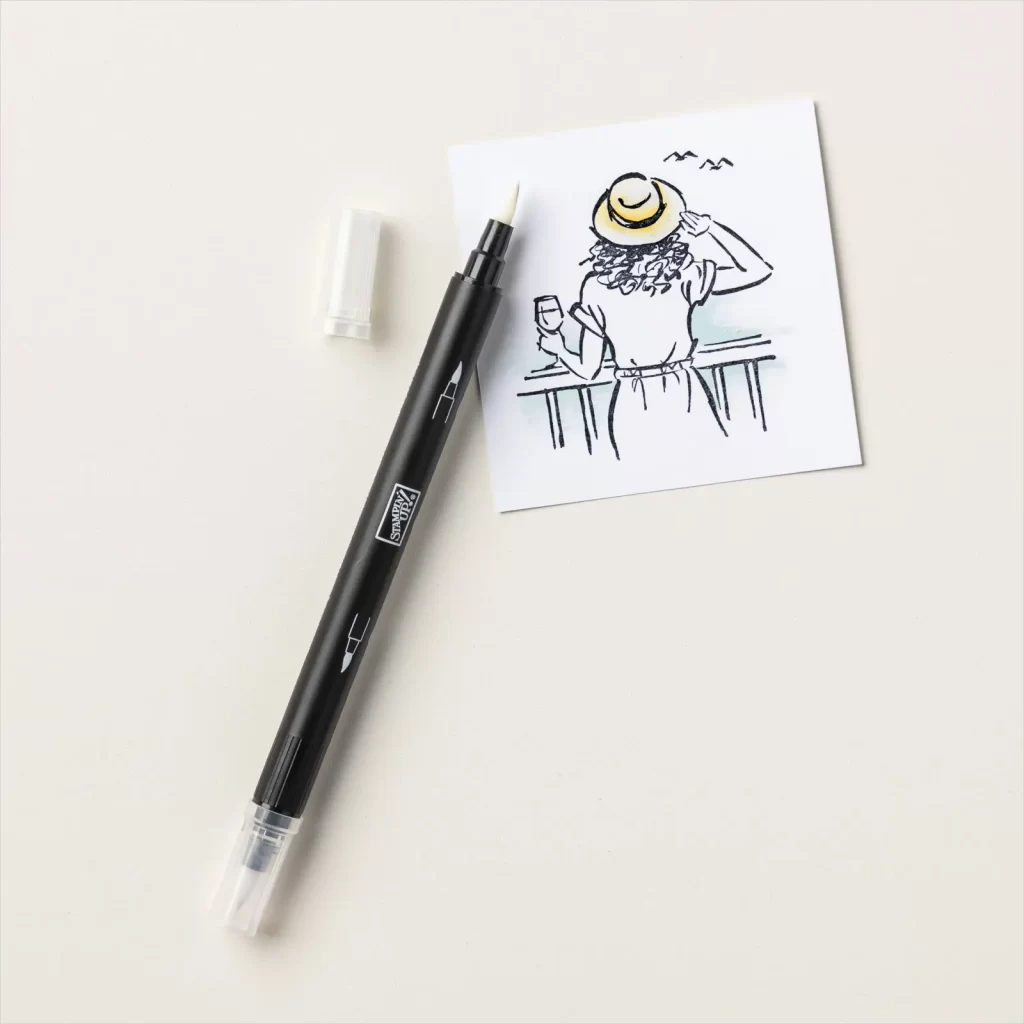
The prep: I started by stamping several floral images with Starry Sky ink on scraps of Basic White cardstock. With a blender pen I colored the petals of the floral images, then used a Mango Melody Stampin’ Write Marker to color in the centers of the flowers. Then I die cut the images and fussy cut others in which there is not a corresponding die. I also die cut a few extra flowers from Starry Sky cardstock using the Sentimental Park Dies.
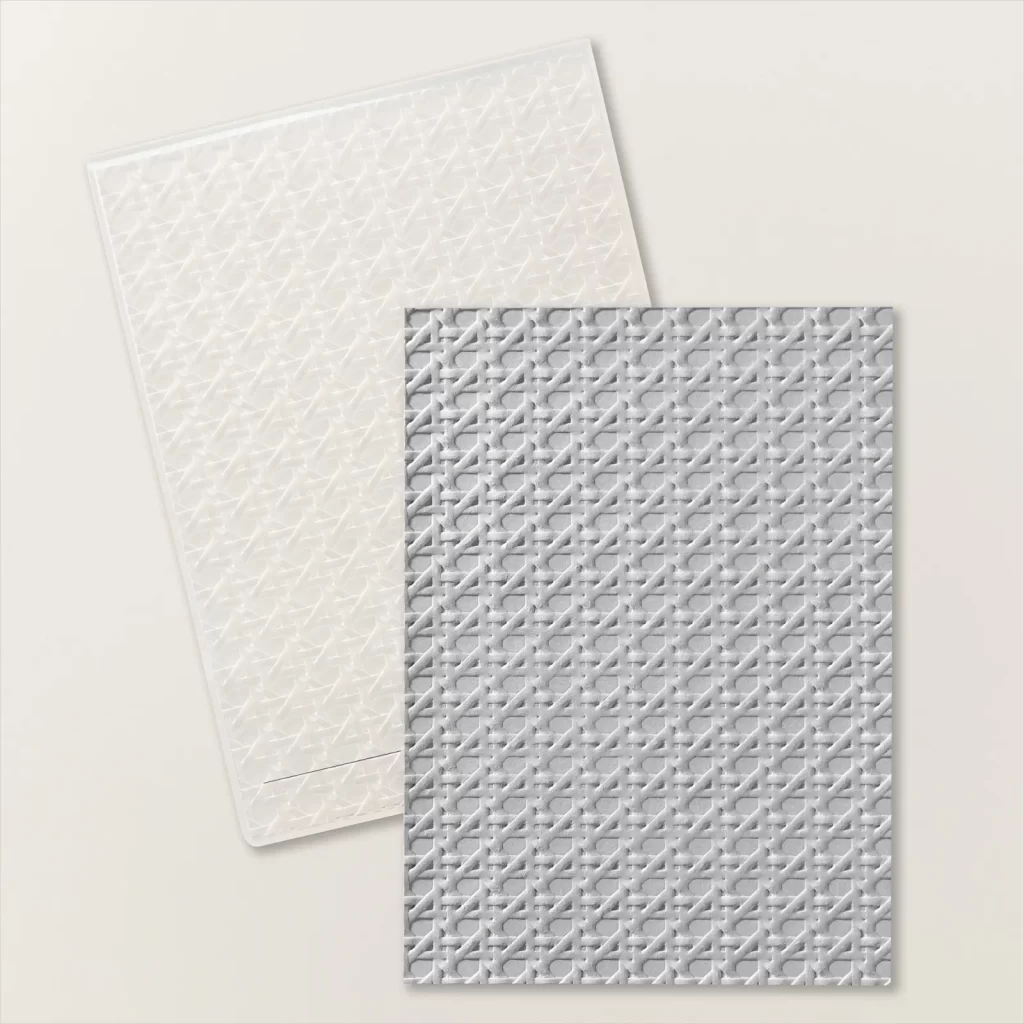
The “You” sentiment was stamped on another piece of Basic White cardstock by using the Mango Melody Stampin’ Write Marker directly onto the stamp, then I die cut it out with a label die from the Sentimental Park Dies. The “let’s celebrate” sentiment was stamped on another Basic White cardstock piece with Starry Sky ink and fussy cut. Lastly, I dry embossed the card front piece with the Cane Weave 3D Embossing Folder.
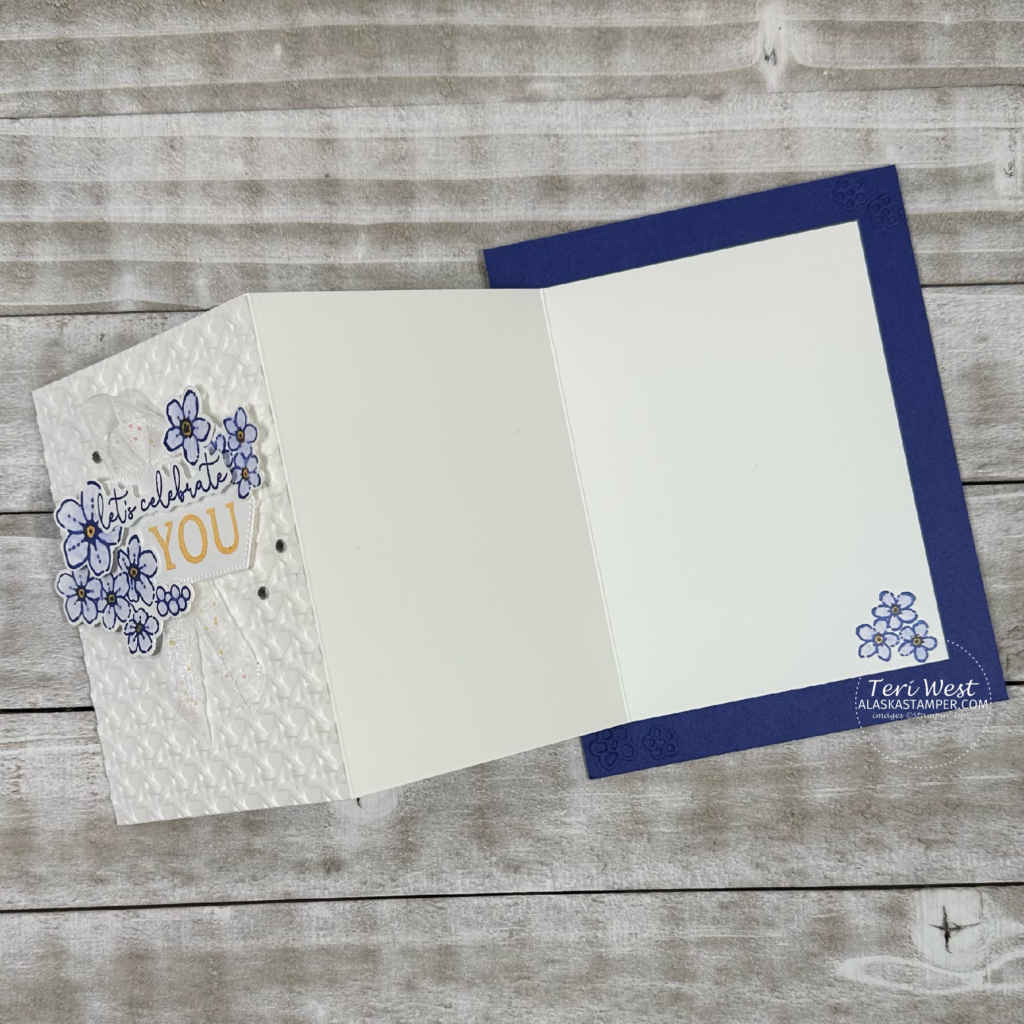
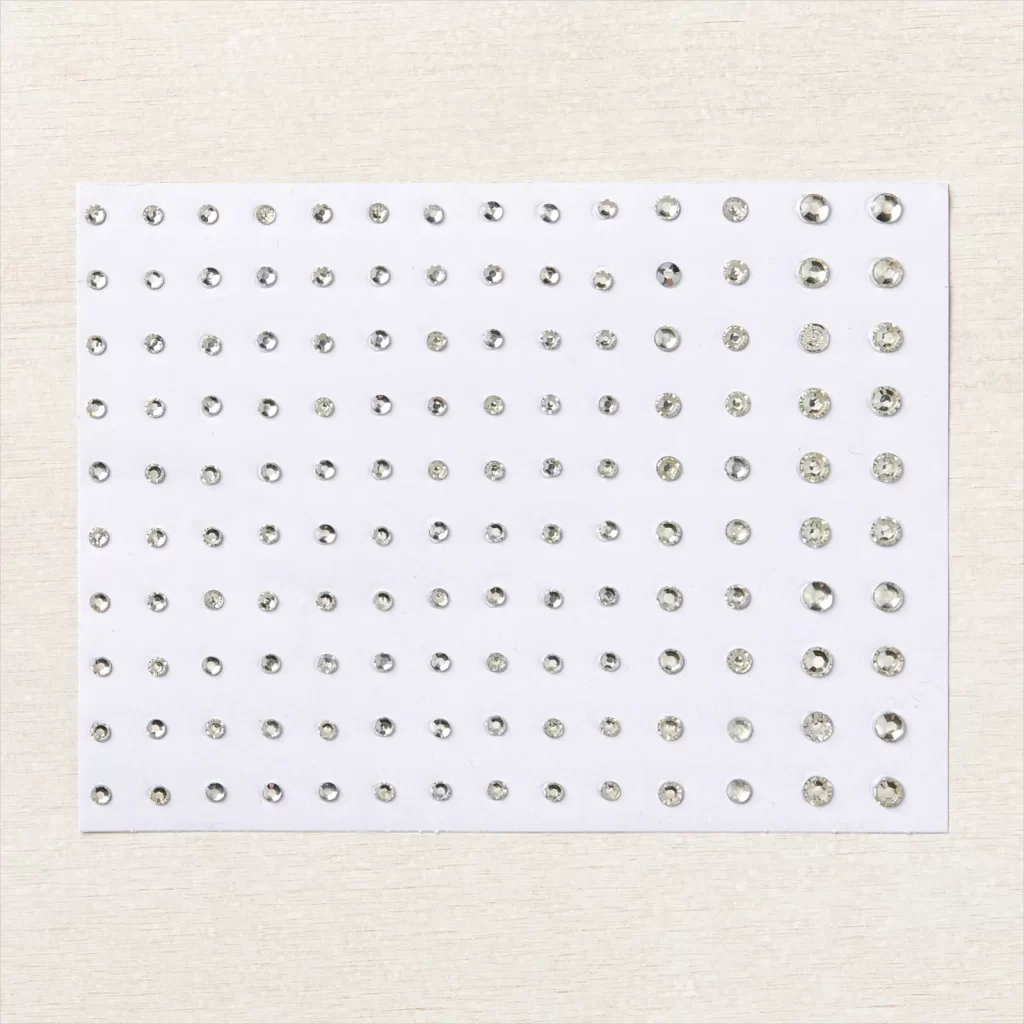
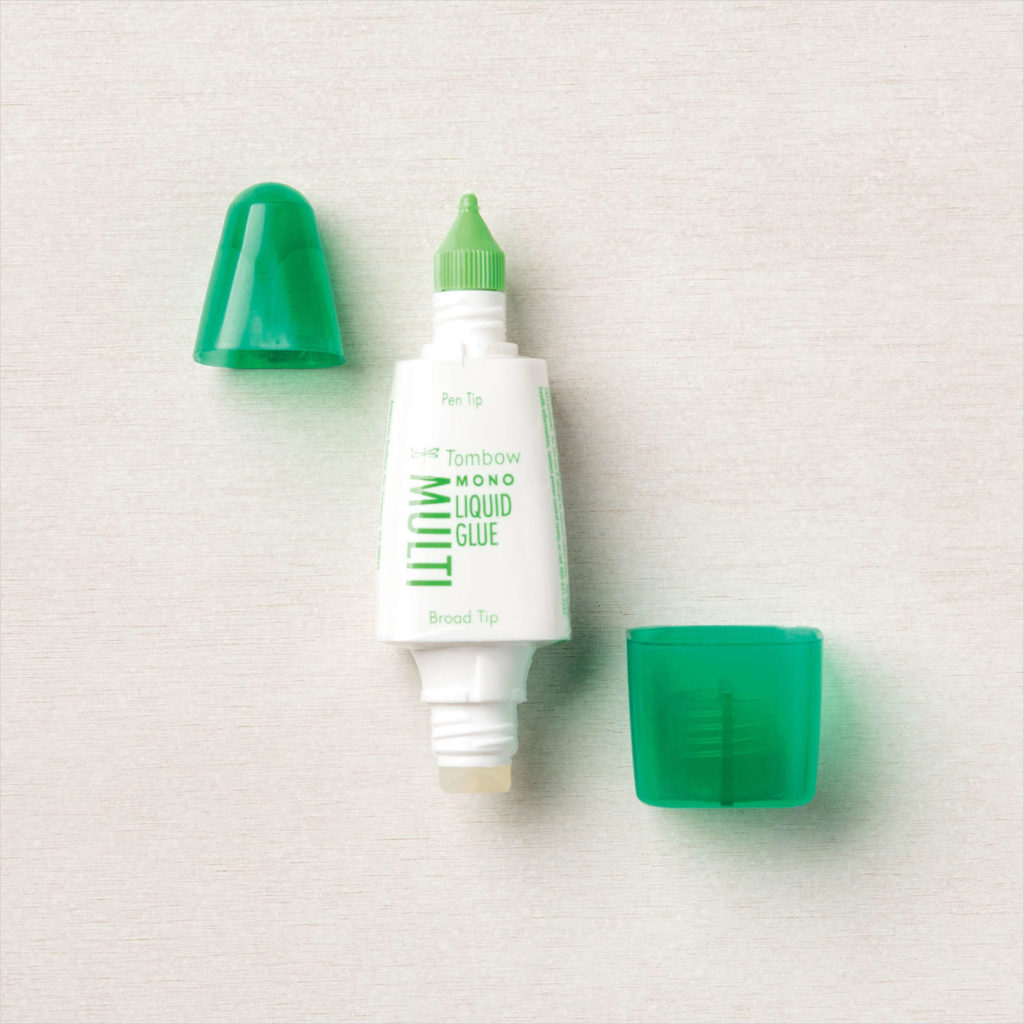
Putting it all together: I adhered the Starry Sky floral pieces to opposite corners of the card base. Then I folded the 4 1/2″ x 9 3/4″ piece of Basic White cardstock at the scores in opposite directions. The folded piece was attached to the center of the card base (see pic). On an inside corner of the folded piece I stamped more floral images and colored them just as I did with the other floral images. The embossed card front piece was attached to the front of the folded piece to create the card front. Then I attached a piece of ribbon with a mini glue dot and layered the remaining pieces and attaching them with liquid glue and Stampin’ Dimensionals. The last elements added were the Rhinestone Basic Jewels to the card front.
Thank you for visiting my blog! For more inspiration from the Stamping INKspirations Blog Hop Team, click on the image below to visit the next blog posted by the talented Jan Musselman! Don’t forget to continue following the links to see all of the amazing projects this month.
Stamping INKspirations Blog Roll:
Tricia Butts ● Judith Patterson ● Susan Webster
Leonie Stuart ● Karen Henderson ● Annette Ball
Anne Krucek ● Vickie Littlewood ● Teri West (You are Here)
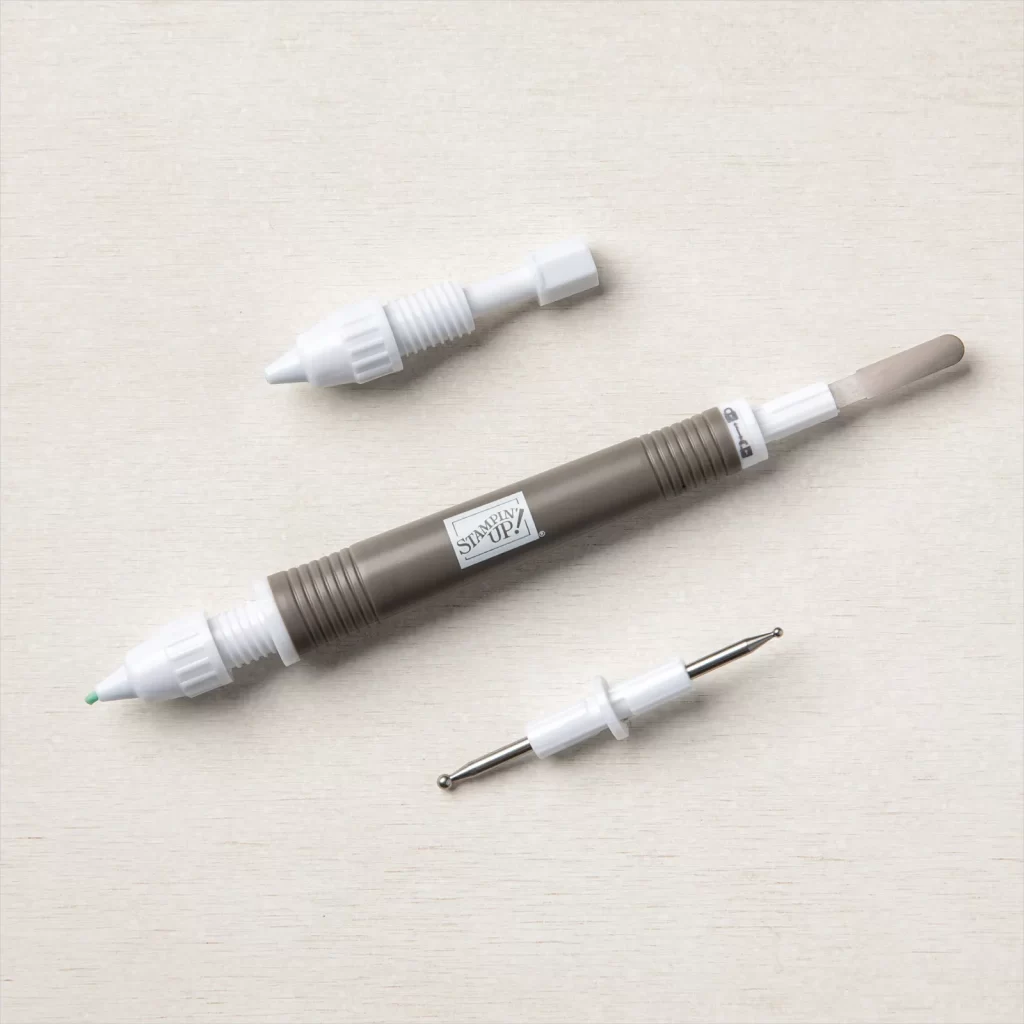
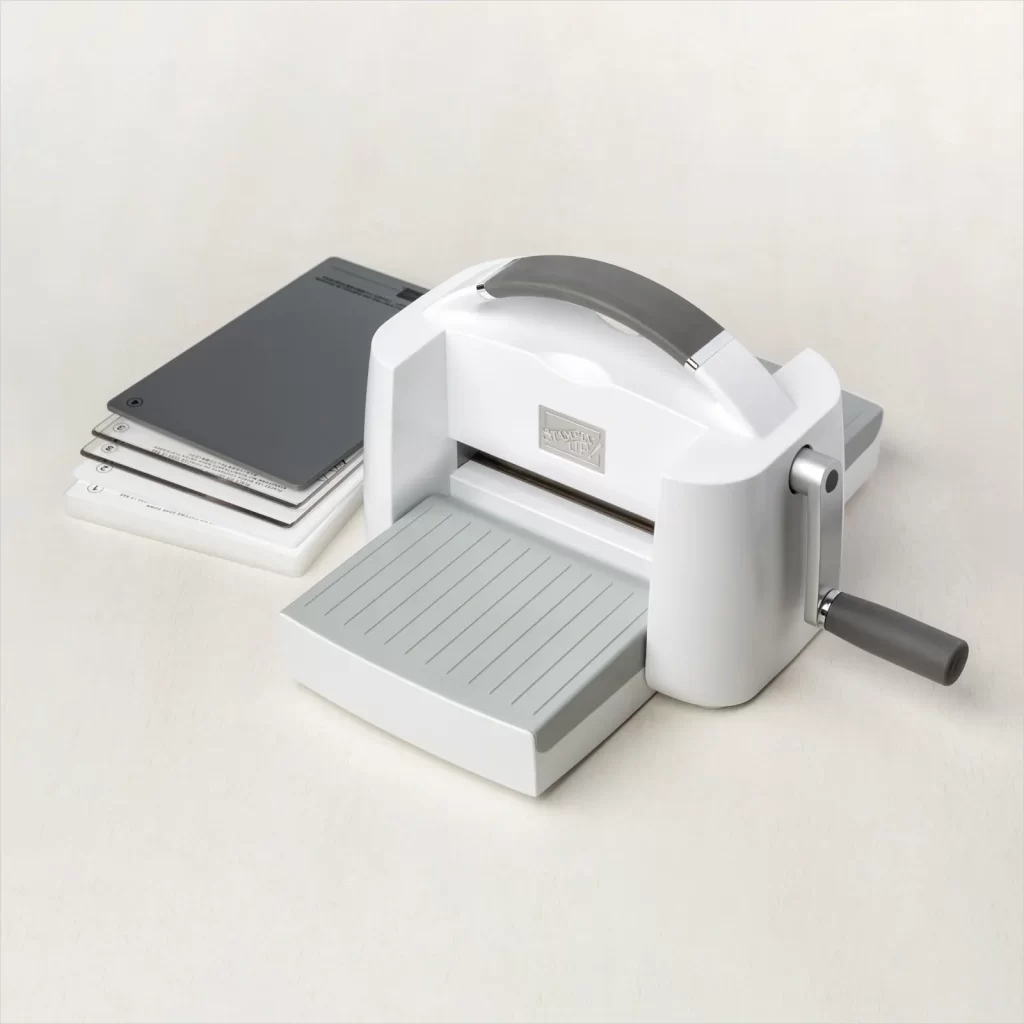
Below are the supplies and tools used on my project. Click on photos to view the product detail information or click the buttons below to add items to your shopping cart.
STAMPS, DIES, EMBOSSING FOLDERS, AND PUNCHES
PAPER AND PACKAGING
INK AND COLORING
EMBELLISHMENTS
ADHESIVES
TOOLS

Beautiful card Teri, love this fun fold x
I like this fold, some folds are so involved you need instructions with the card!! Love the textured cane background – I need to pull that out and use it more!! You have inspired me!! Thanks much!
I love how this comes together. Thanks for sharing.
Beautiful Card Teri. X
Wonderful! I love the colours and textures you’ve used . The flowers are my favourite ones in this set too!
I love the way this all goes together, and the texture really pops against that blue. Wonderful.
Simply beautiful fun fold. Love this pretty Spring design.
Such a pretty fun-fold card! This was one of my favorite bundles from the spring mini. Thanks for sharing this!💕