Stamping INKspirations Blog Hop – April 2022
Welcome to the April 2022 Stamping INKspirations Blog Hop! This month’s theme is “Fun Folds” and we are sharing our favorite fancy folds. I admit I do not make a lot of fun fold cards as I get a bit intimidated. They can be extra work, but having a card open in a new way is such a great surprise for the recipient.
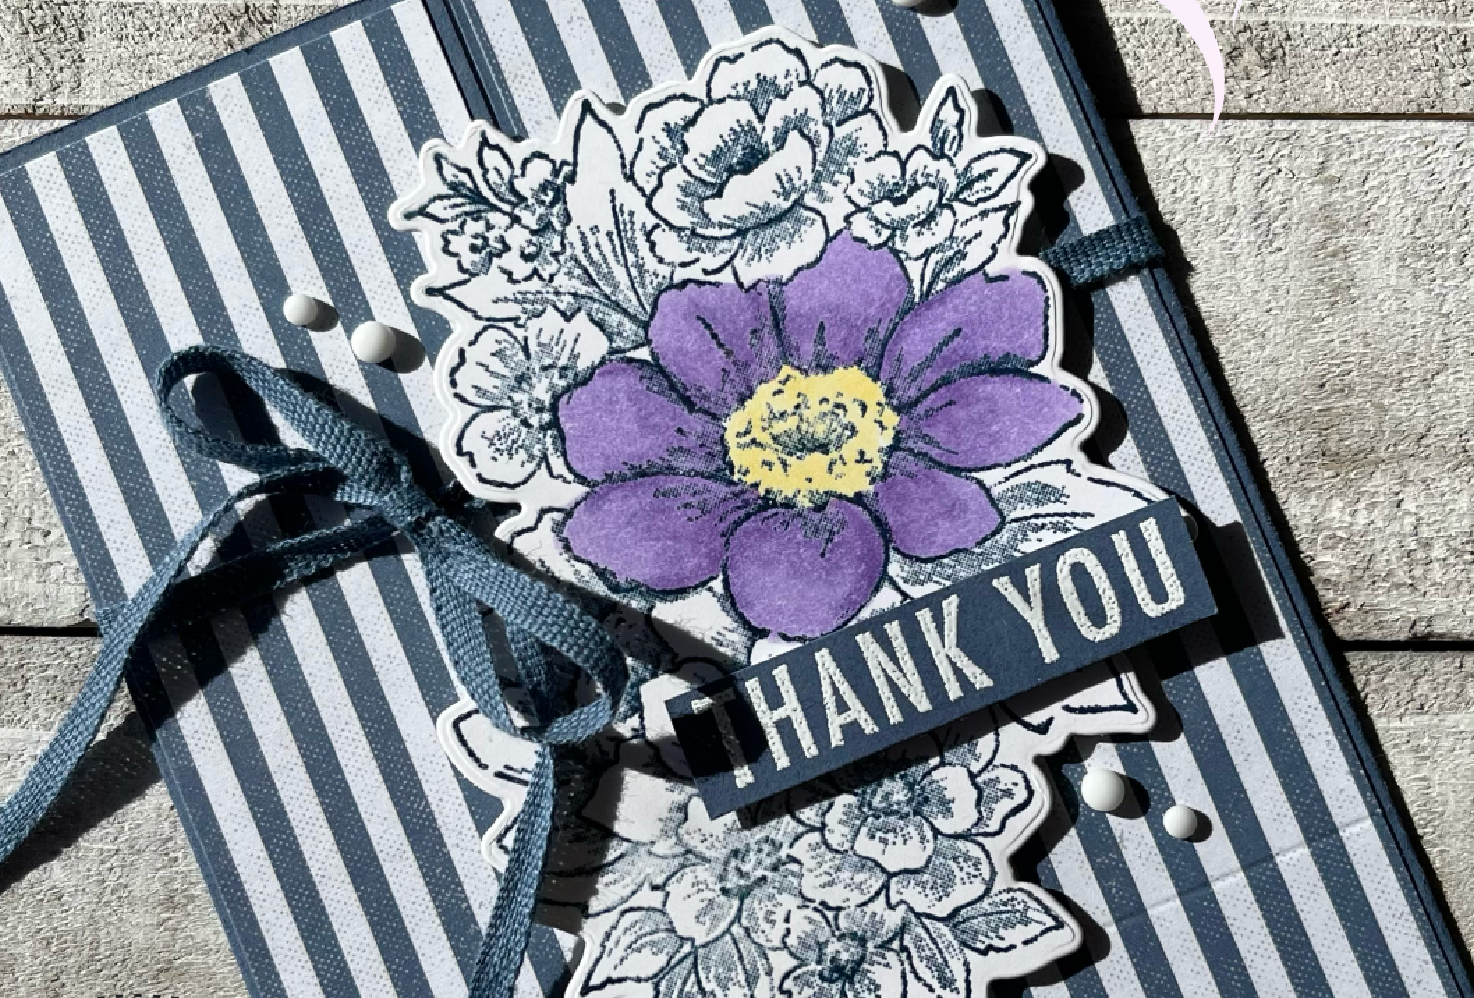
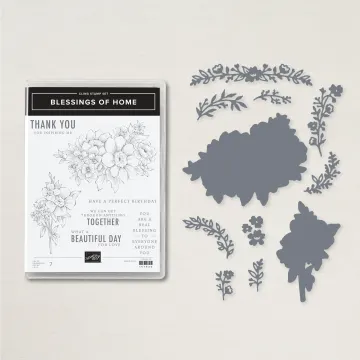
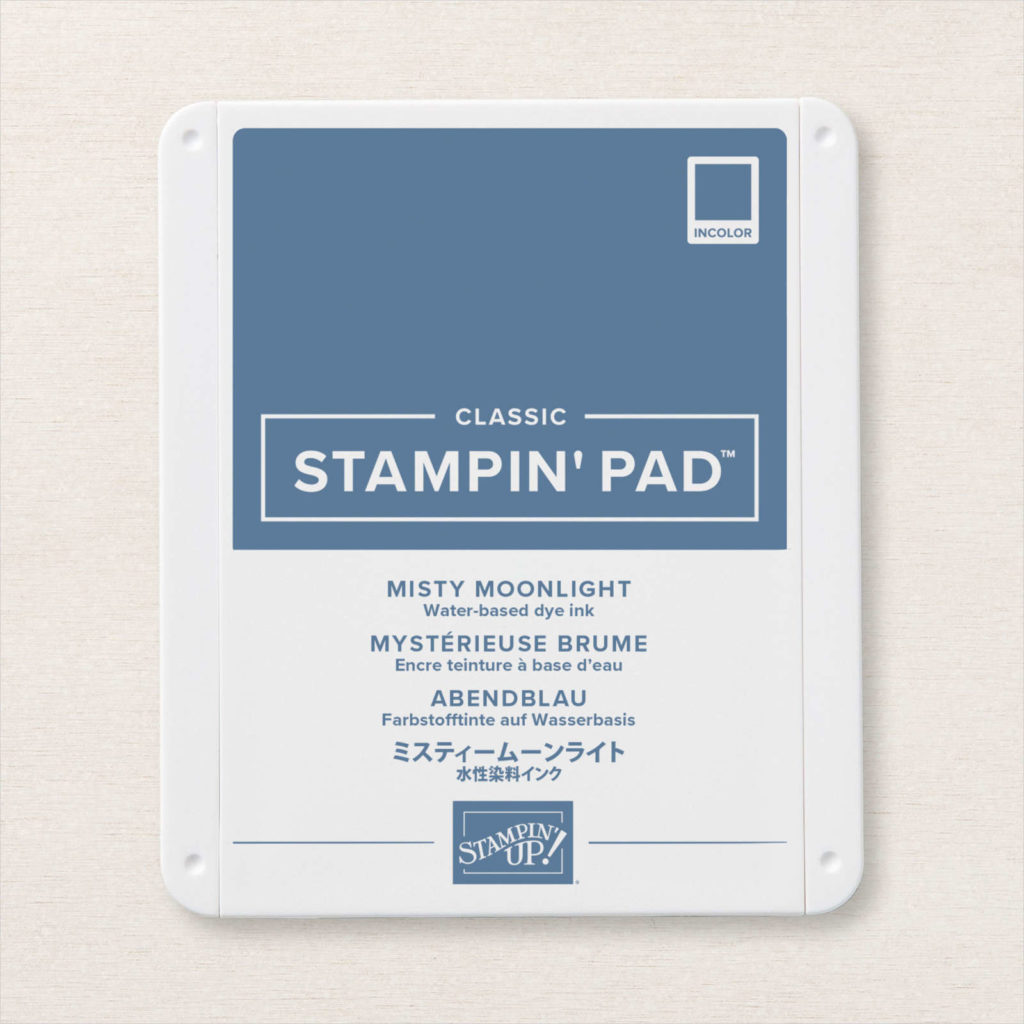
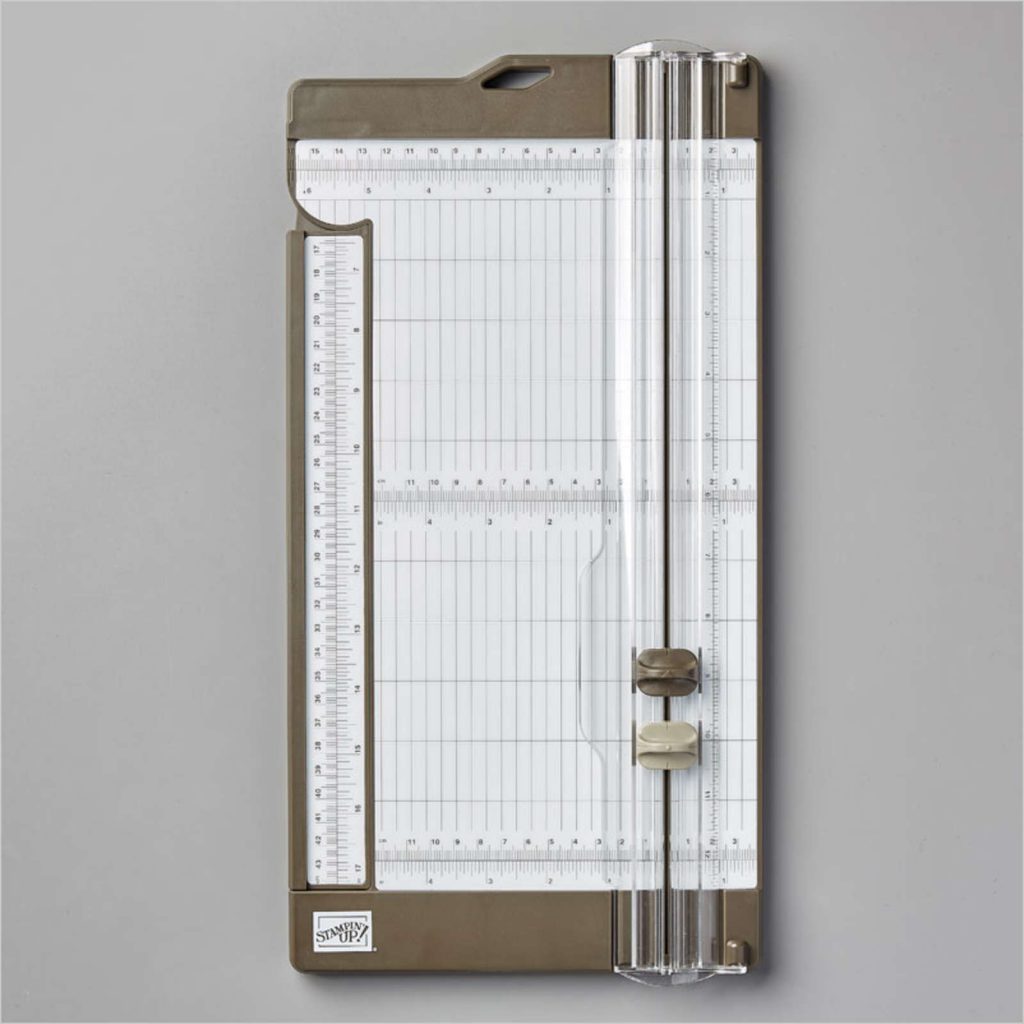
My project this month involves a super easy fold, it’s called a gate fold. The card base starts with a piece of card stock in the standard size (5 1/2″ x 8 1/2″). Instead of scoring and folding midway (4 1/4″), you score 2 1/8″ from each end of the long side. This month’s card features the Blessings of Home Bundle and the Heart & Home Memories & More Card Pack. My color palette is Basic White, Misty Moonlight, Daffodil Delight, and Highland Heather.
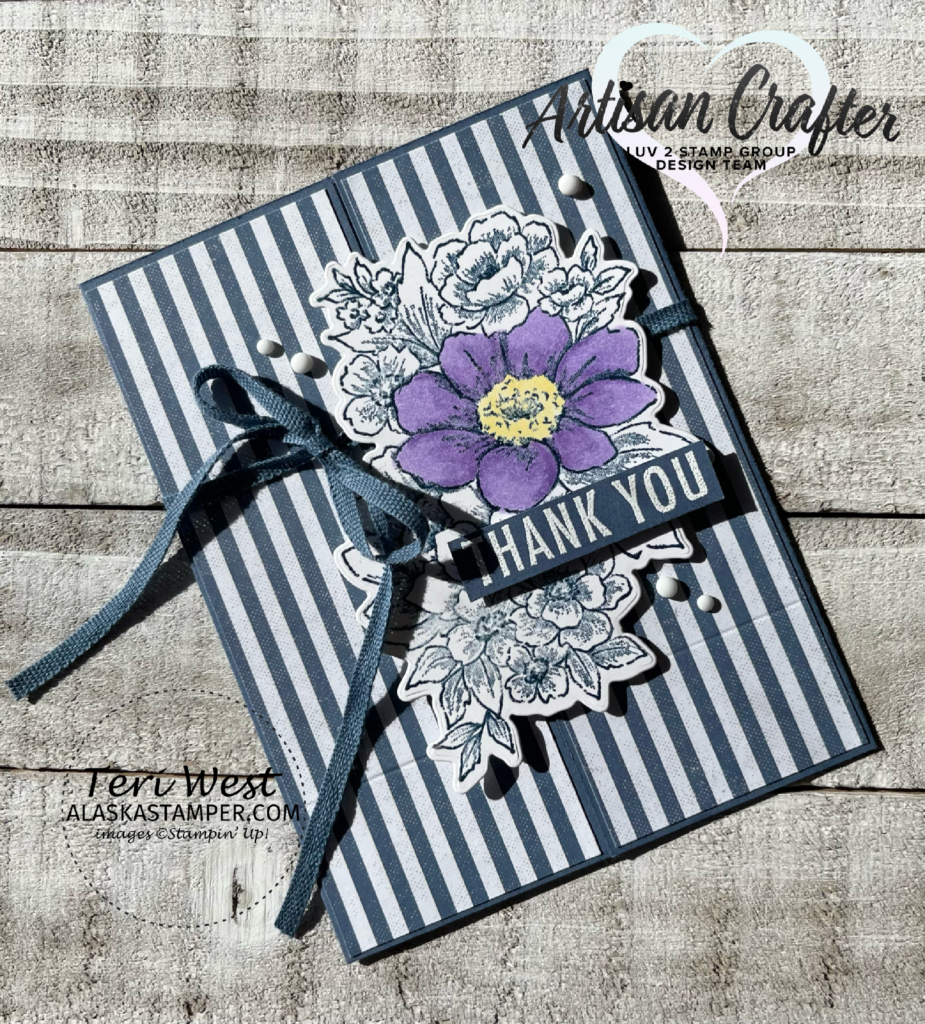
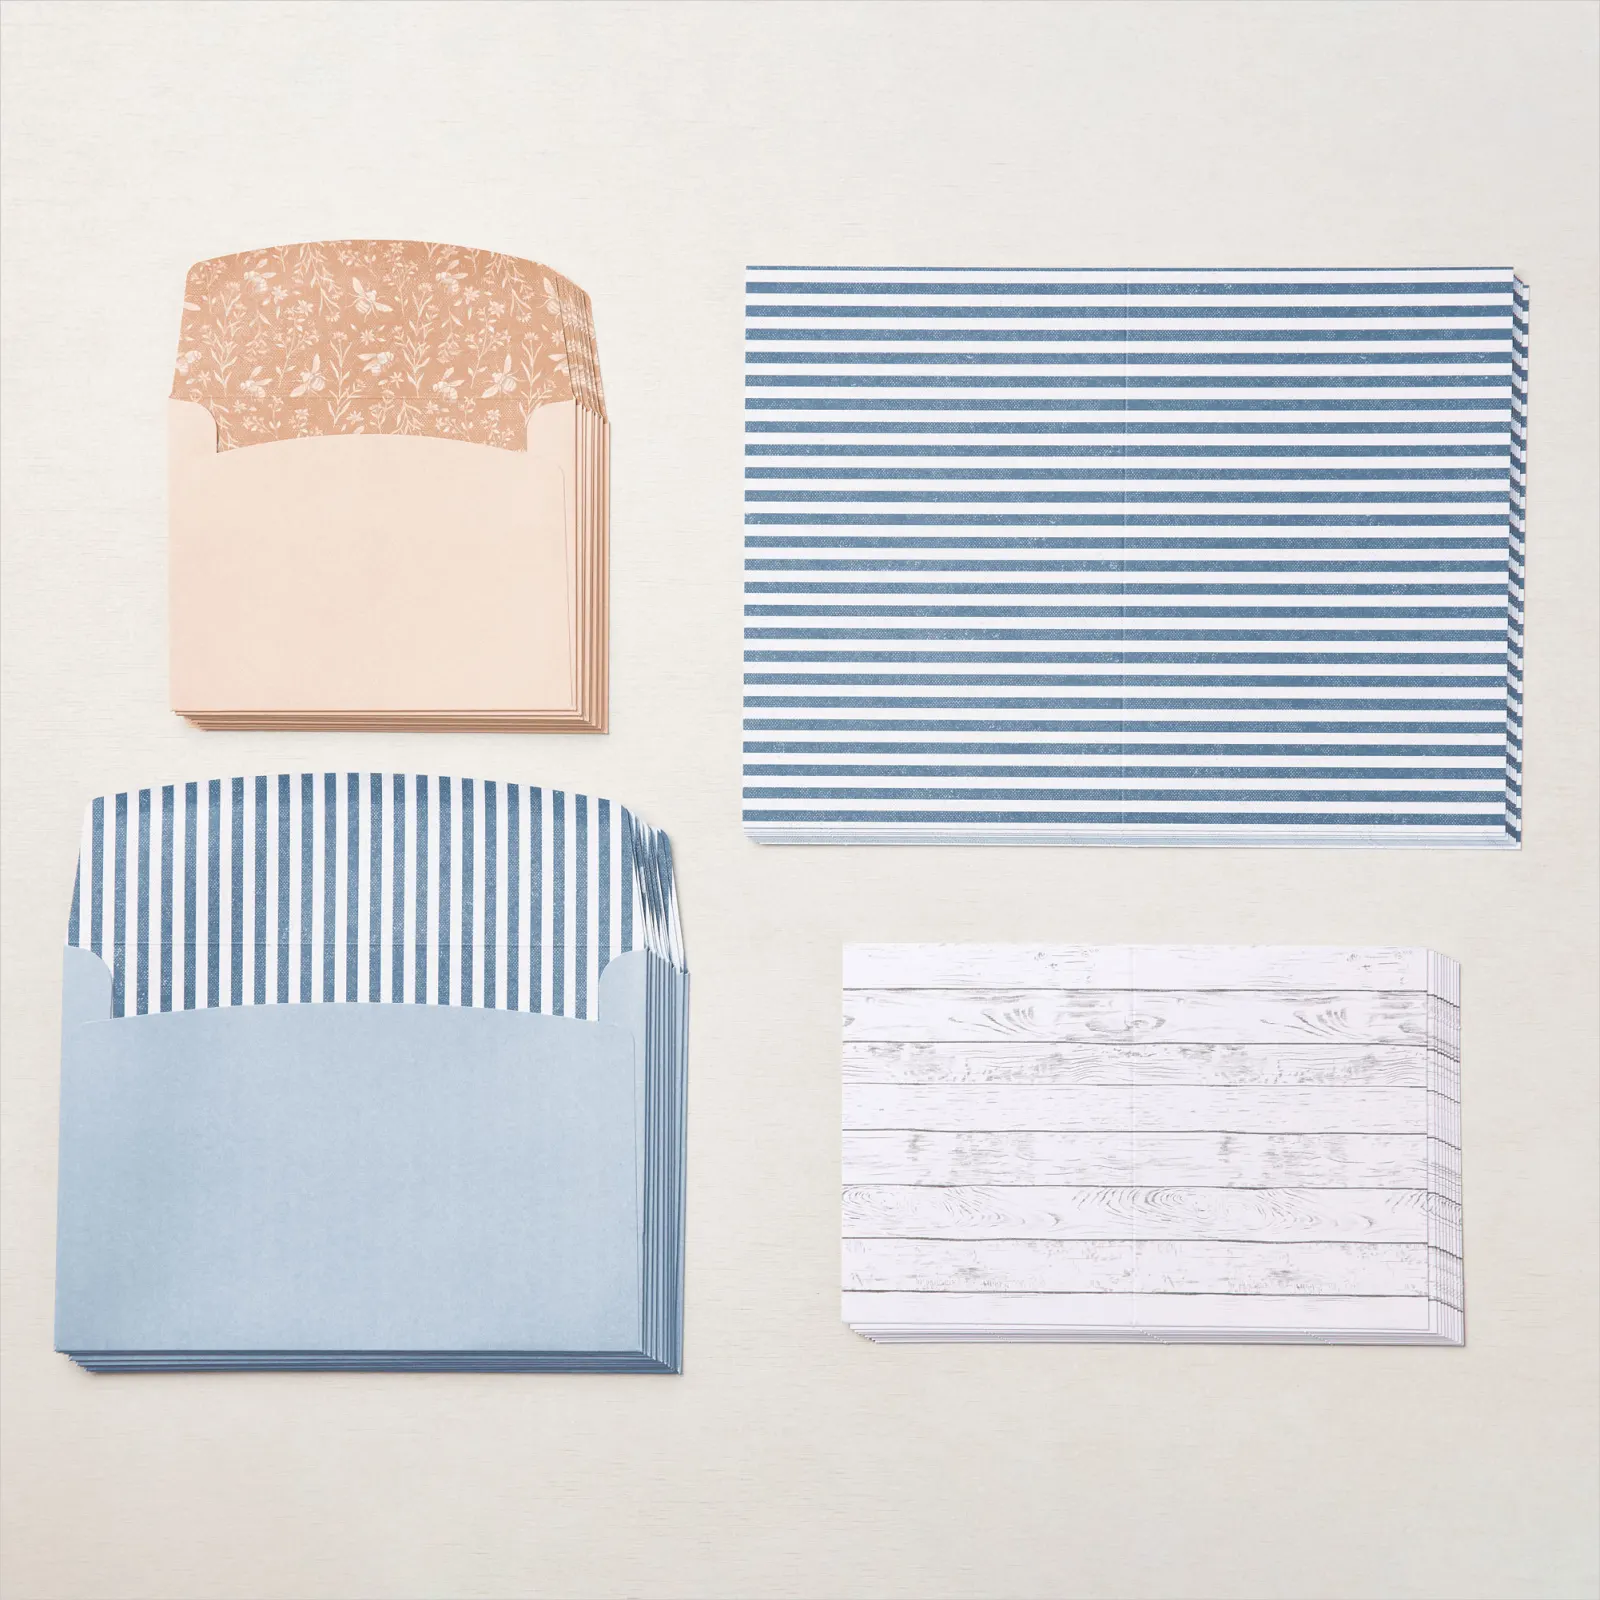
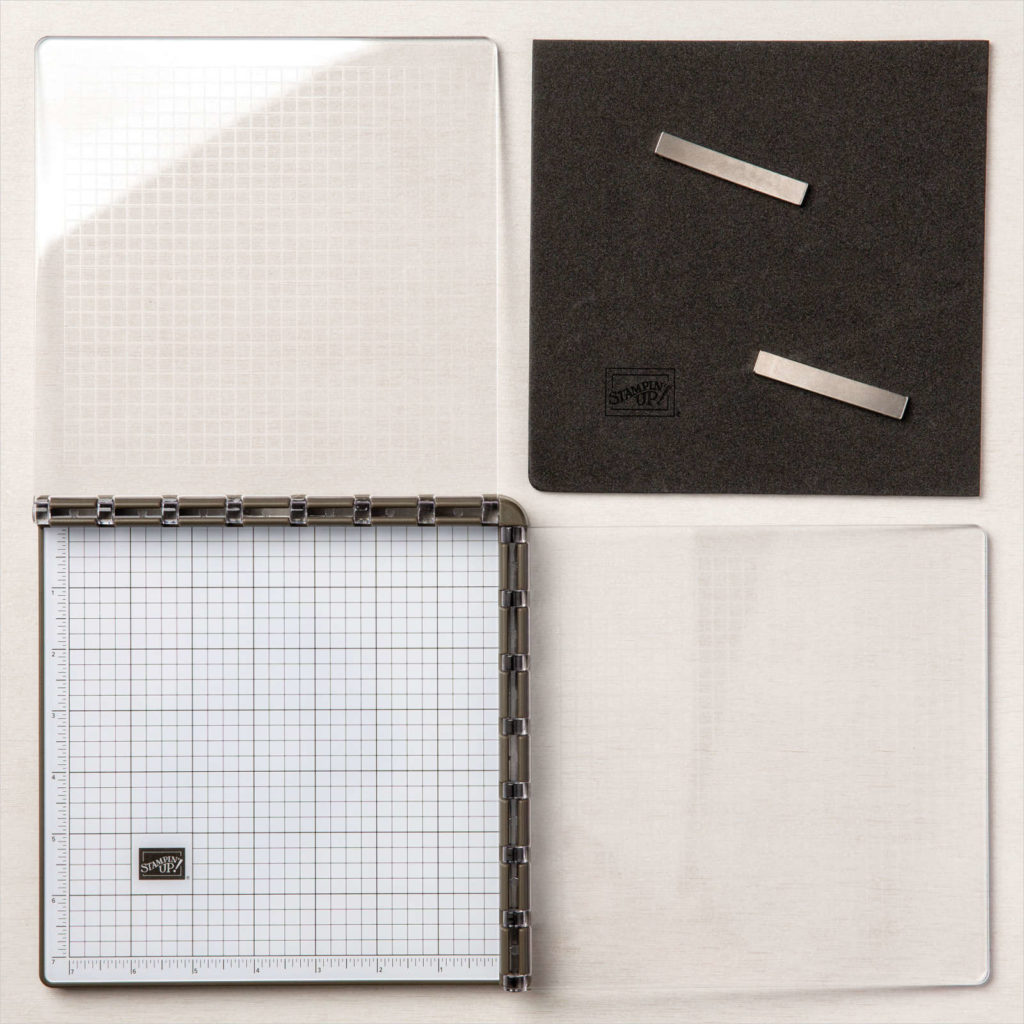
The prep: I started by creating my Misty Moonlight gate fold base as described above. For the inside of the card, I cut a piece of Basic White card stock to 4 1/8″ x 5 3/8″ and stamped my sentiment. The front panel are two pieces of striped cardstock from the Heart & Home Memories & More cards, 2″ x 5 3/8″ each. I stamped my floral image on a scrap piece of Basic White Thick card stock using the Stamparatus.
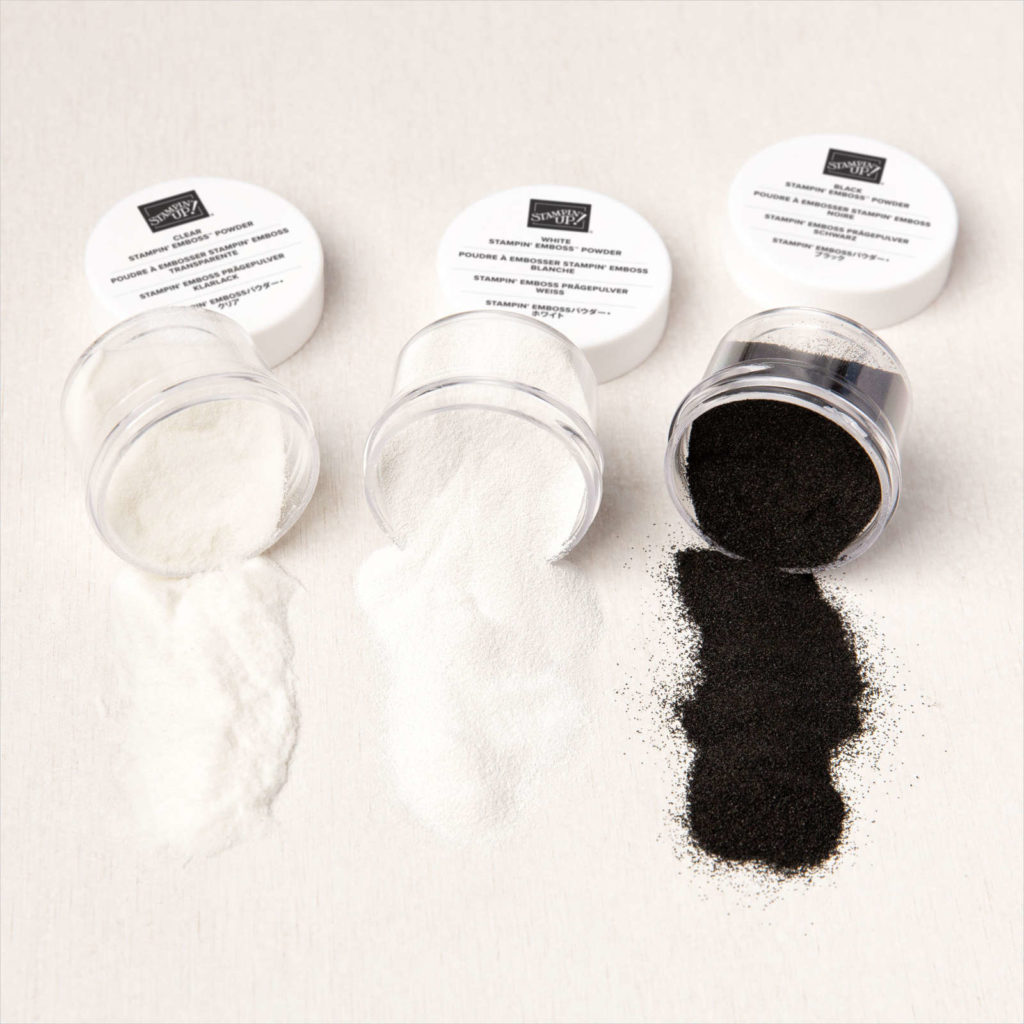
The image was stamped first in Misty Moonlight, then stamped with Versamark and heat embossed with clear embossing powder. Using Stampin’ Blends in Dark Highland Heather, Light Highland Heather, and Light Daffodil Delight were used to color the large flower. I used Lastly, my sentiment was heat embossed on Misty Moonlight card stock using Versamark and white embossing powder and cut to size.
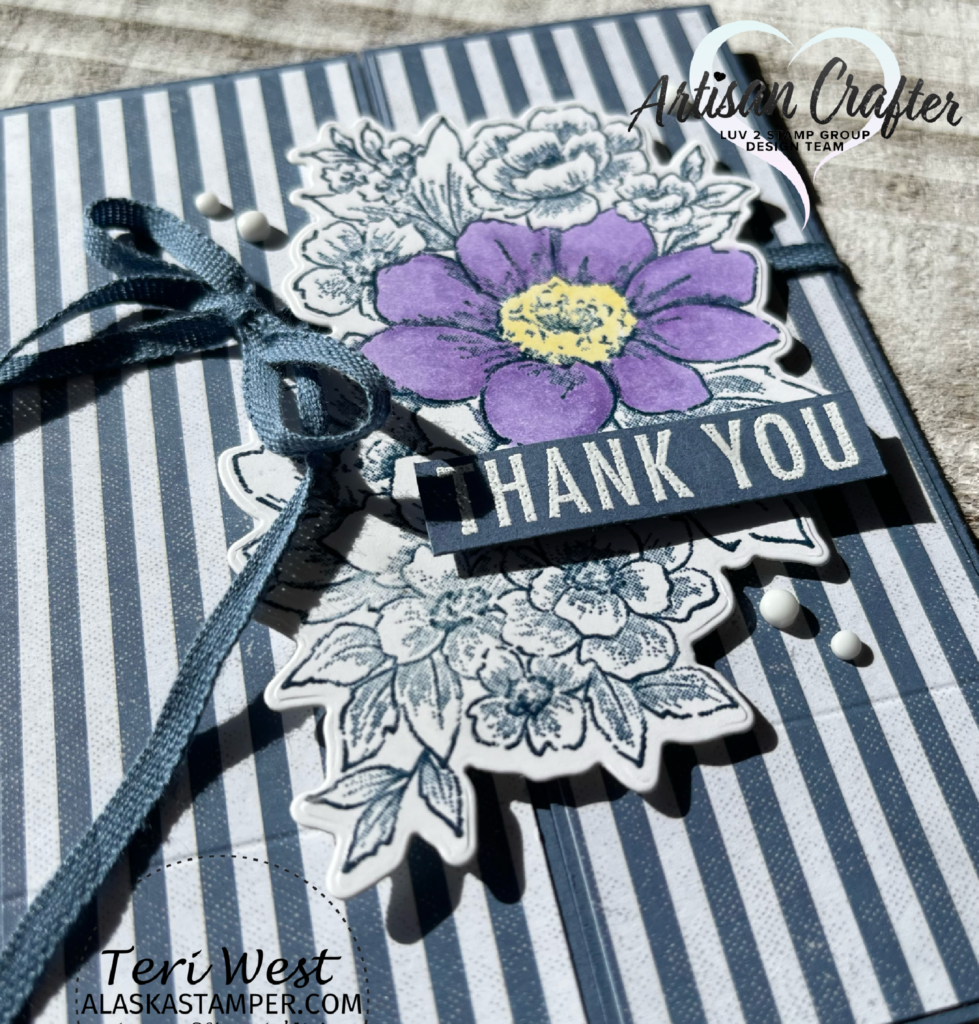
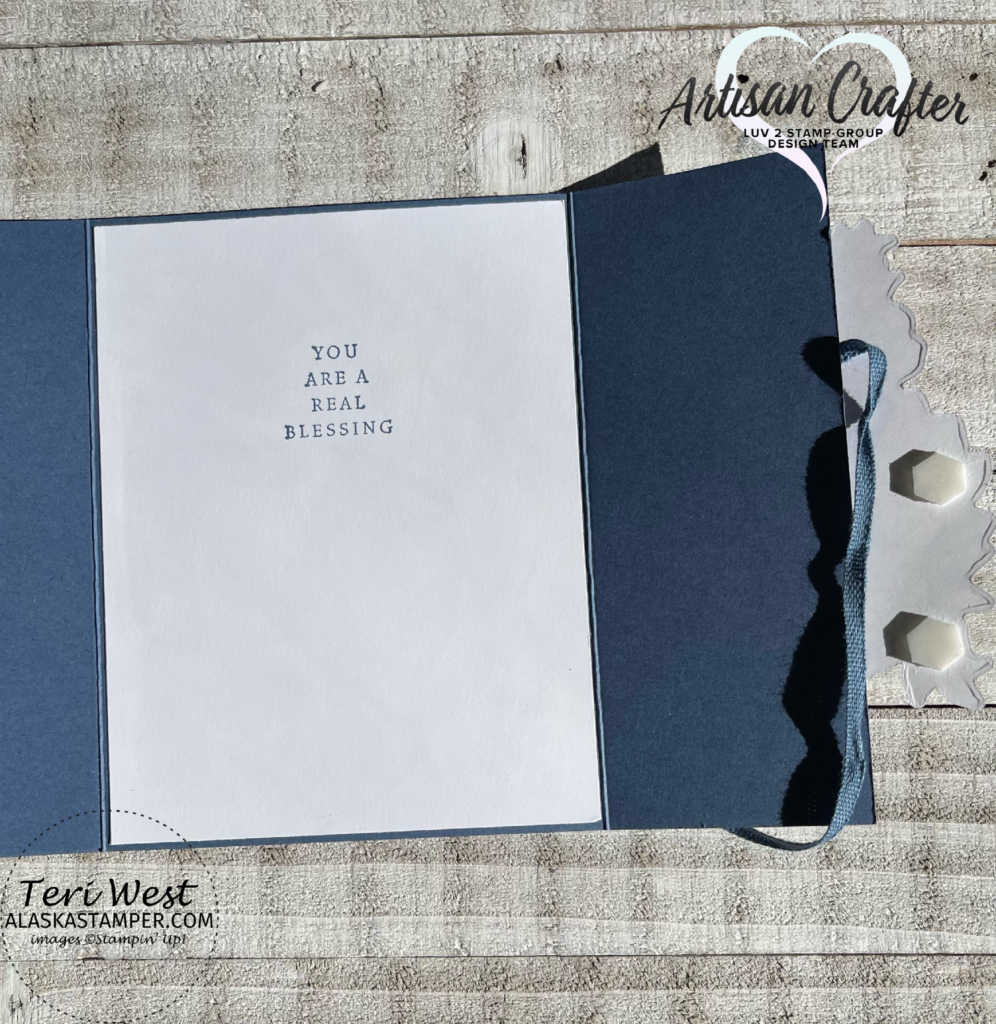
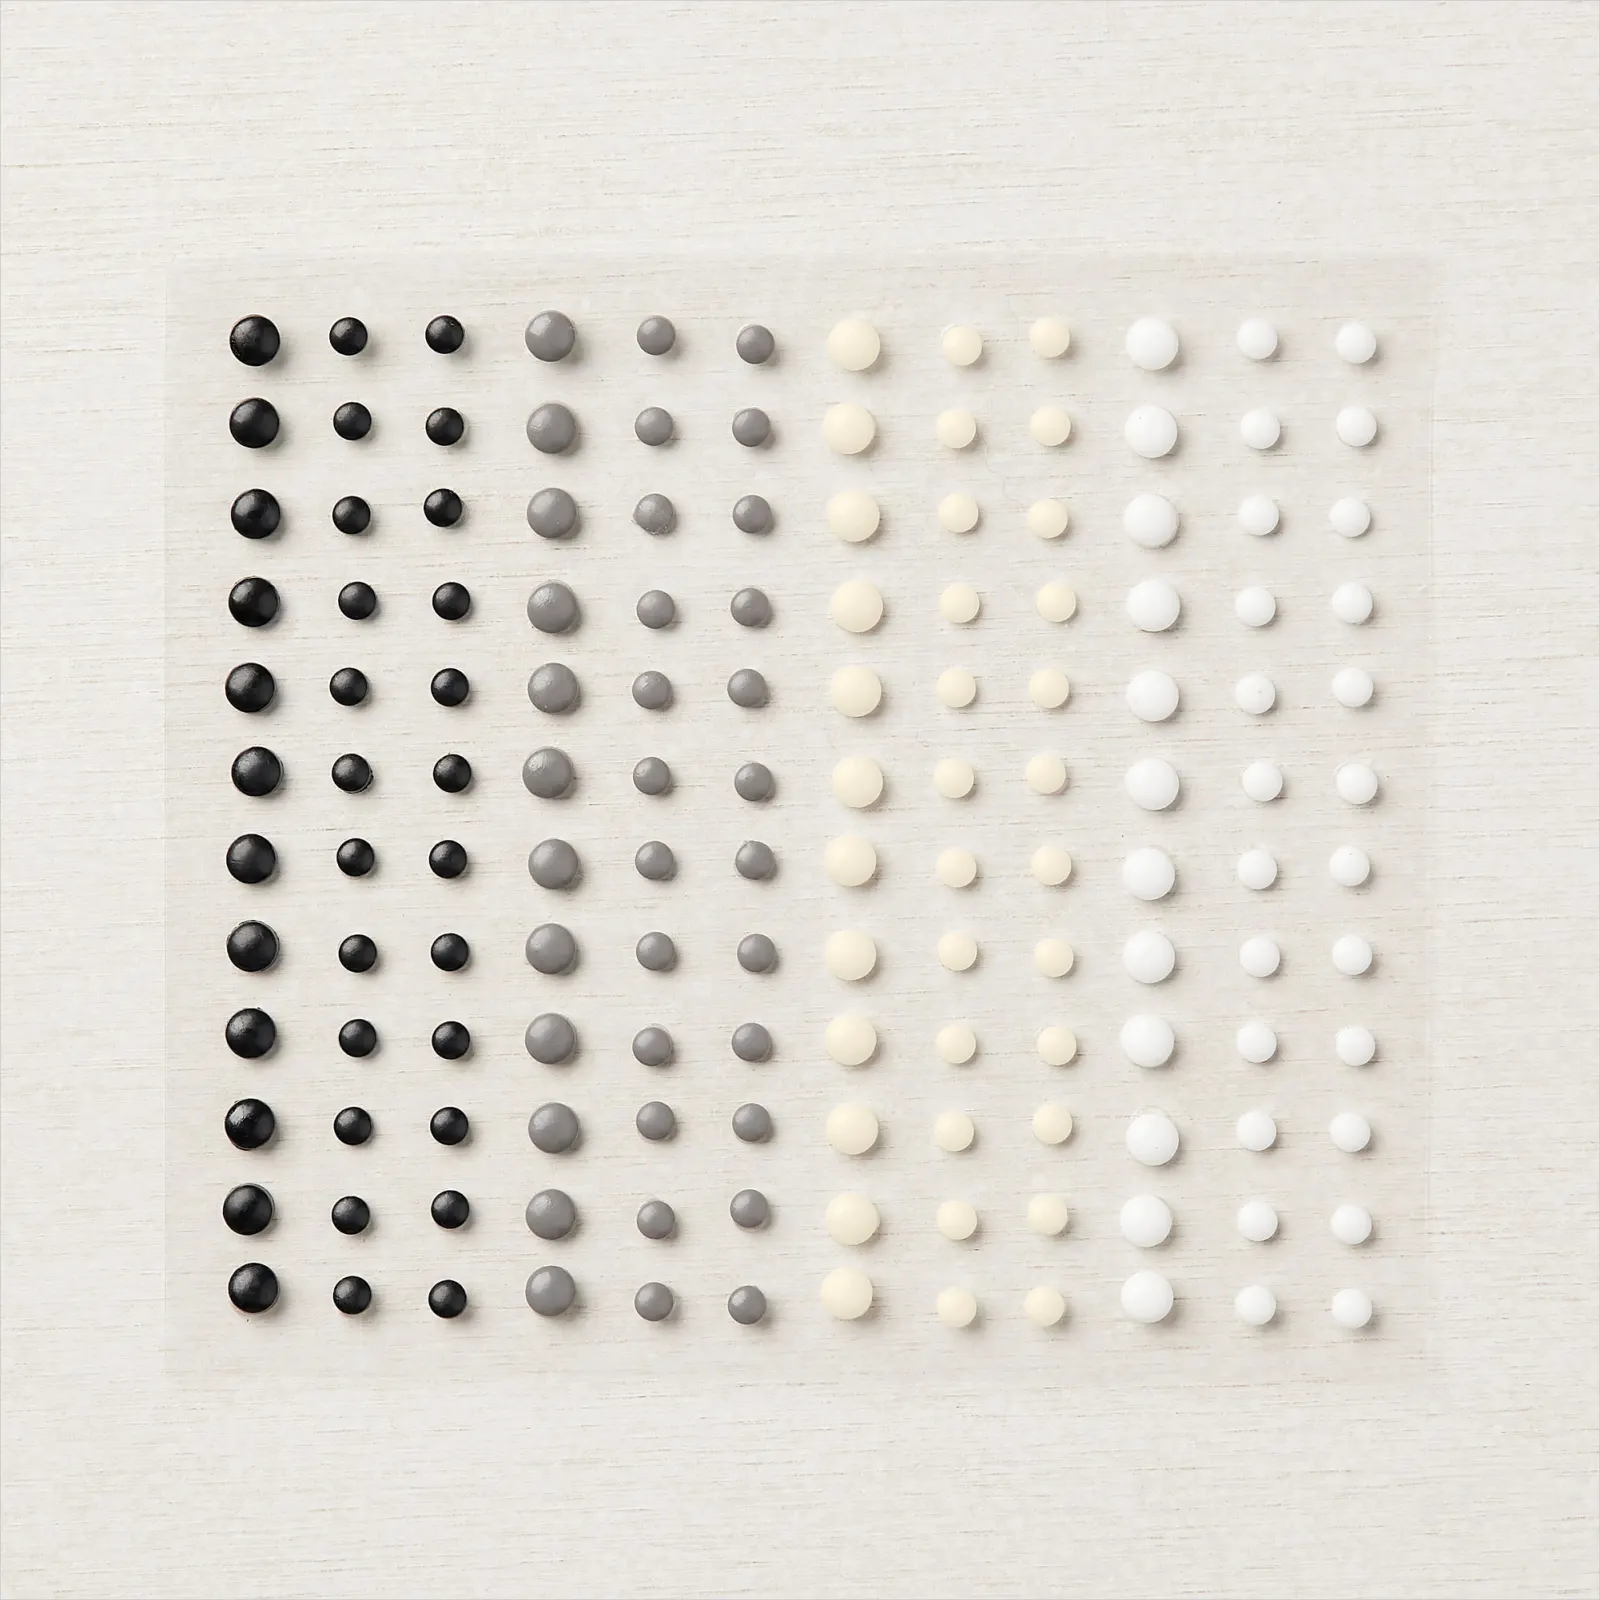
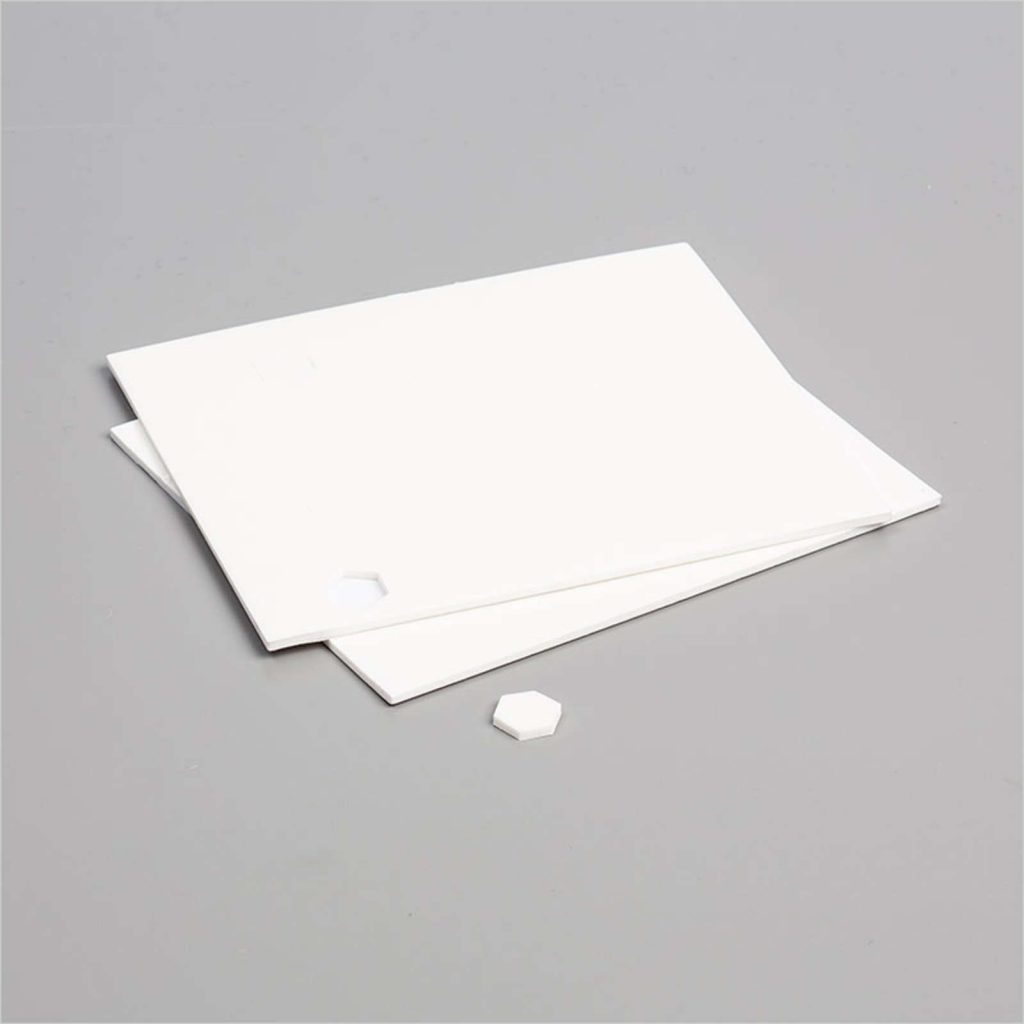
Putting it all together: I attached the inside sentiment piece and front panel pieces to the card base. The sentiment was attached to the floral image with Stampin’ Dimensionals, then Stampin’ Dimensionals were adhered to the back of the large floral image. Before attaching the floral image to the front, I tested the placement because only the right side panel is the only side that should have the floral piece attached. By doing this I identified which Stampin’ Dimensionals need to be adhered and which ones do not. I removed the back from the Stampin’ Dimensionals and tapped the embossing buddy to the back of the ones that will cover the left side panel to cover the adhesive. I laid the ribbon across the front of the card and placed my image. The Classic Matte Dots were placed and the ribbon tied to complete the card.
Thank you for visiting my blog! For more inspiration from the Stamping INKspirations Blog Hop Team, click on the image below to visit the next blog posted by the talented Gez Carpenter! Don’t forget to continue following the links to see all of the amazing projects this month.
Stamping INKspirations Blog Roll:
Angie McKenzie ● Tricia Butts ● Aurélie Fabre
Karen Egan ● Teri West (YOU ARE HERE!) ● Gez Carpenter
Susan Webster ● Rochelle Laird-Smith ● Sue Allen
Jill Chapman ● Leonie Stuart ● Karen Henderson
Mo Rootes ● Rebecca-Jo Unwin ● Danielle Kassing
Vickie Littlewood ● Marieke Bart ● Robbie Susan Chandler
Terry Hamilton ● Jan Musselman ● Kimberley Morris
Below are the supplies and tools used on my project. Click on photos to view the product detail information or click the buttons below to add items to your shopping cart.
STAMPS, DIES, EMBOSSING FOLDERS, AND PUNCHES
RAINBOW OF HAPPINESS BUNDLE (ENGLISH)
BUNDLED SAVINGS
$44.00
PAPER AND PACKAGING
INK AND COLORING
EMBELLISHMENTS
ADHESIVES
TOOLS



I love gate fold cards. I really like how you worked in the ribbon closure.
Pretty card! Great fold!
Beautiful Gate Fold Card, Teri! This is one of my favorite florals from the new catalog. Thanks for the sharing!💕
Such a pretty card
Very pretty card x
Your extra effort was well worth it – it’s an amazing card!
I love flap cards, it’s such an easy fold with so many possibilities! Cheers for sharing!
Lovely card Teri, Thanks for sharing.