Stampin’ On The Go – Celebratory Sips, May 2025

Stamping on the go can be challenging. I have recently retired and my husband and I will be traveling. Because stamping is still a part of what I do to relax, I hope to continue to do so no matter where I am. The challenge is to pack as light as possible while taking enough to create with.
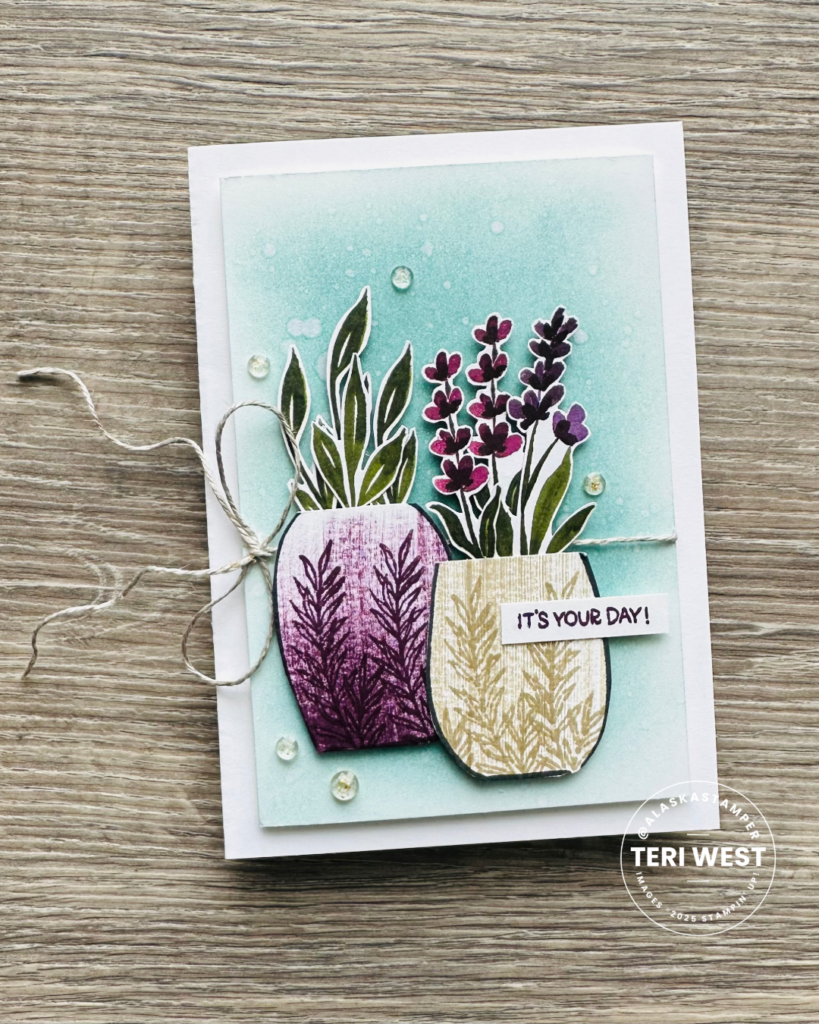
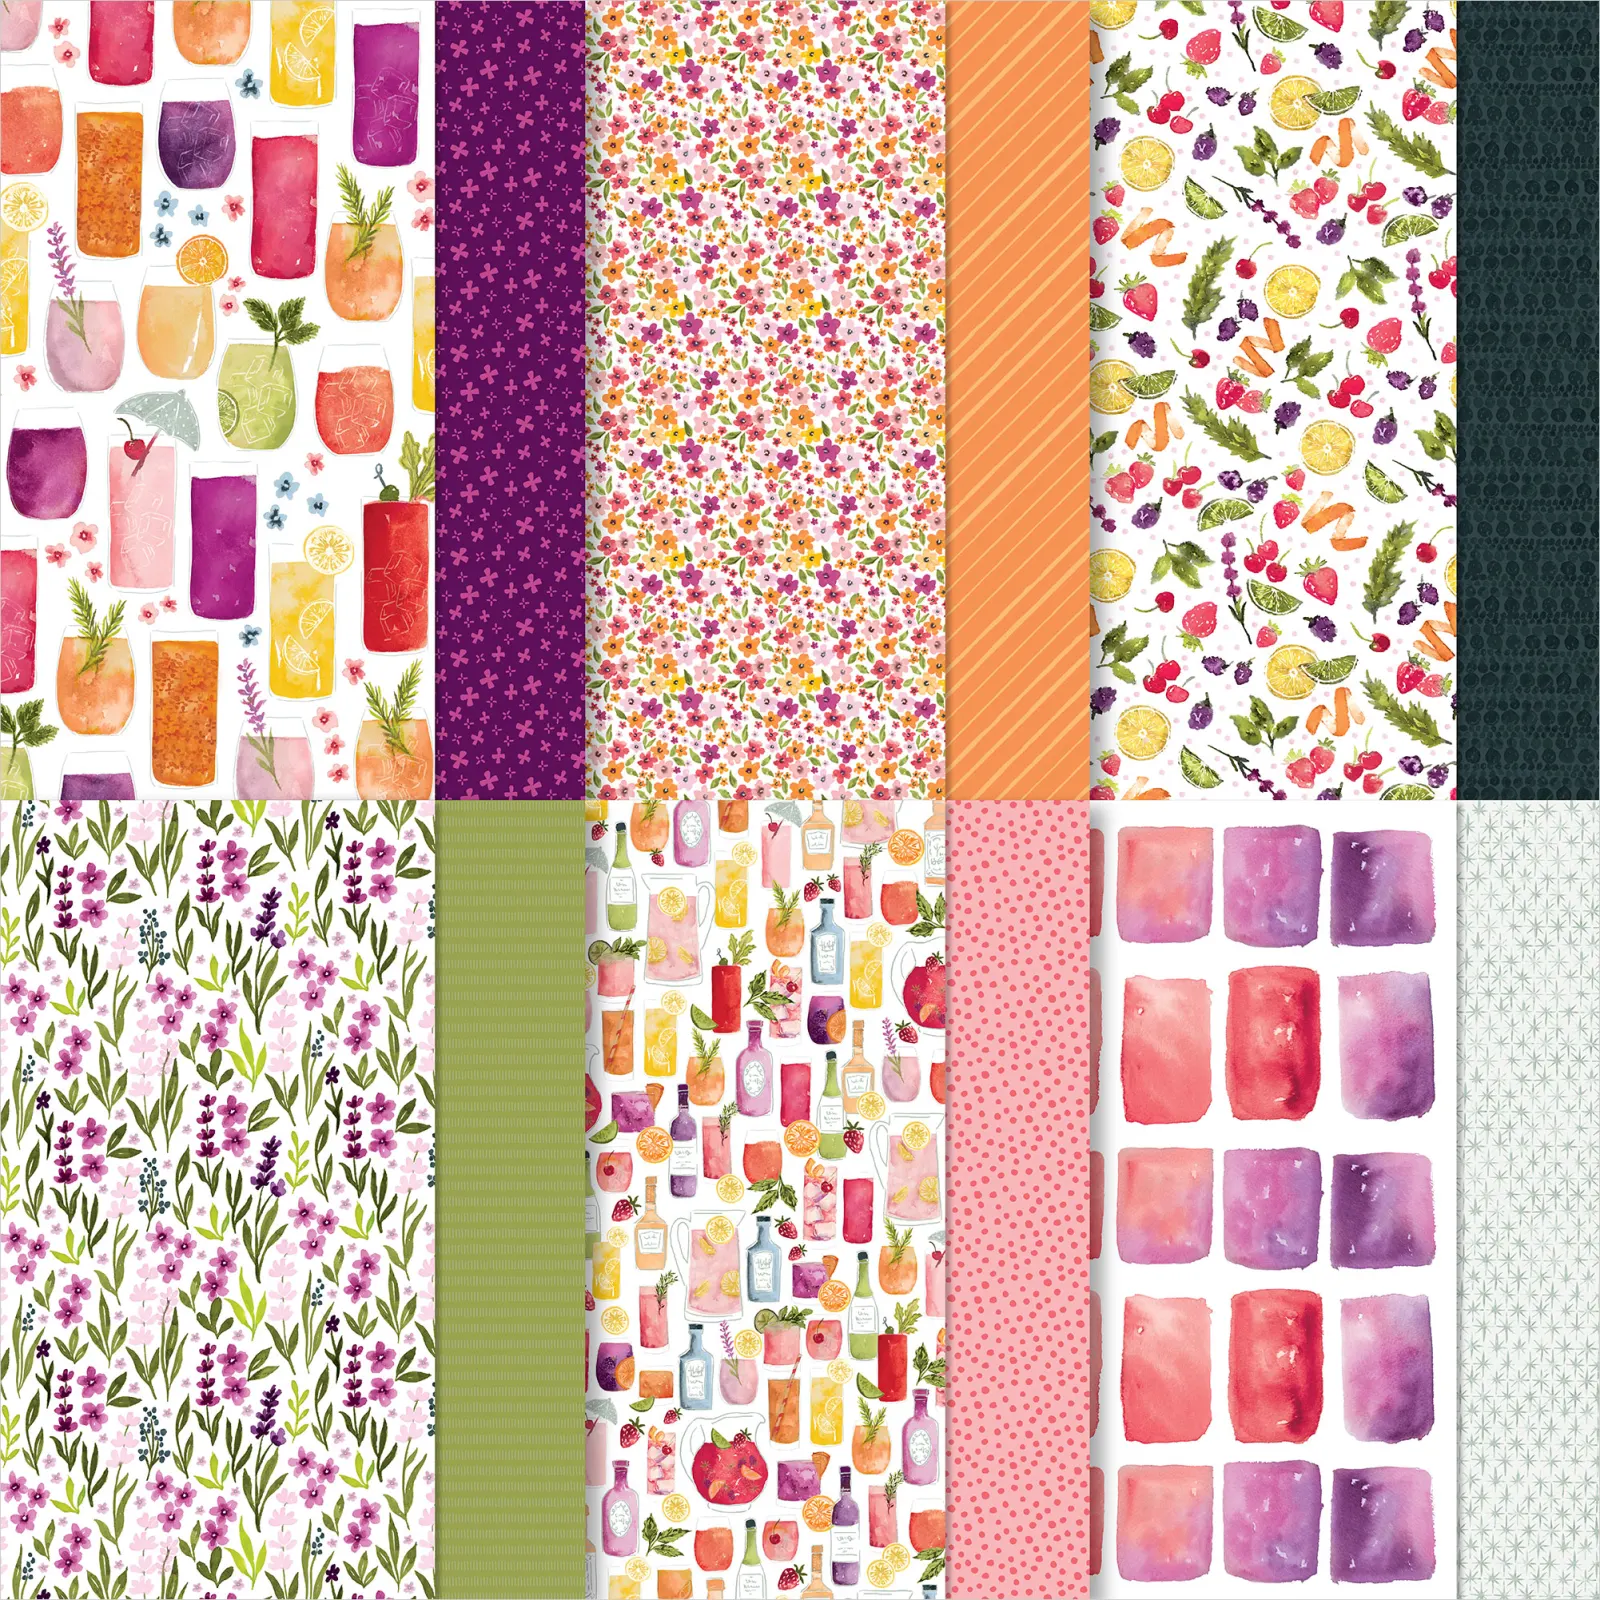
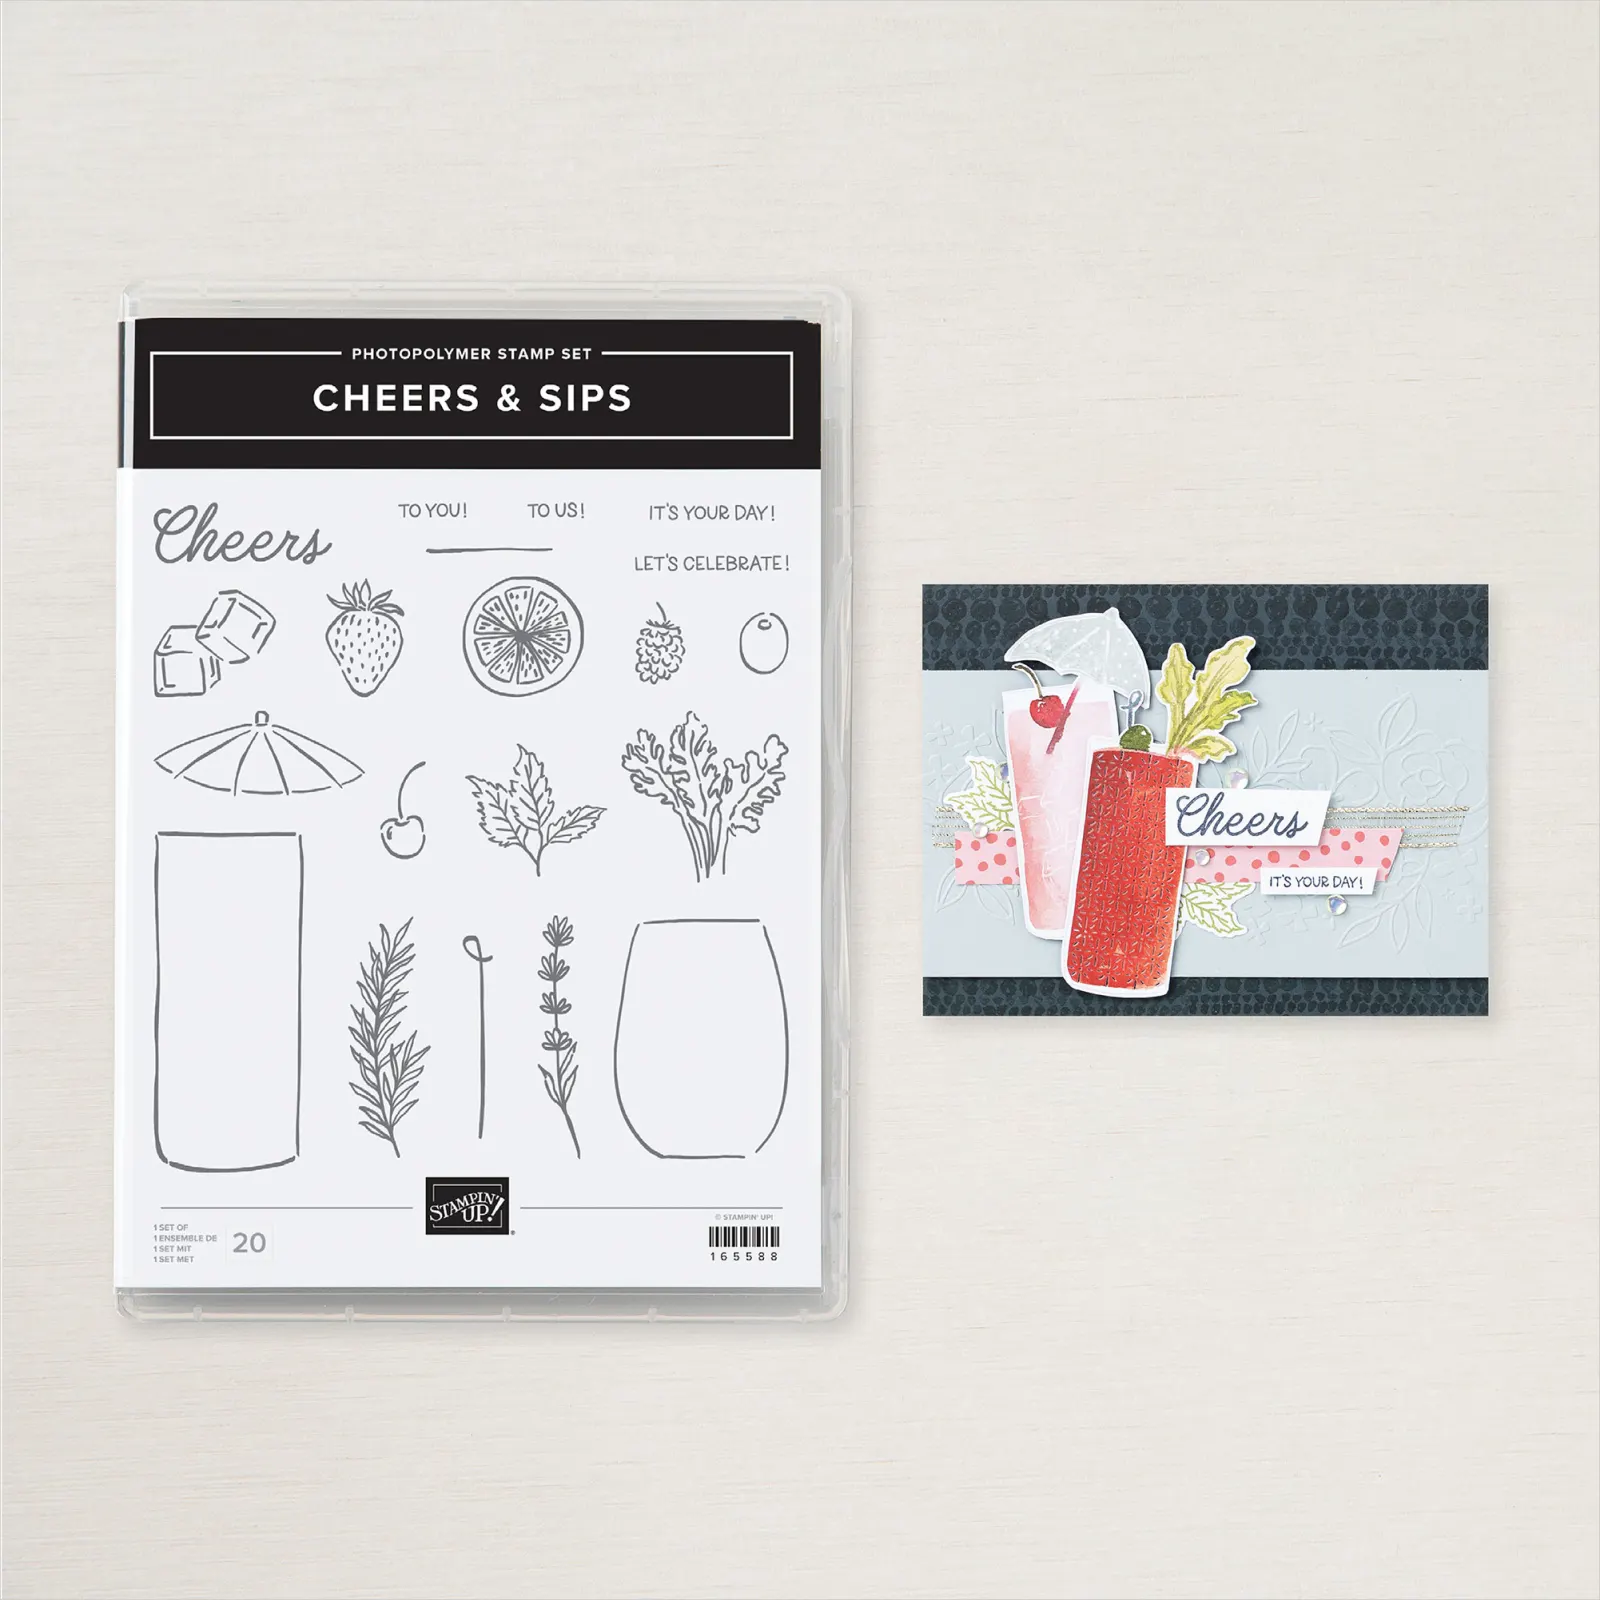
Today I’m sharing a project that I created on my recent cruise. My card features a variety of products that were easy to take on an extended trip; Basic White Note Cards & Envelopes, Cheer & Sips Photopolymer Stamp Set, and some Celebratory Sips DSP. I used some ink spots from a few kits I also brought along; Blackberry Bliss, Lost Lagoon, Crumb Cake, as well as Tuxedo Black Memento Ink. I also added some Linen Thread and Strawberry Slush & Pretty In Pink Gems.
This card was simple even though it took a bit of time.
- From a note card, cut a 3” x 4-1/2” piece (card front). Using a blending brush, add Lost Lagoon ink to the card front to your desired area and desired depth of color. Then with a water brush, water painter, or paint brush, fleck water droplets to the card front and let dry.
- From the same note card used in the first step, cut 2 more pieces: 1-1/2” x 2”. To each piece, drag the edge of a stamp pad across the front to add color. (I used Blackberry Bliss and Crumb Cake.) Then, using Tuxedo Black Memento Ink stamp the shorter glass image from the stamp set onto each piece. Fussy cut the images and trim to your desired size to create planters. (Mine are not the same height and the orientation of the glasses are not the same, one is upside down.) The last step for the planters is to use the rosemary stamp to add herb images to the planters, tone on tone.
- Fussy cut leaves and floral images from the DSP and adhere them to the back of the planters using your favorite adhesive.
- Stamp the sentiment with Blackberry Bliss ink on a scrap from the same note card used in previous steps and trim to desired size.
- Wrap a 16” piece of Linen Thread around the card front, tie a bow to the left side, and trim ends to desired length. Then attach the card front to a new note card using Stampin’ Dimensionals.
- Attach planters to the card front using Stampin’ Dimensionals. Then attach the sentiment; your favorite adhesive the back-left of the sentiment and a Mini Stampin’ Dimensionals on the back-right.
- Attach 5 clear Strawberry Slush & Pretty In Pink Gems.
Thank you for visiting my blog!