Luv 2 Stamp Group Blog Hop – January 2023
Welcome to the Luv 2 Stamp Group’s 2023 Blog Hop! We are excited to share projects with you again for the third year. This year we are shaking things up and bringing you all new monthly themes to inspire your next project!
Once you are done with each post, scroll down to the bottom and you will see a list of Blog Hop participants, you can click on their name to go to their post, or you can click the next button to go to the next post in line. Happy crafting!
This month’s theme is “Sweet Treat” (3D Projects).
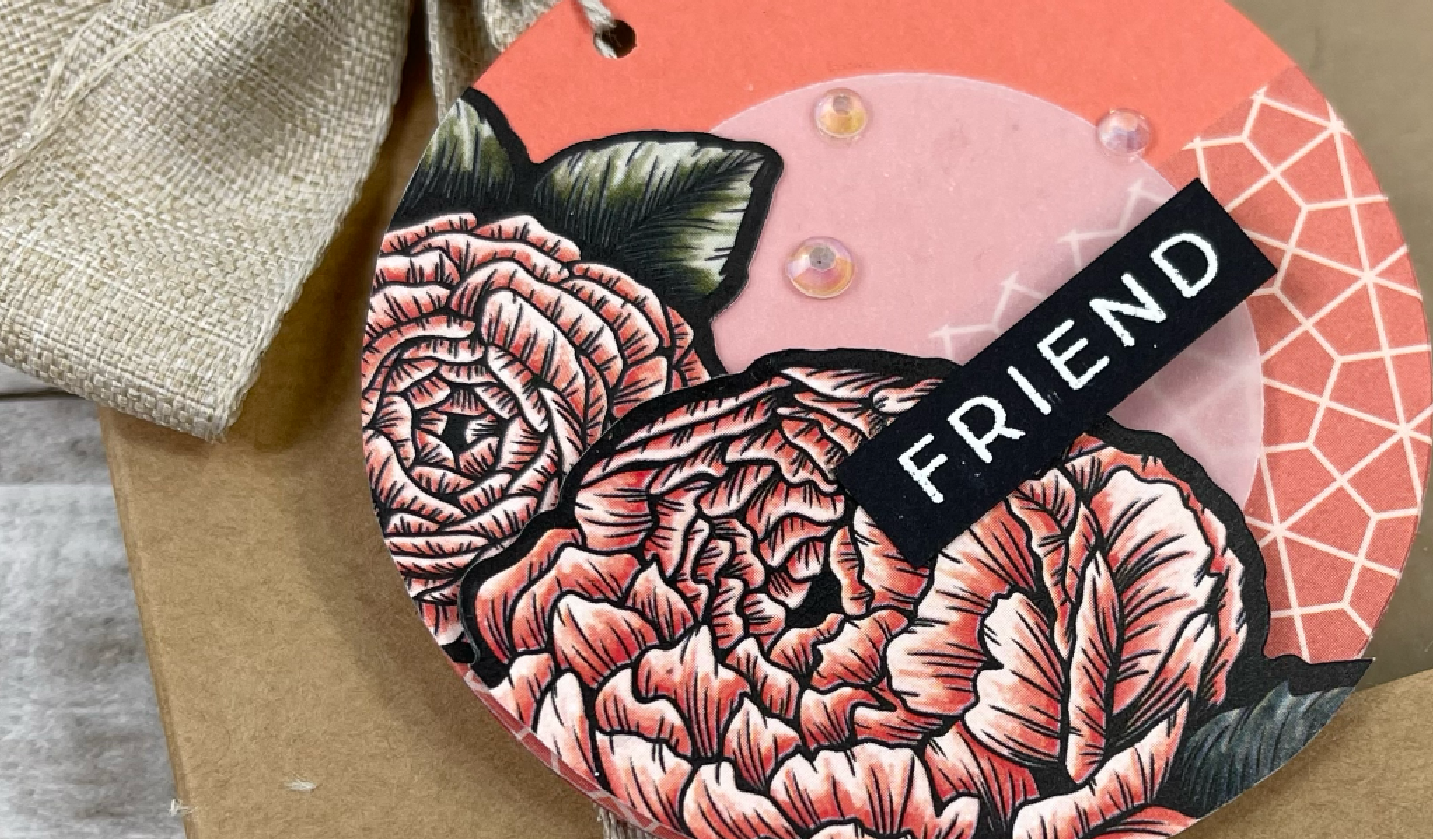
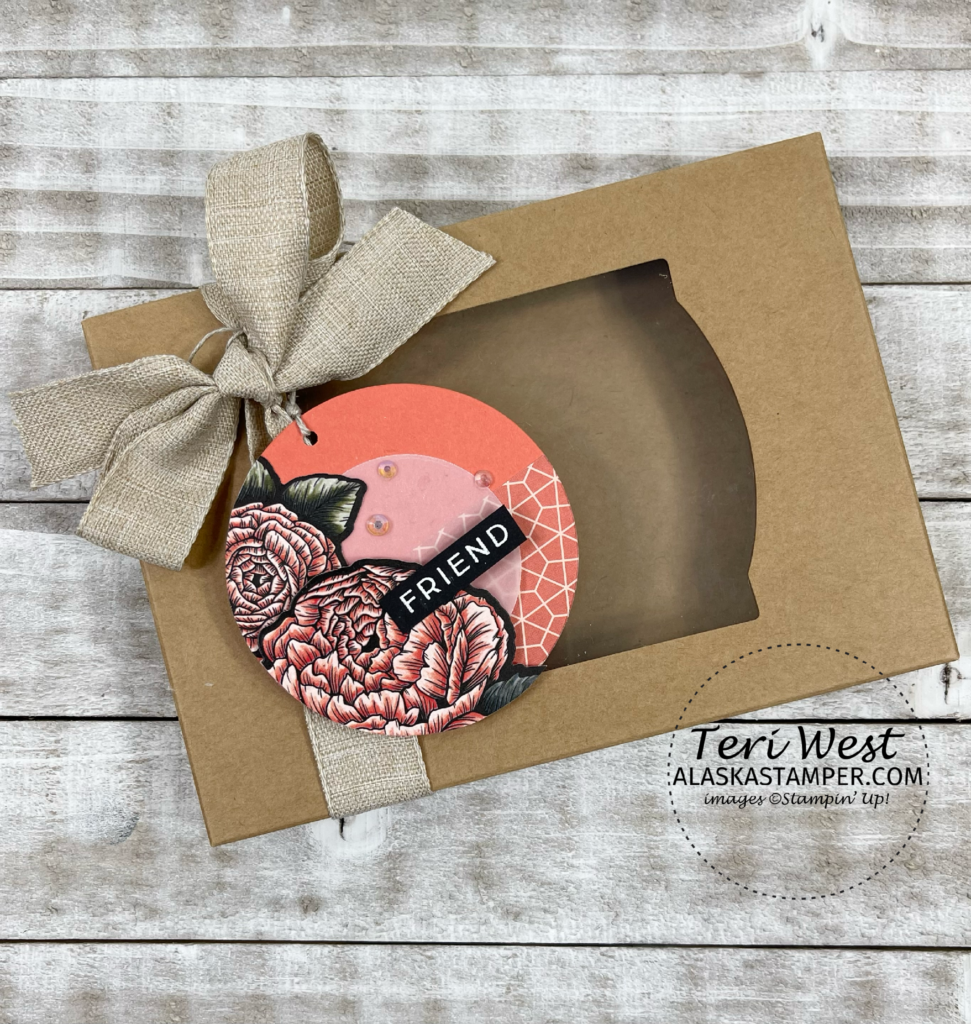
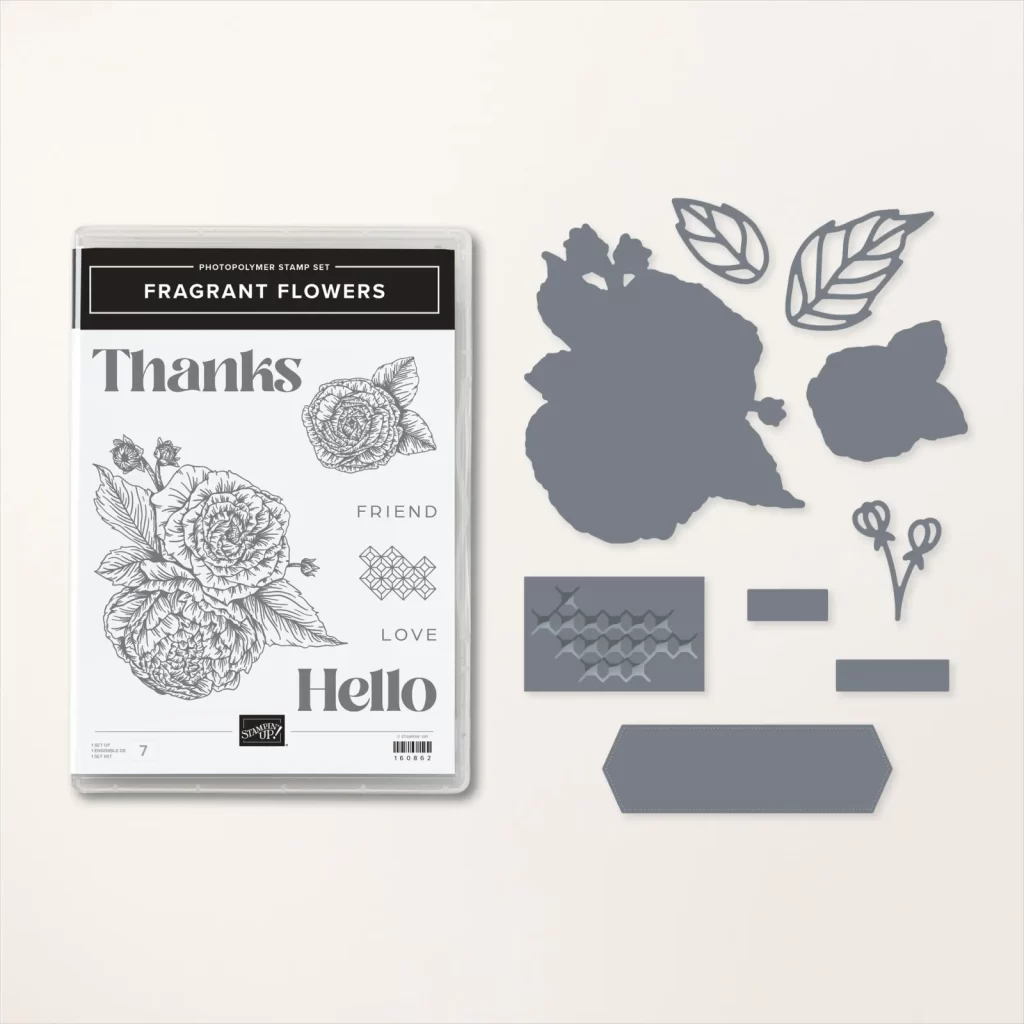
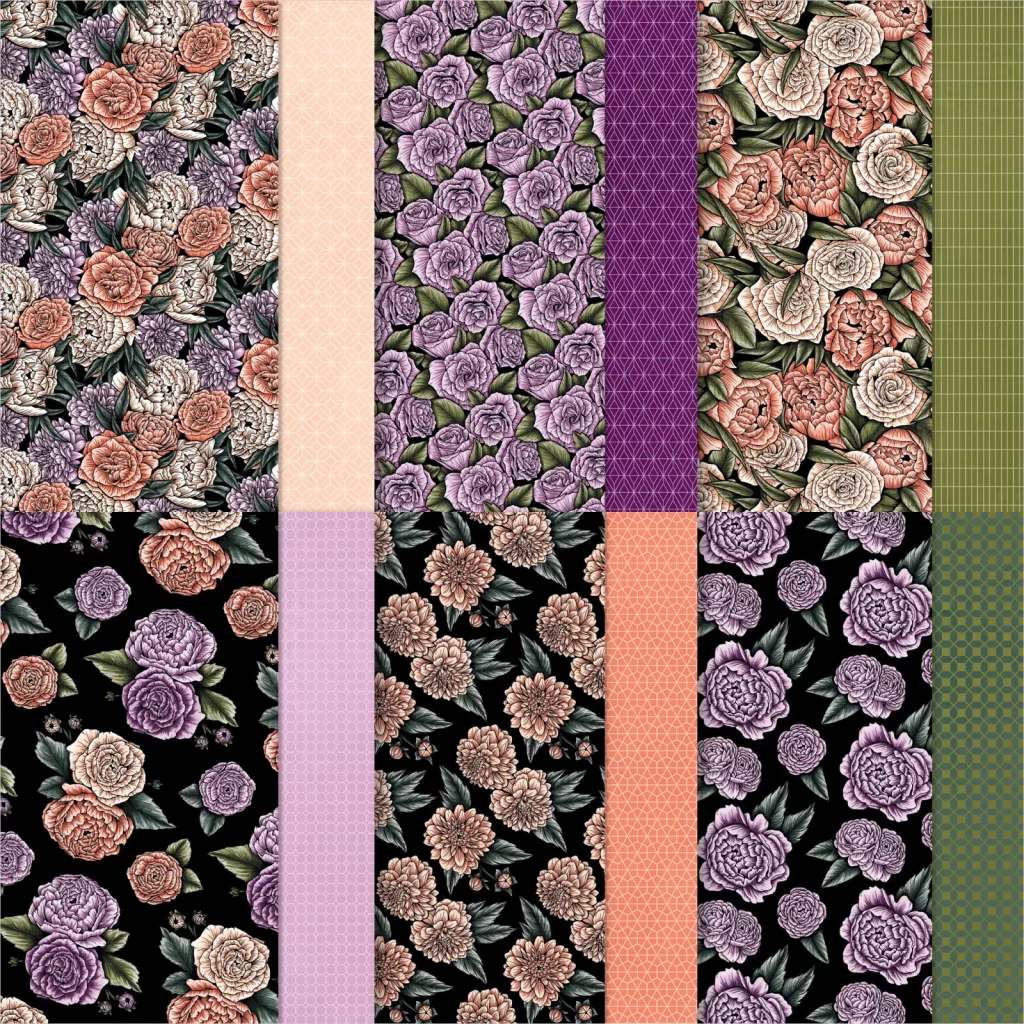
Today we are sharing inspiration for packaging sweet treats! This month I created a gift tag using the Fragrant Flowers Bundle from the January-April 2023 Mini Catalog, the Favored Flowers 12×12 Designers Series Paper (DSP) from the 5 January – 28 February 2023 SALE-a-bration Catalog, and the Kraft Gift Boxes from the Annual Catalog. My color palette is Calypso Coral, Petal Pink, Evening Evergreen, and Basic Black.
Paper Supplies:
- Scraps of floral images from the Favored Flowers DSP
- 1 3/4″ x 3 1/2″ of the Calypso Coral print from the Favored Flowers DSP
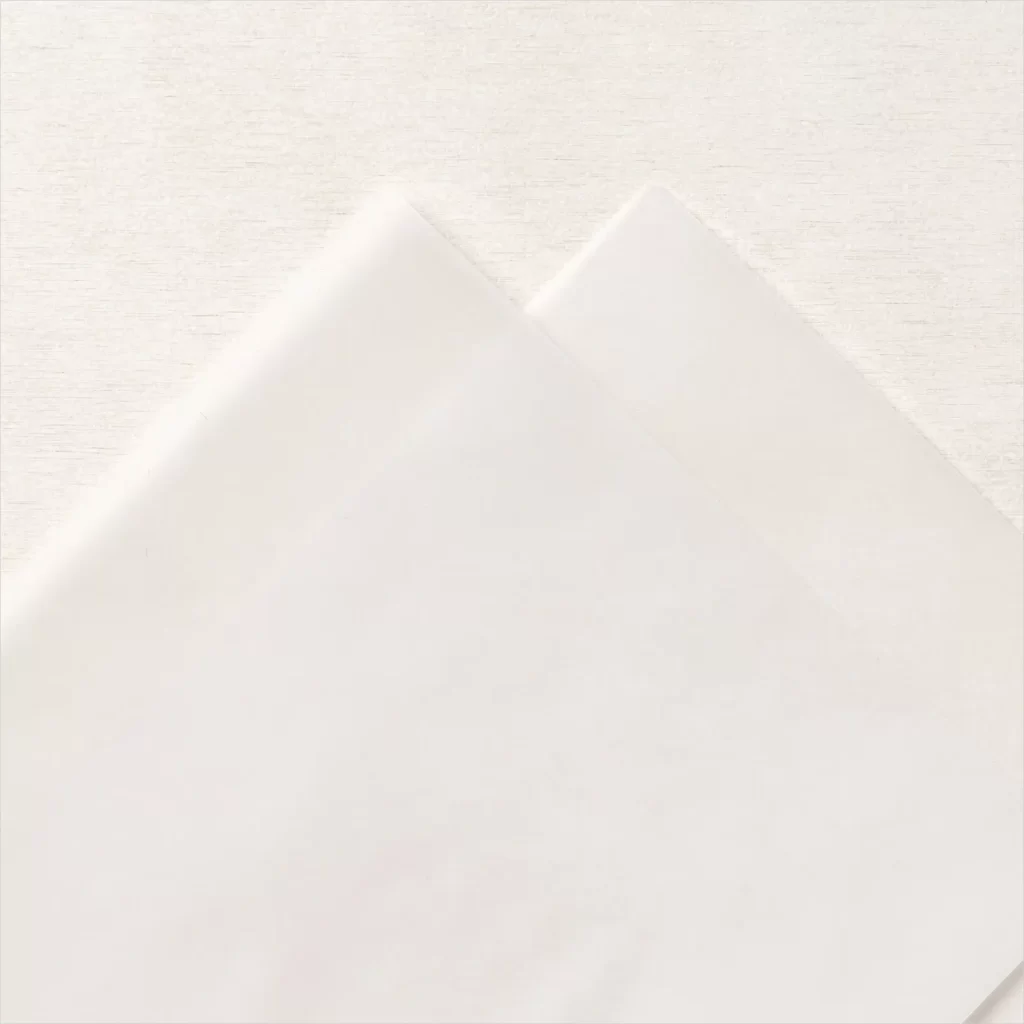
- Scrap of Vellum
- 3 1/2″ x 3 1/2″ of Calypso Coral cardstock (tag base)
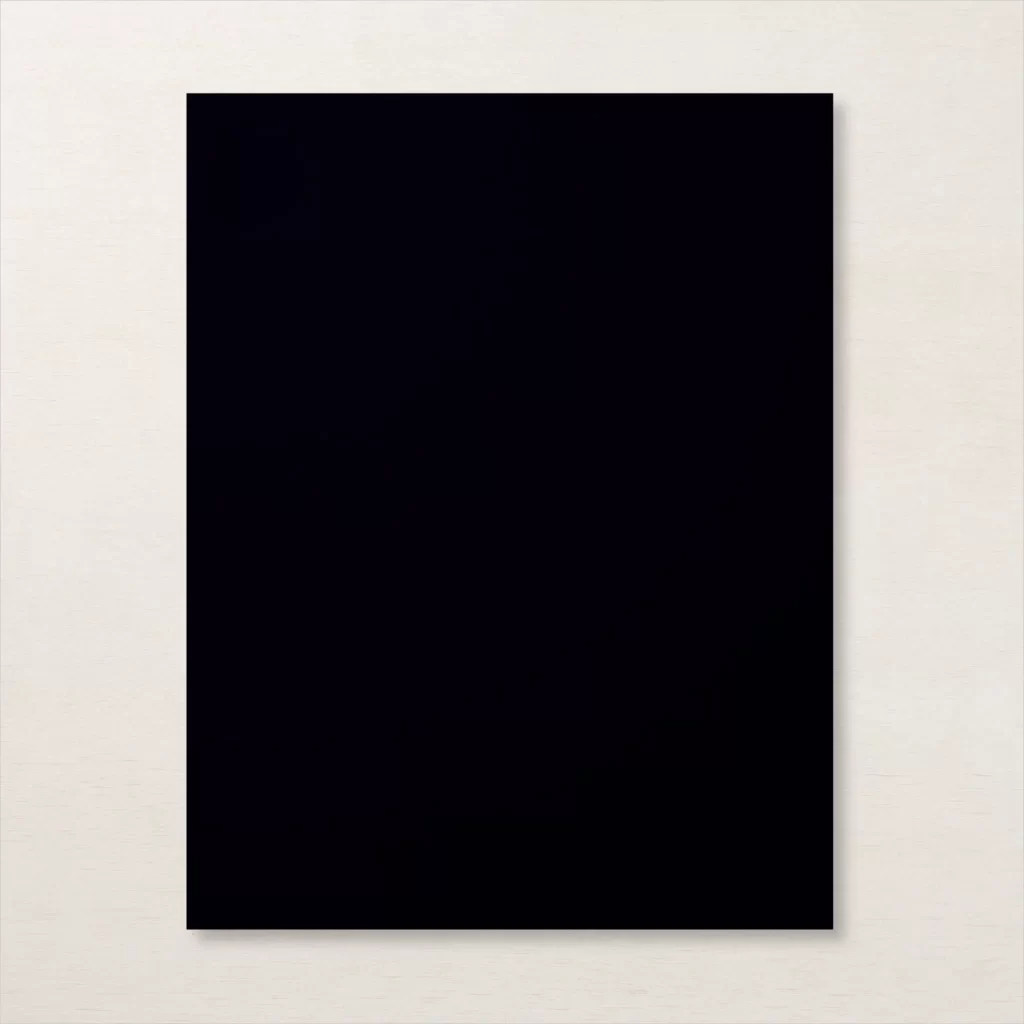
- Scrap of Basic Black cardstock
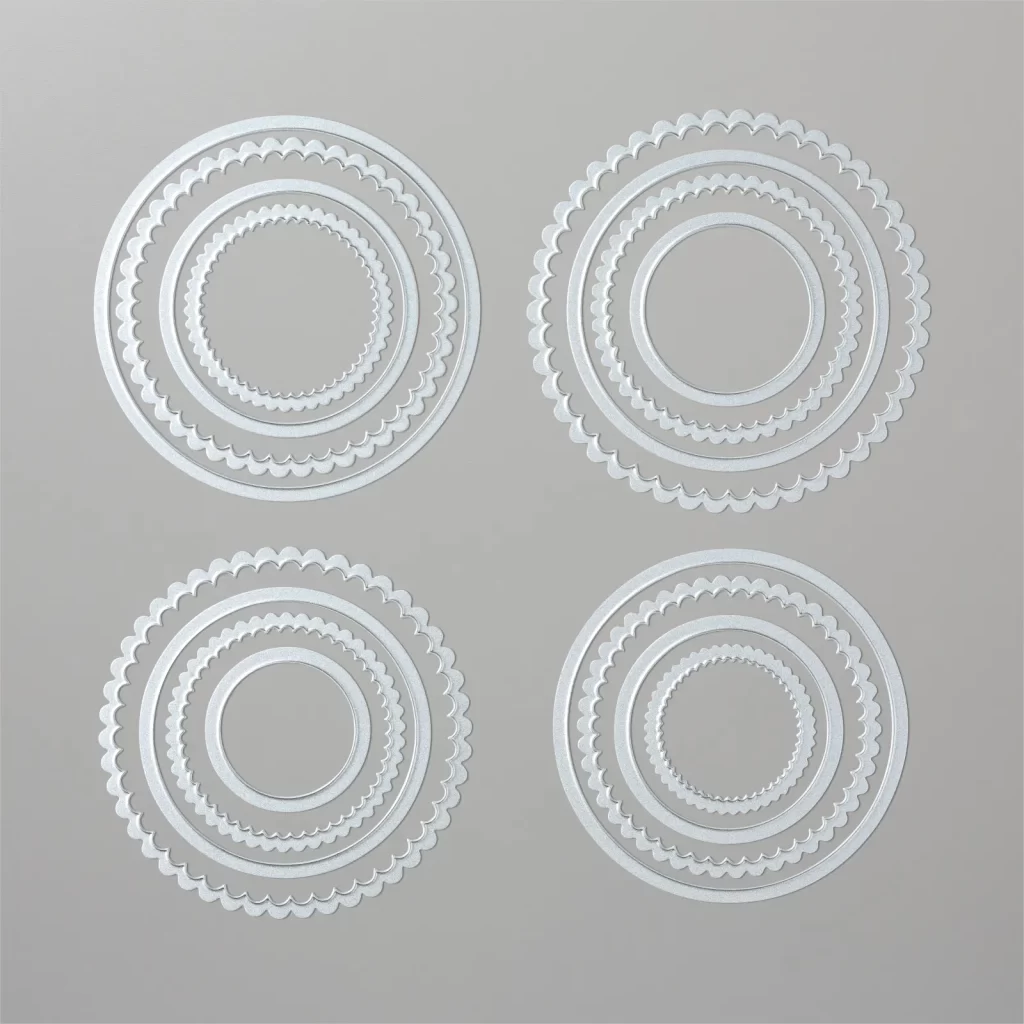
The prep: I started by adhering the Calyspo Coral DSP print to one-half of the Calypso Coral cardstock, and cut a large circle using the Layering Circle Dies to create the tag base. Then I cut a smaller circle, also using the Layering Circle Dies. from Vellum. The floral images were die cut from the DSP using the Fragrant Flowers Dies. On a scrap piece of Basic Black cardstock, I heat embossed “Friend” from the Fragrant Flowers Photopolymer Stamp Set using Versamark and white embossing powder and trimmed the sentiment to my desired size.
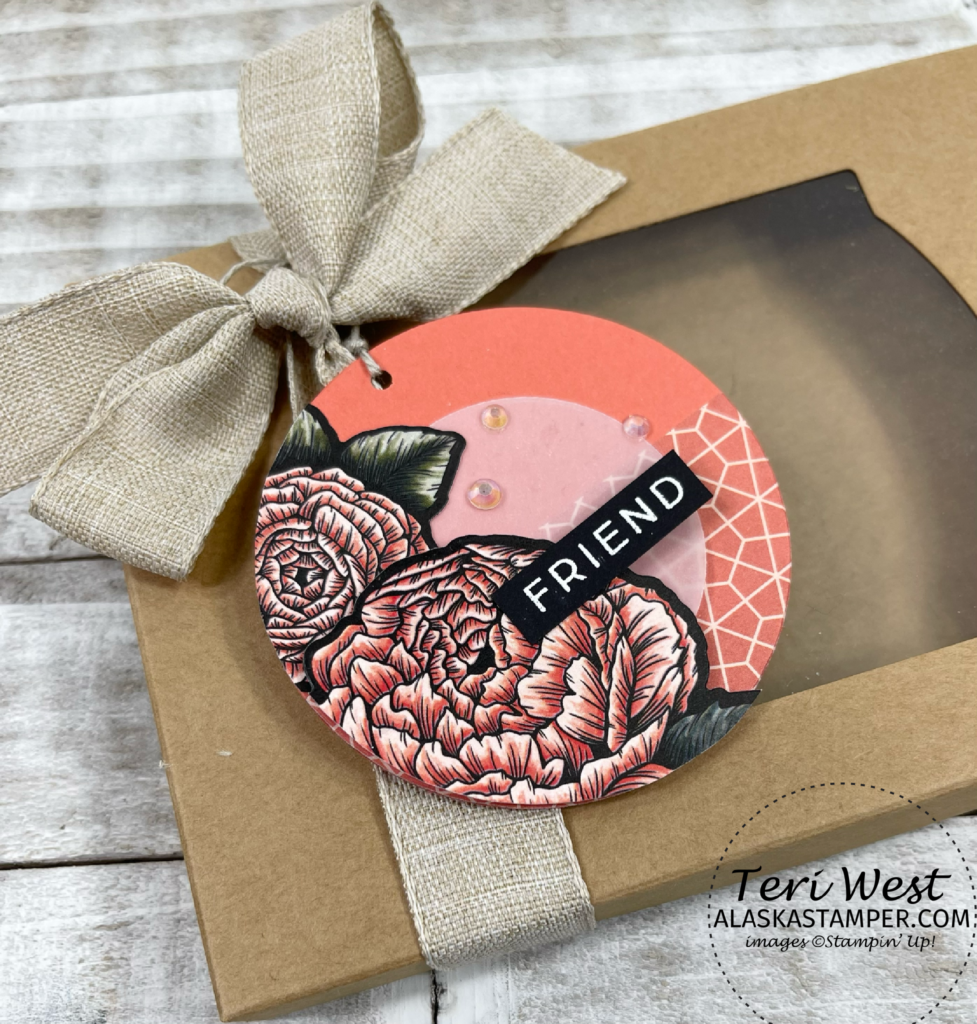
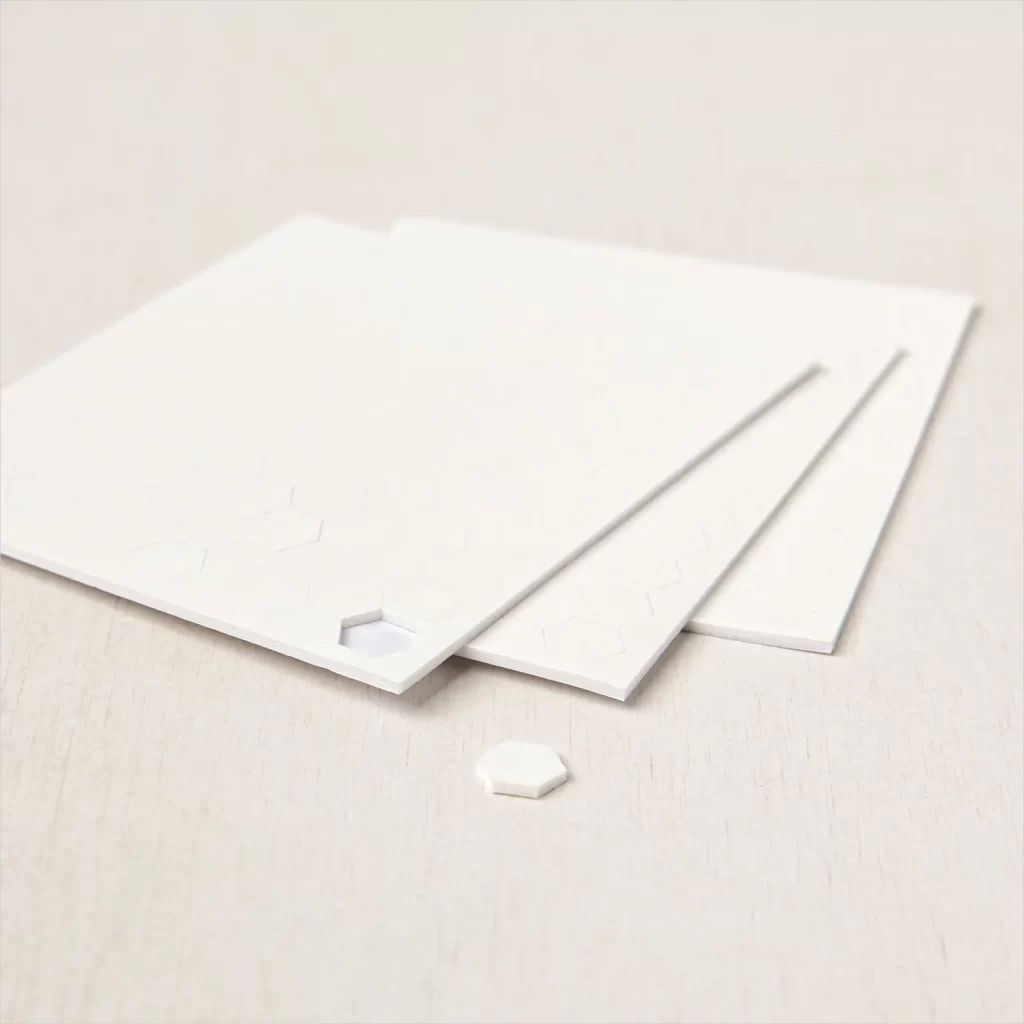
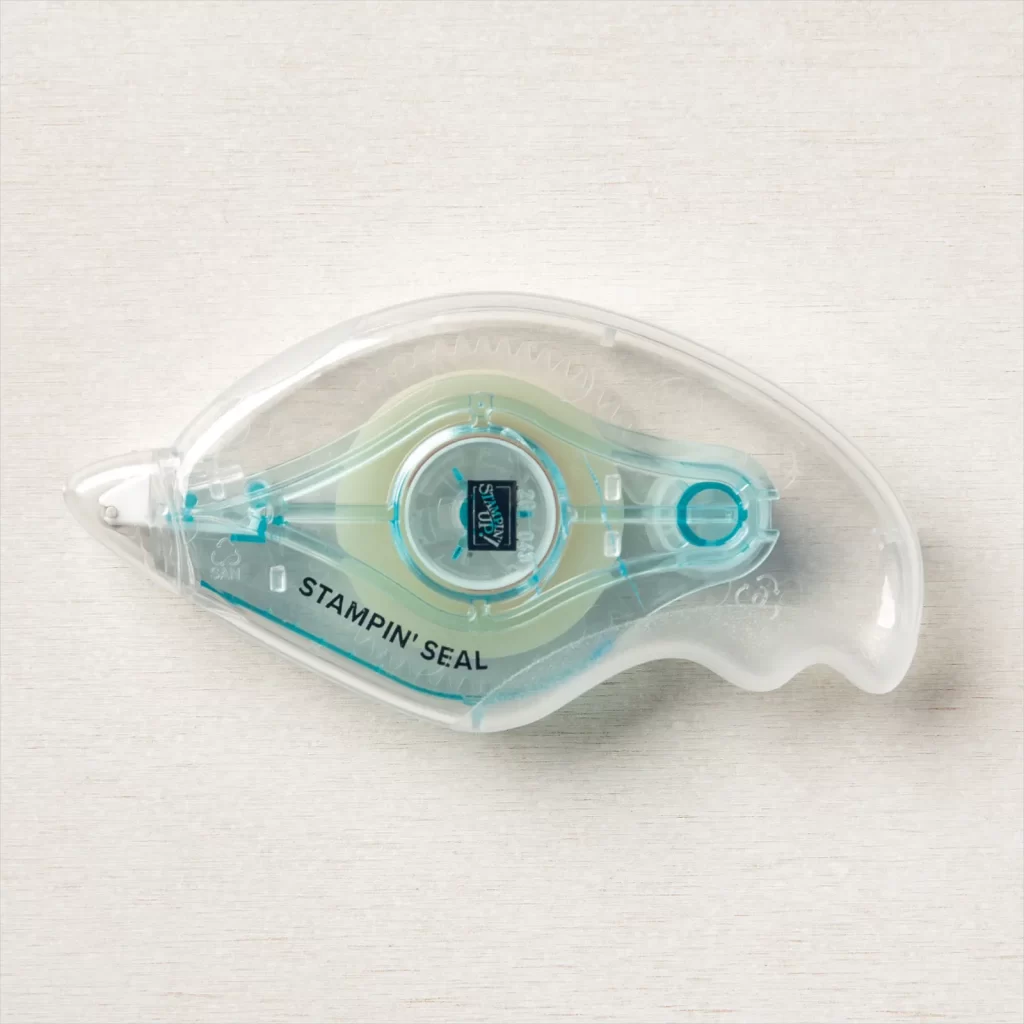
Putting it all together: I attached the vellum circle to the center of the tag base using a bit of Stampin’ Seal in two small spots on half of the vellum (The adhesive will be covered by floral images.) Then I adhered the floral images over the edge of the tag base, one using Stampin’ Seal and the other with Stampin’ Dimensionals, and trimmed the edges following the edge of the circle tag base. The sentiment was attached using a bit of Stampin’ Seal where it lays over the image and a Stampin’ Dimensional on the other end. The tag was completed with the addition of Iridescent Rhinestones Basic Jewels and a small hole punched near the edge.
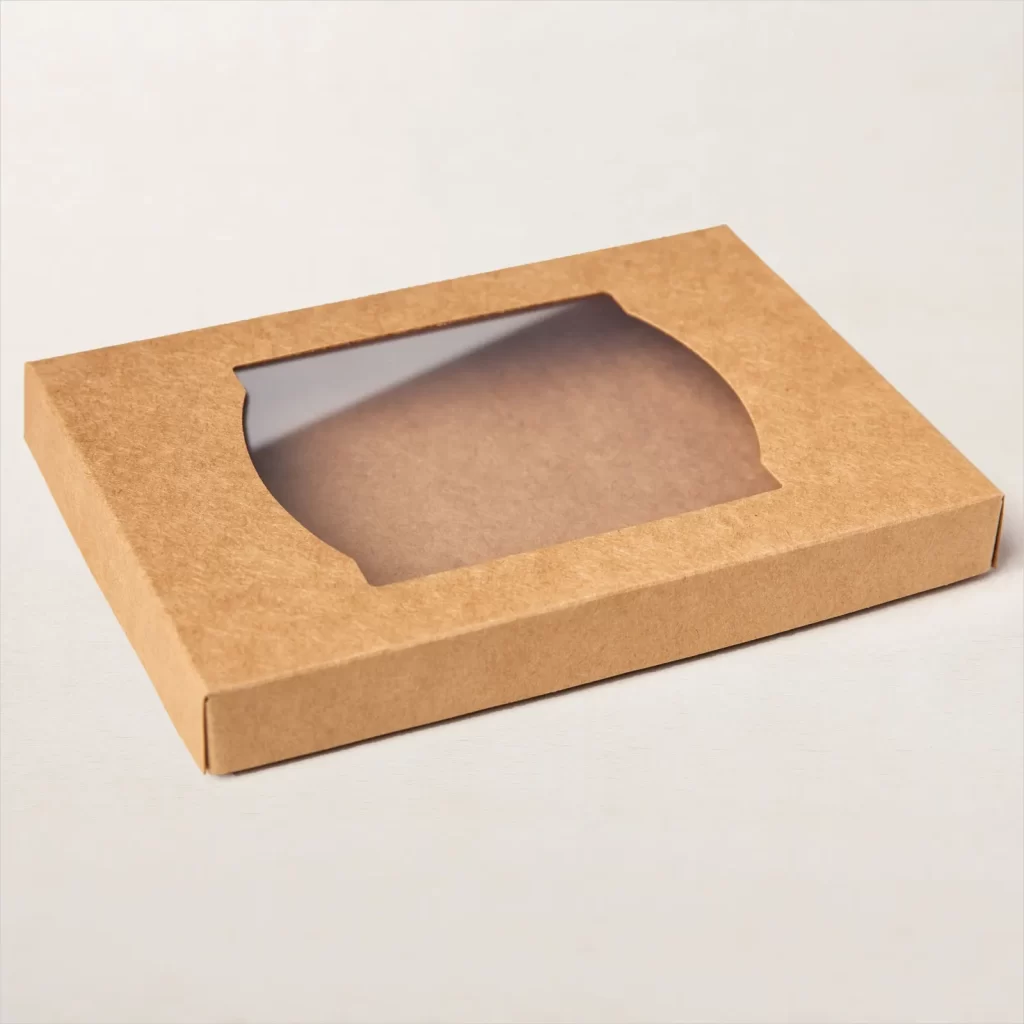
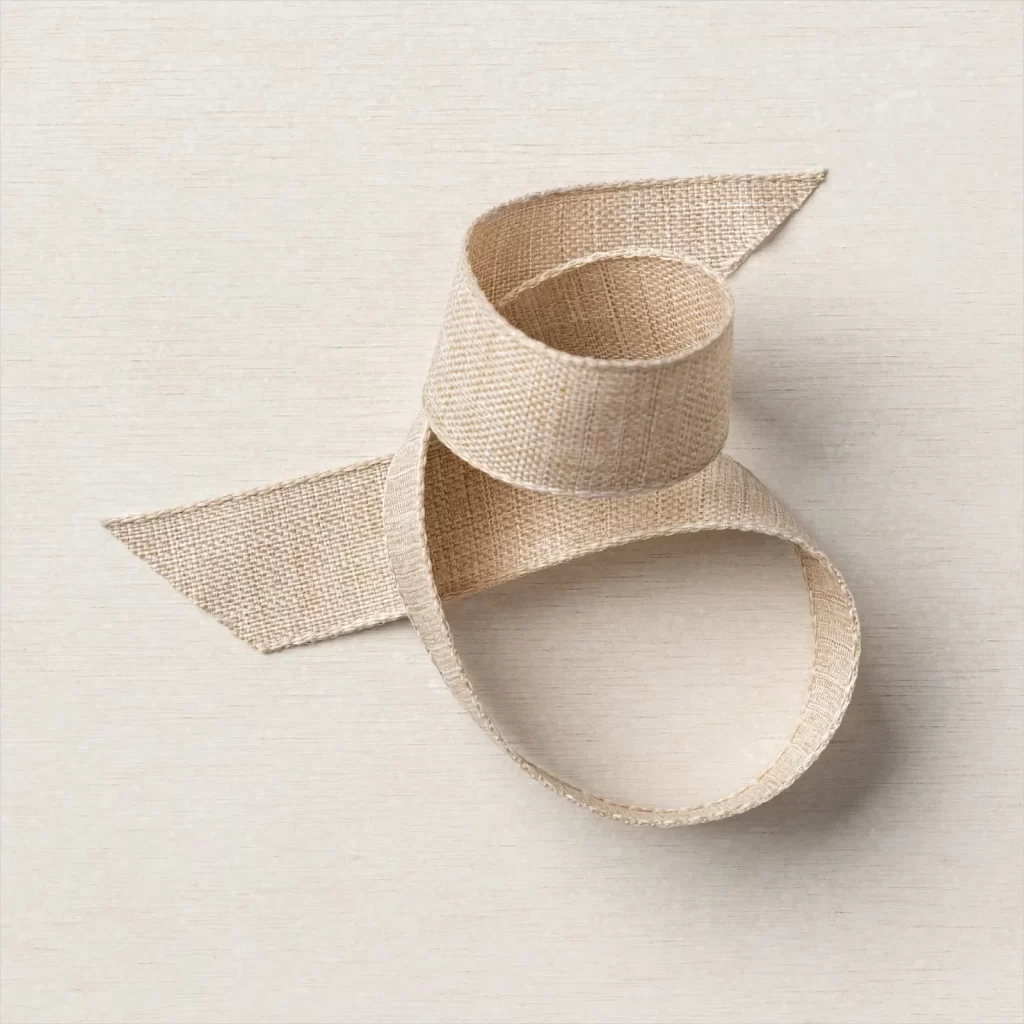
The final step: I put together a Kraft Gift Box and tied a bow with the Natural Finish Ribbon. Then I threaded some linen thread through the hole in the tag and tied it to the Natural Finish Ribbon. The ribbon can be slid off easily and the box filled with any sweet treat or gift!
For more inspiration from the Luv 2 Stamp Group Blog Hop Team, click on the image below to visit the next blog in the hop. Don’t forget to continue following links on each blog to see everyone’s amazing projects!
Luv 2 Stamp Group Blog Roll:
Thank you for visiting my blog! Below are the supplies and tools used on my projects. Click on photos to view the product detail information or click the buttons below to add items to your shopping cart.
STAMPS, DIES, AND EMBOSSING FOLDERS
PAPER AND PACKAGING
INK AND COLORING
EMBELLISHMENTS
ADHESIVES
TOOLS


Such a great Treat Box. Love the tag
I absolutely love this DSP. It is so stunning on every single project I’ve seen! I love how you die cut it to fit on a circle!
The black outline is stunning. I will have to try this out myself. Thanks for sharing.
Beautiful! I love colors and the black outline layer of the flowers!
Love your tag. It’s perfect for that box! That paper is sooooo pretty!
I will try this technique with the circle! Love it!
That is SO pretty! I love that Sale-A-Bration DSP! I can’t wait to use it myself. <3