Stamping INKspirations Blog Hop – June 2021
Welcome to the June 2021 Stamping INKspirations Blog Hop! This month’s theme is “Anything Water-Related”. I can’t wait to see how everyone else interpreted the theme.
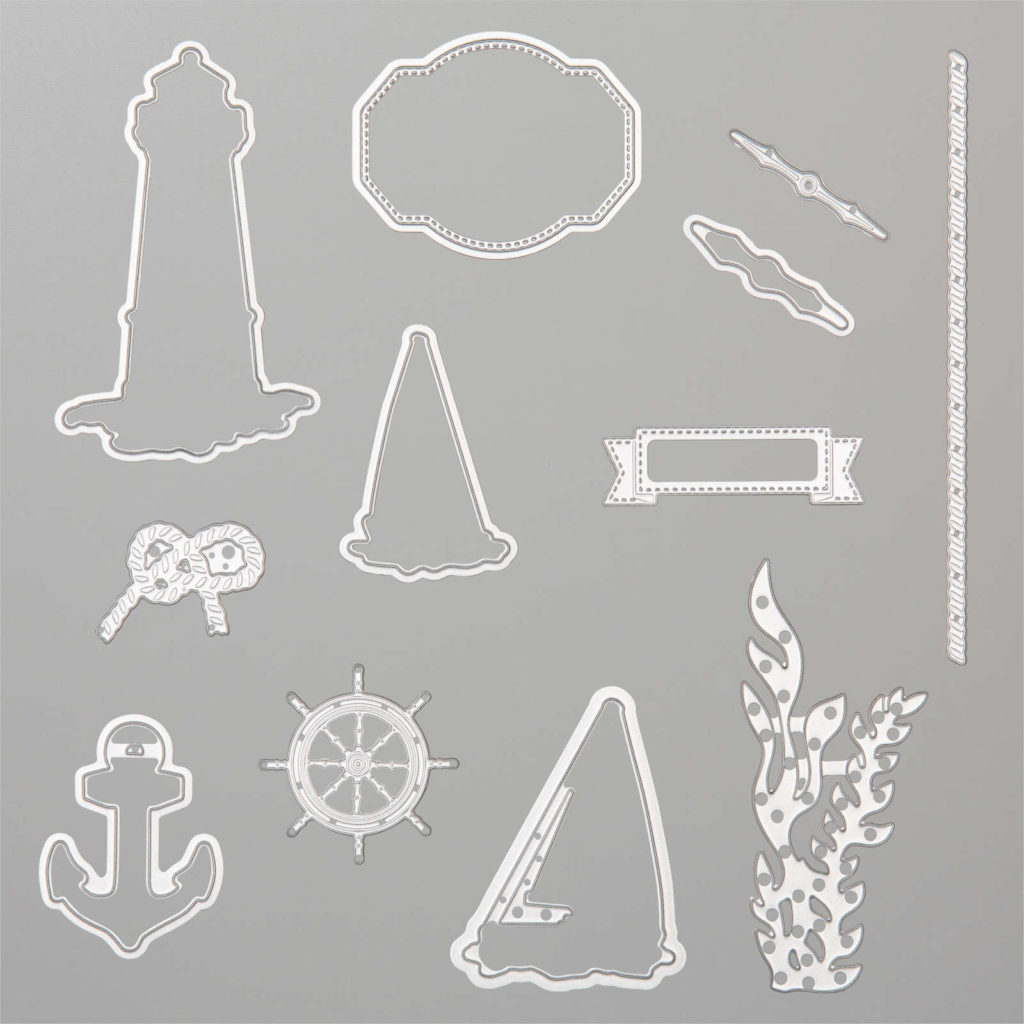
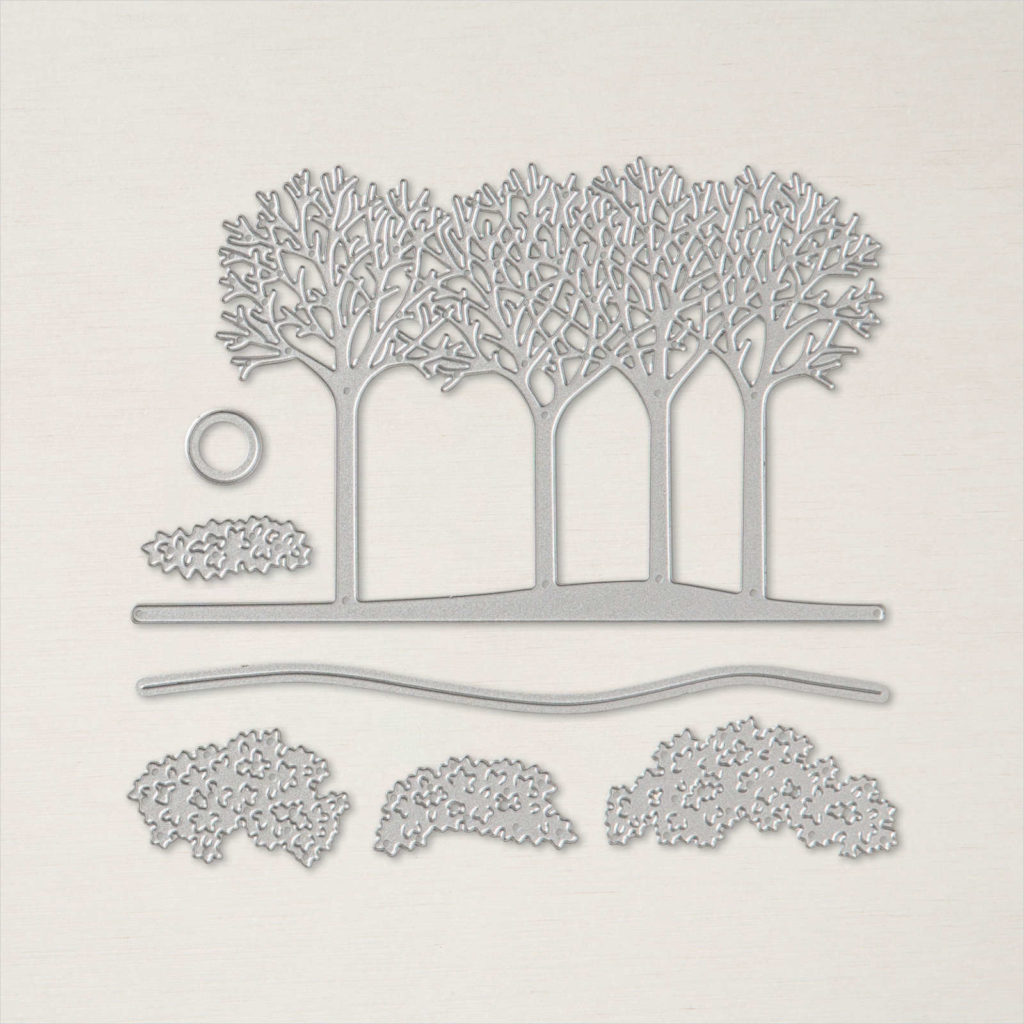
This month I chose to use the Sailing Home Cling Stamp Set and the Smooth Sailing Dies. In preparation for Father’s Day, I created two projects using a similar color palette but two different looks. I started by creating two rolling wave templates by using scrap paper and the wavy looking die from the Inspiring Canopy Dies.
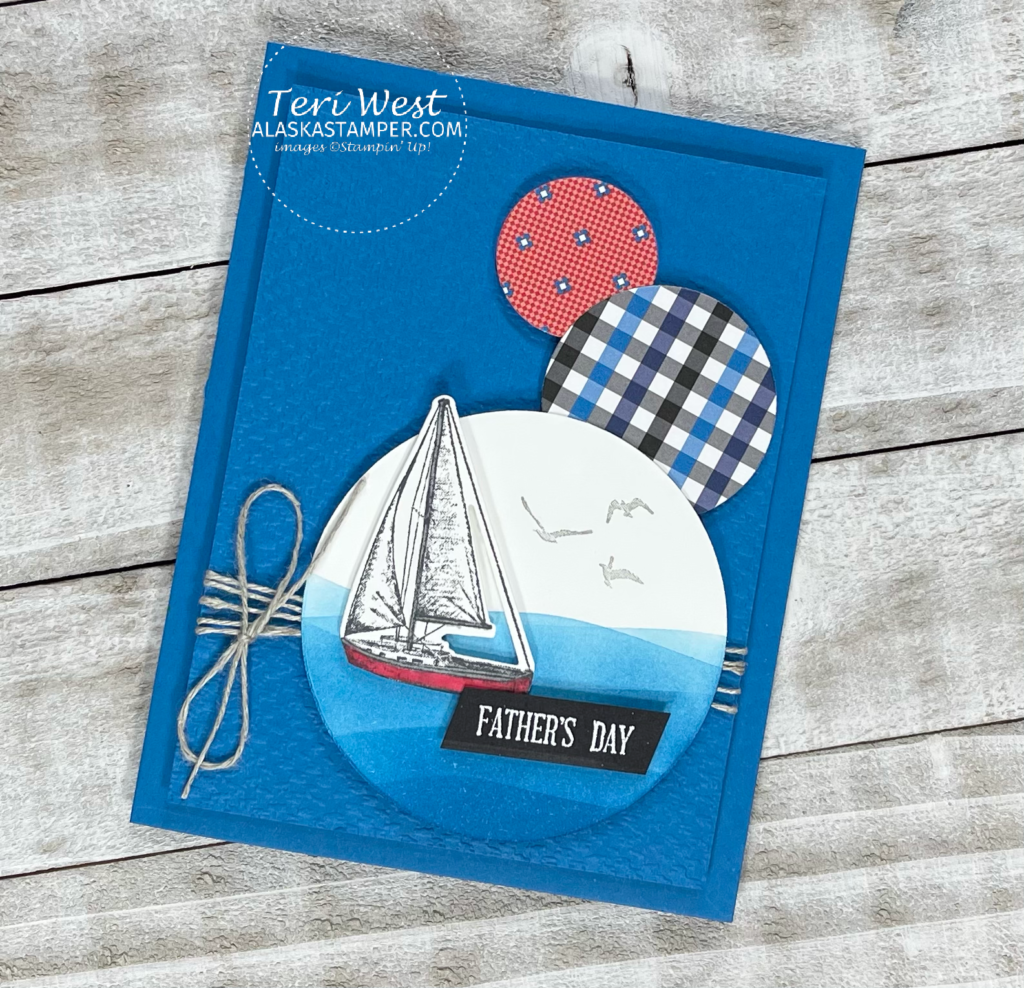
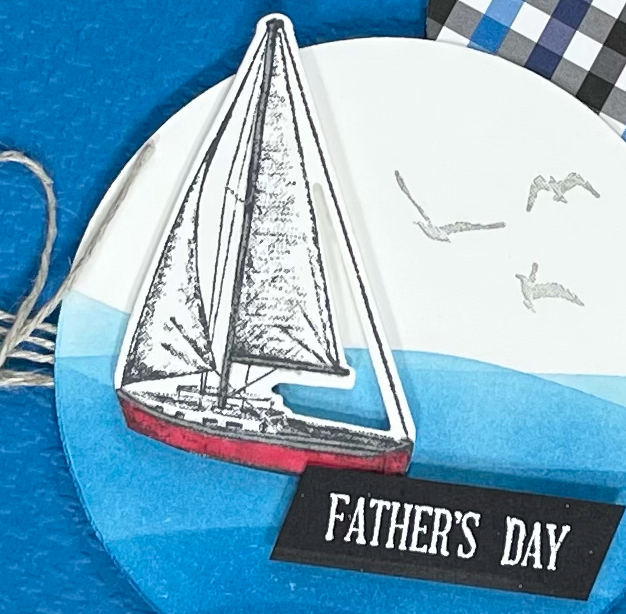
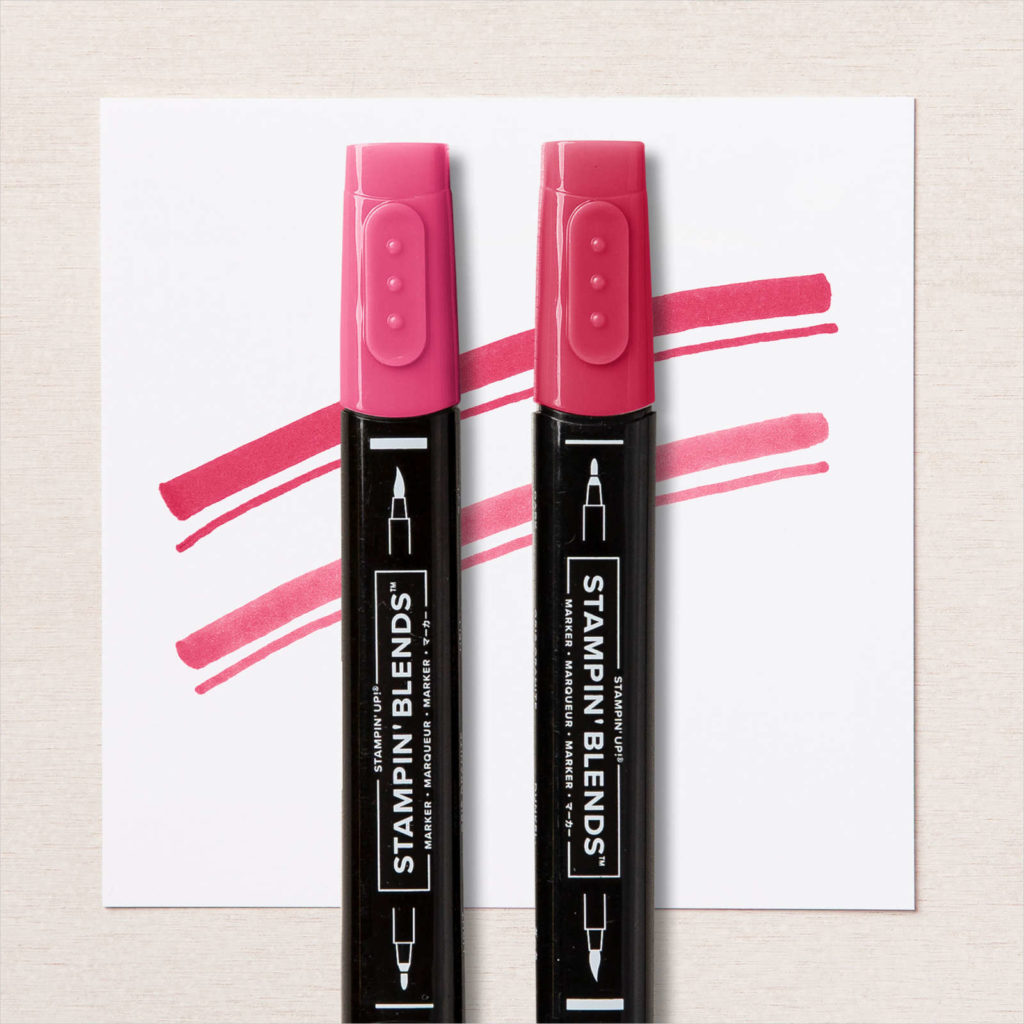
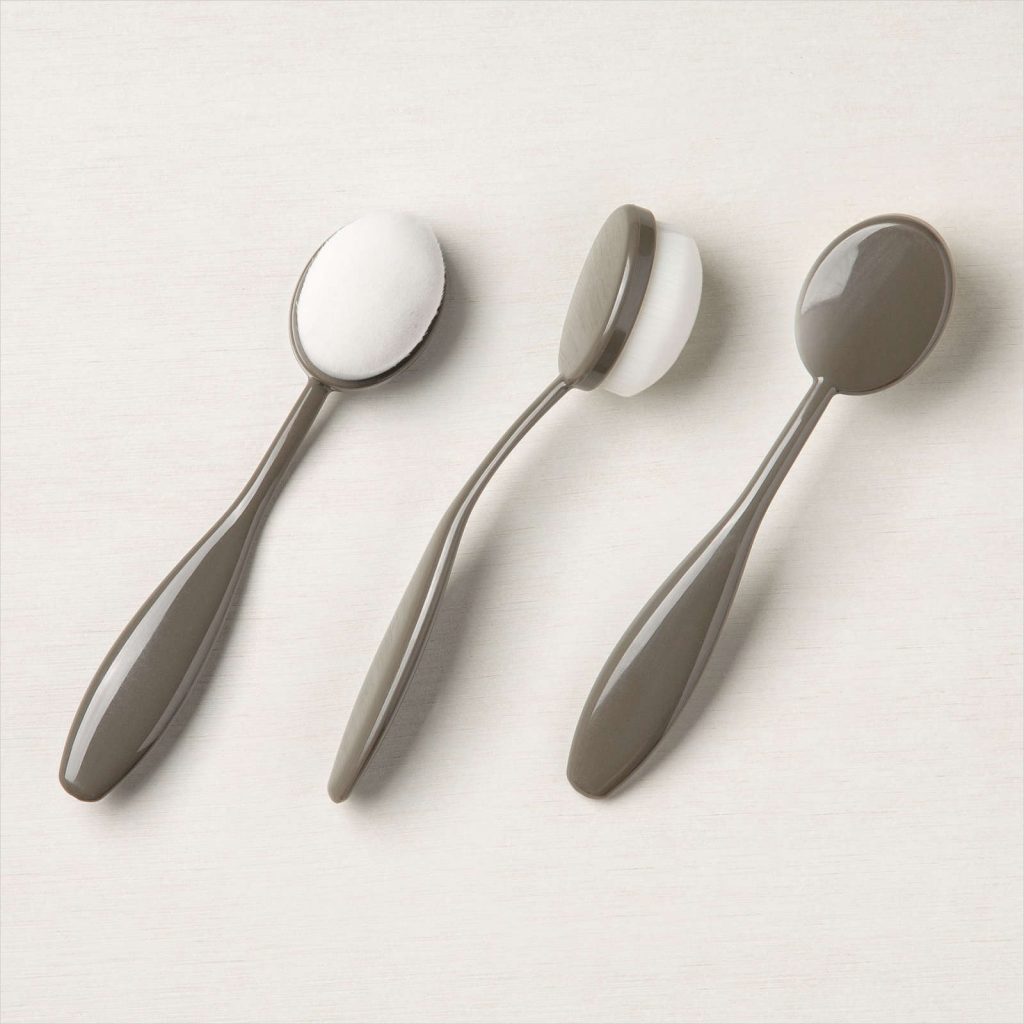
The color palette for my first card is: Pacific Point, Smoky Slate, Real Red, Basic White and Basic Black. I used the Layering Circle Dies to cut circles in varying sizes from the Well Suited Designer Series Paper (DSP) and Basic White cardstock. On the Basic White Circle I used the templates to create rolling waves halfway up with blending brushes and Pacific Point ink. The birds were added using the stamp off method with Smoky Slate ink. I stamped the sailboat also with Smoky Slate ink and colored in a couple of details with Real Red and Smoky Slate Stampin’ Blends. Then I used the Smooth Sailing Dies to cut out the sailboat image.
With the Tasteful Texture 3D Embossing Folder I dry embossed a 3 3/4″ x 5″ piece of Pacific Point cardstock and wrapped with it with Linen Thread, adding a bow to the side. The last piece was my sentiment stamped with Versamark on Basic Black cardstock and heat embossed with white embossing powder (hand cut to size). All layers were attached with Stampin’ Dimensionals to a standard sized Pacific Point cardstock base.
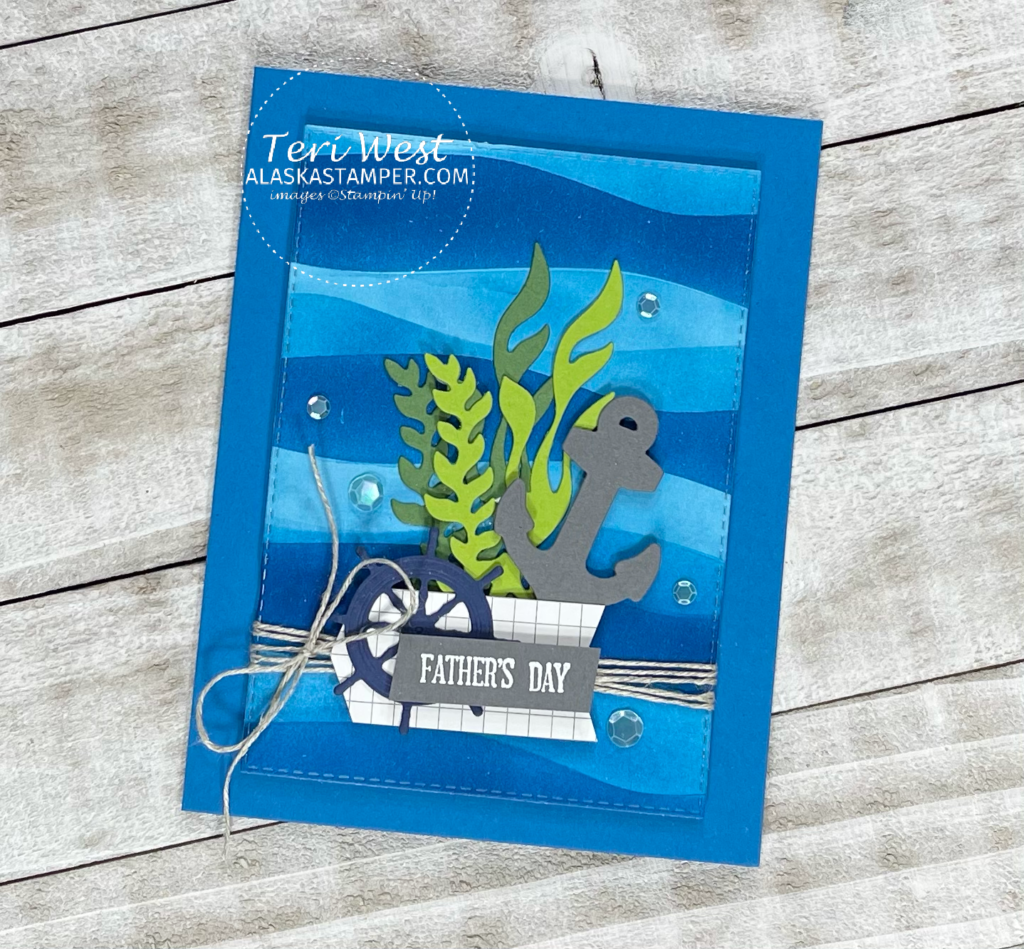
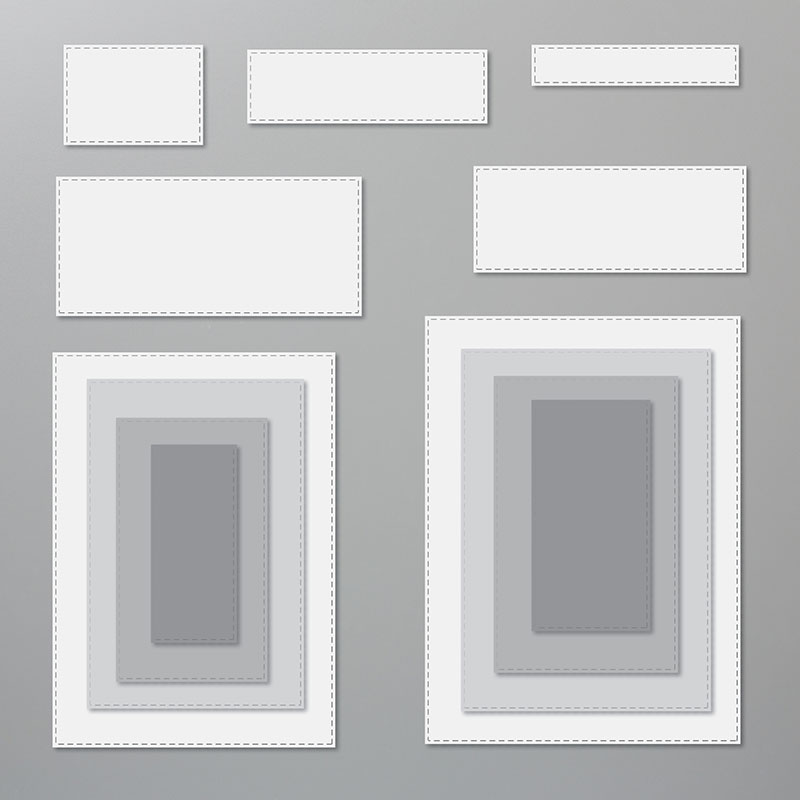
The color palette for my second card is: Pacific Point, Basic Gray, Night of Navy, Basic White, Garden Green, and Granny Apple Green. On a 3 3/4″ x 5″ piece of Basic White cardstock I used the templates to create rolling waves on the entire piece with blending brushes and Pacific Point ink, then die cut a large stitched rectangle from the Stitched Rectangle Dies. The seaweed, the anchor, and the ship’s wheel were die cut using the Smooth Sailing Dies. I also hand cut a 1″ strip the Well Suited DSP with a banner bottom and an inverted banner top. My sentiment was stamped with Versamark on Basic Gray cardstock and heat embossed with white embossing powder, then hand cut to size.
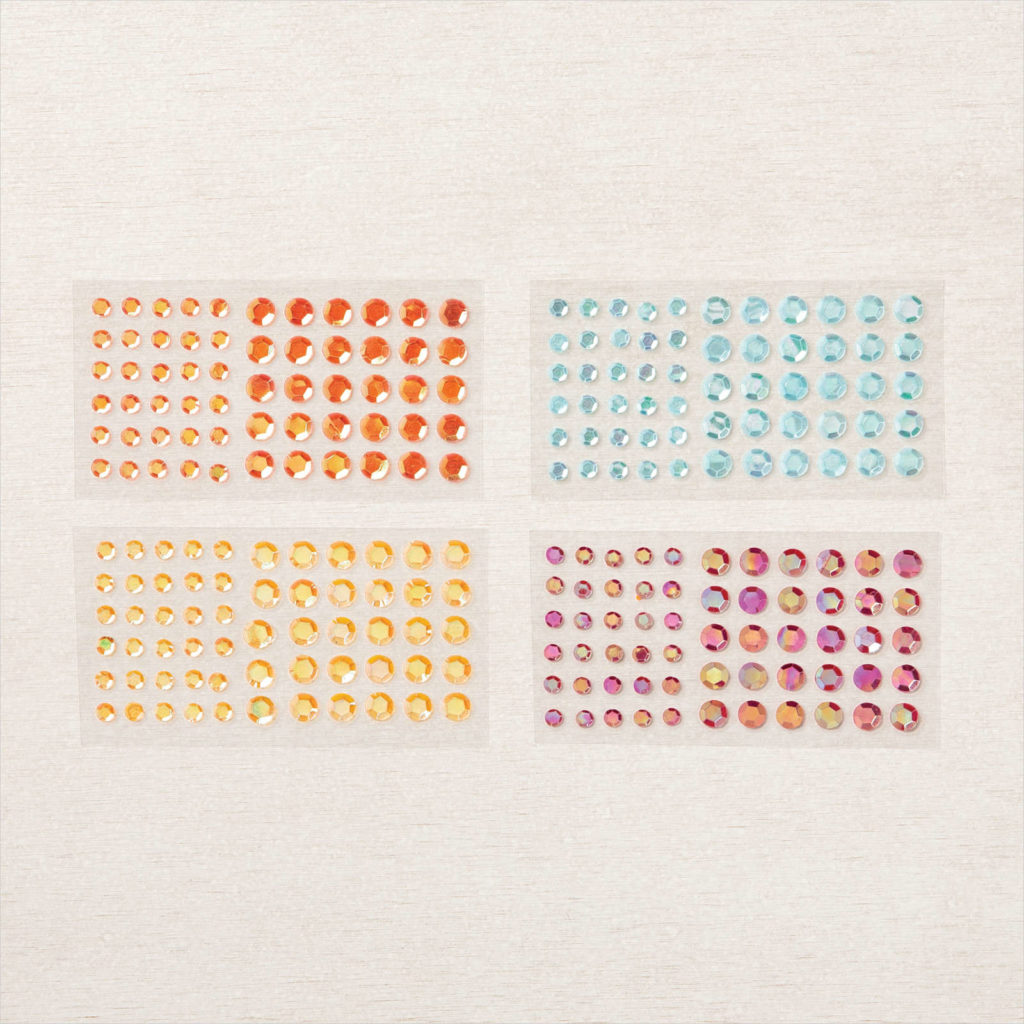
Linen thread was used to wrap the ocean waive rectangle piece with a bow tied to one side and subsequently attached to a a standard sized Pacific Point cardstock base with Stampin’ Dimensionals. The remaining pieces were attached using liquid adhesive and Stampin’ Dimensionals in layers. I added the blue Artistry Blooms Adhesive-Backed Sequins as a finishing touch.
Thank you for visiting my blog! For more inspiration from the Stamping INKspirations Blog Hop Team, click on the image below to visit the next blog posted by the talented Danielle Kassing! Don’t forget to continue following the links to see all the amazing projects this month.
Stamping INKspirations Blog Roll:
JUNE 2021
Angie McKenzie ● Leonie Stuart ● Libby Fens ● Karen Henderson
Annette Ball ● Tricia Butts ● Shel Anderson
Elaine de Montmorency ● Mo Rootes ● Deb Macdowell
Alejandra Gomez ● Satomi Wellard ● Ann Krucek
Teri West (YOU ARE HERE!)
Danielle Kassing ● Gez Carpenter ● Aurélie Fabre
Terry Hamilton ● JoAnn Pollock ● Rochelle Laird-Smith
Below are the supplies and tools used on my project. Click on photos to view the product detail information or click the buttons below to add items to your shopping cart.
STAMPS, DIES, EMBOSSING FOLDERS, AND PUNCHES
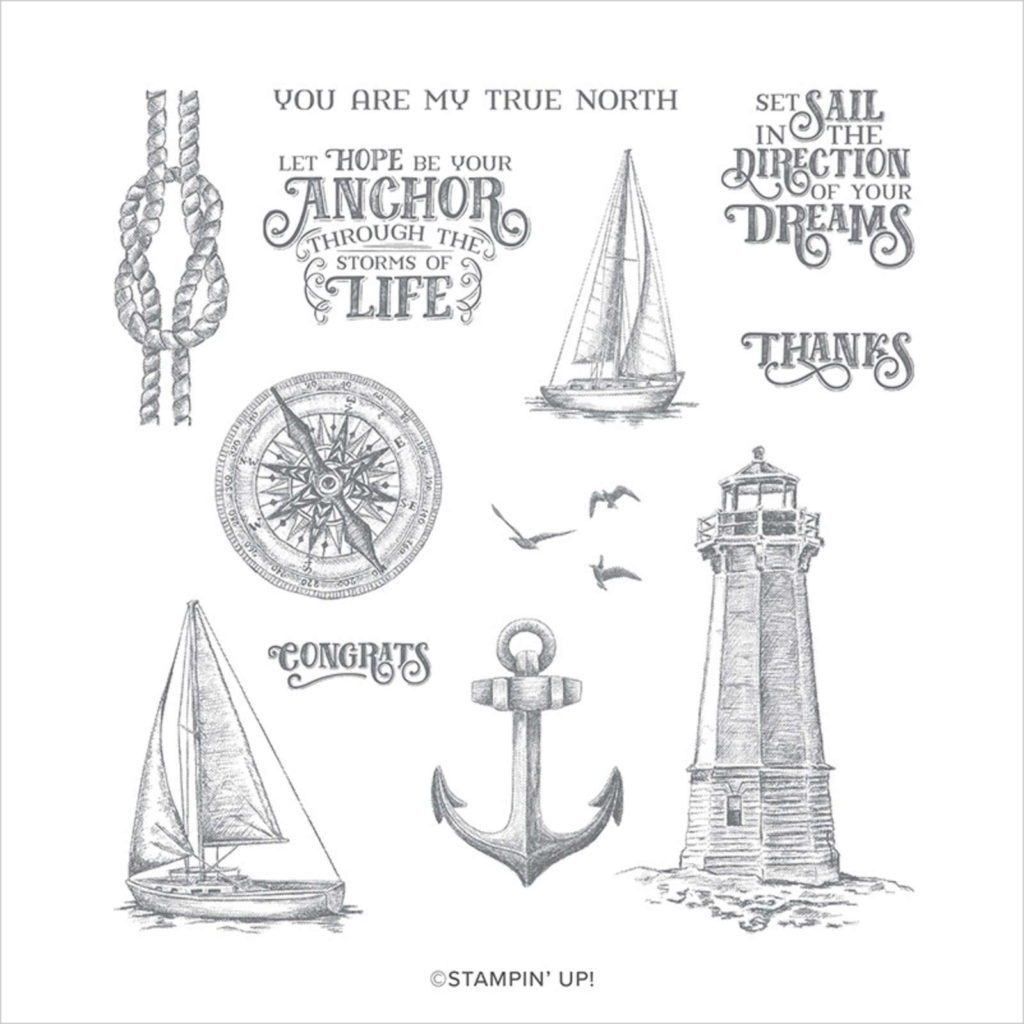
SAILING HOME CLING STAMP SET (ENGLISH)
$24.00
PAPER AND PACKAGING
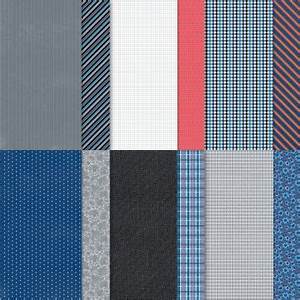
WELL SUITED 12″ X 12″ (30.5 X 30.5 CM) DESIGNER SERIES PAPER
INK AND COLORING
EMBELLISHMENTS
ADHESIVES
TOOLS


Both are stunning Teri! Love the colours and that you have used DSP in this way
Cute cards Terri, love all the texture and layering x
what an amazing cards!
The rolling waves are brilliant! They are really effective on both of your cards.
Oh I love ! What a beautiful card! xX
GREAT CARDS!!!
Both of your cards are wonderful!! Love the wave effect in the second card!!
Great cards!
Two fabulous projects – thanks for sharing.
Absolutely love how you used the Inspiring Canopy Dies to create your waves, Teri!!! Ingenious! I don’t even want to know how long it took you to blend the entire background sheet, but I’m sure you enjoyed every minute with the blending brush(es). As always, thanks for the amazing inspiration and for hopping along with us. xx