Around the World on Wednesday – November 2022
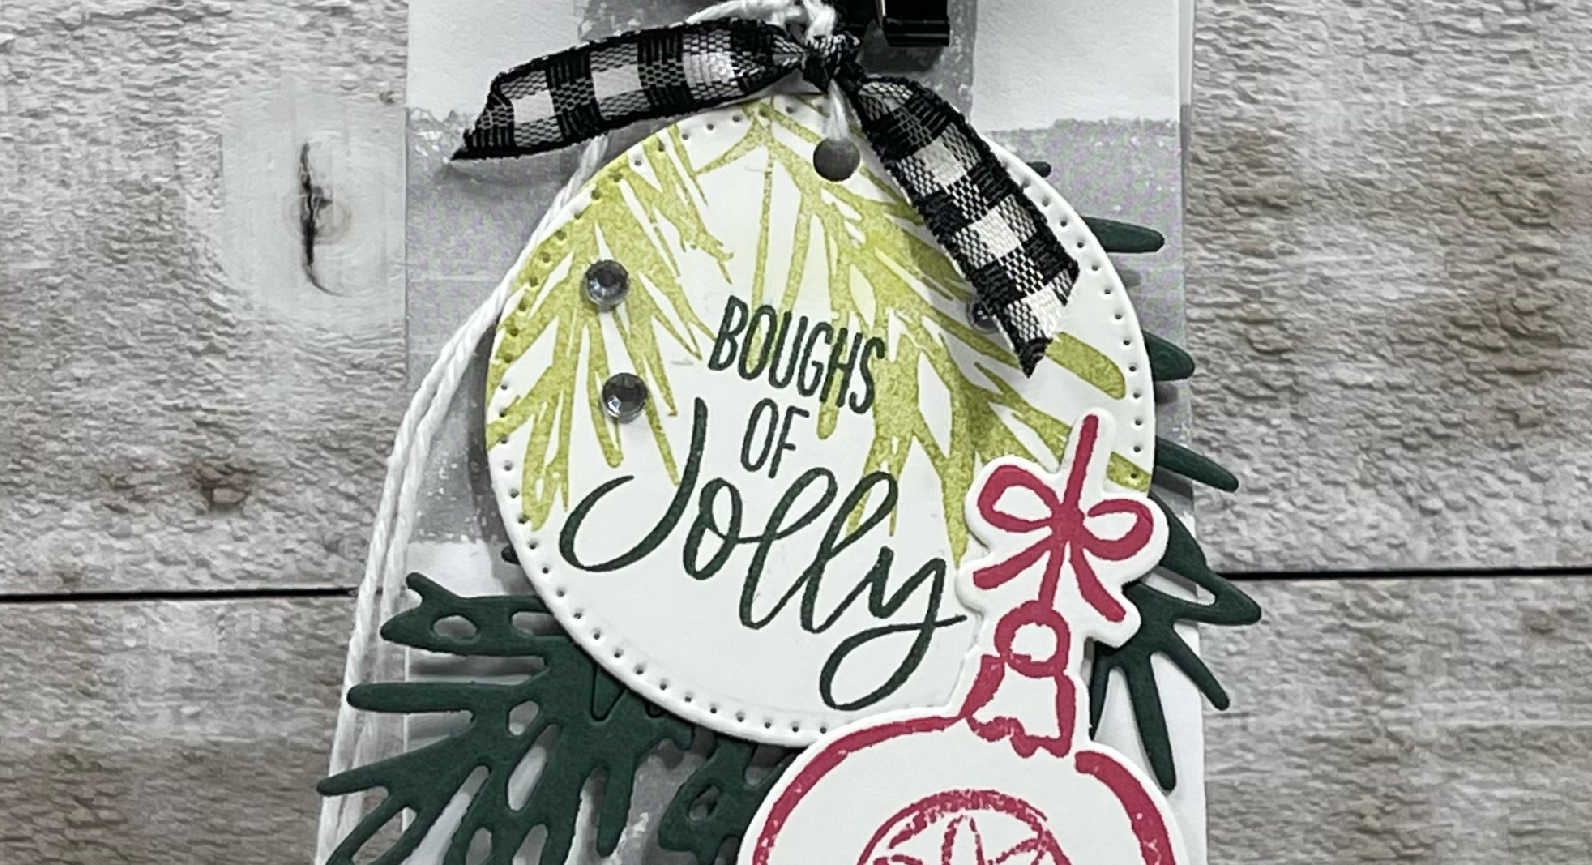
Welcome to November’s Around the World on Wednesday (AWOW) Blog Hop! Our theme for November is a “Festive Paperscapes”. With the holidays coming up, this theme is perfect for holiday gatherings or parties.

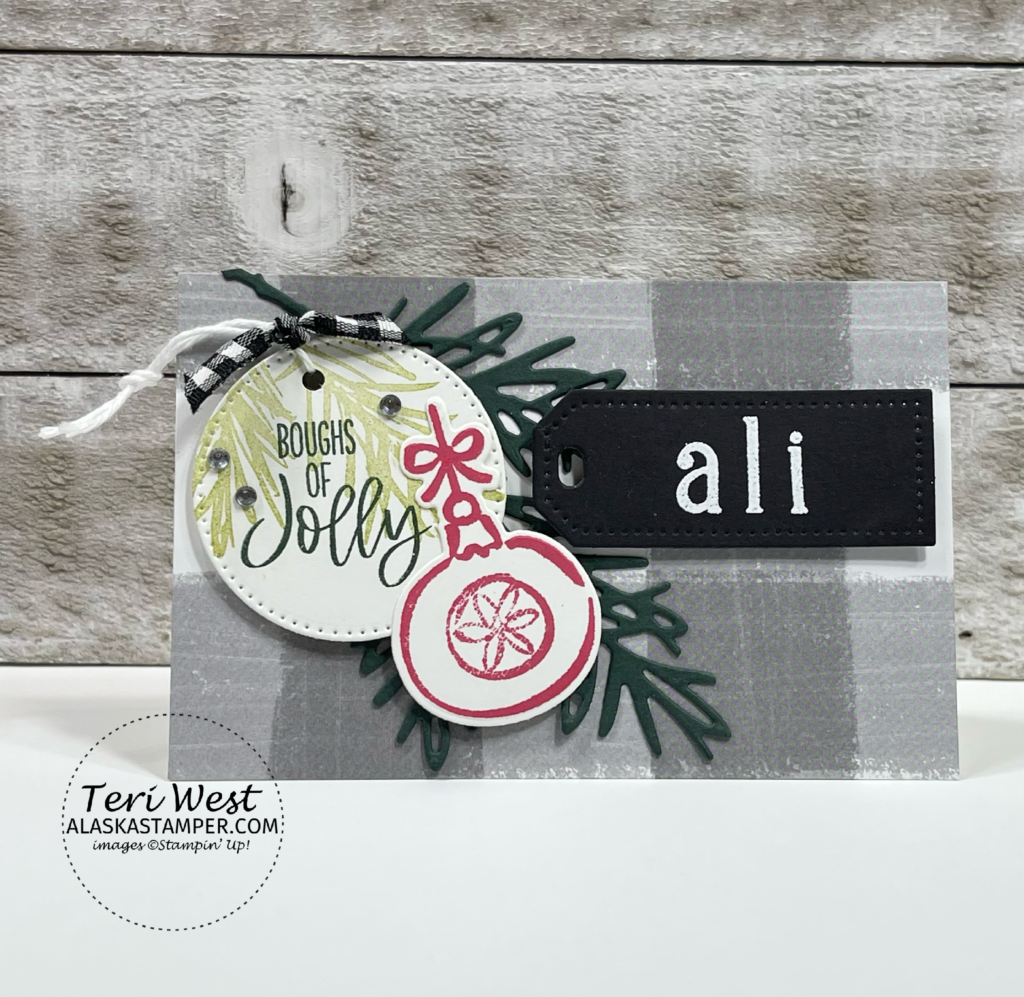
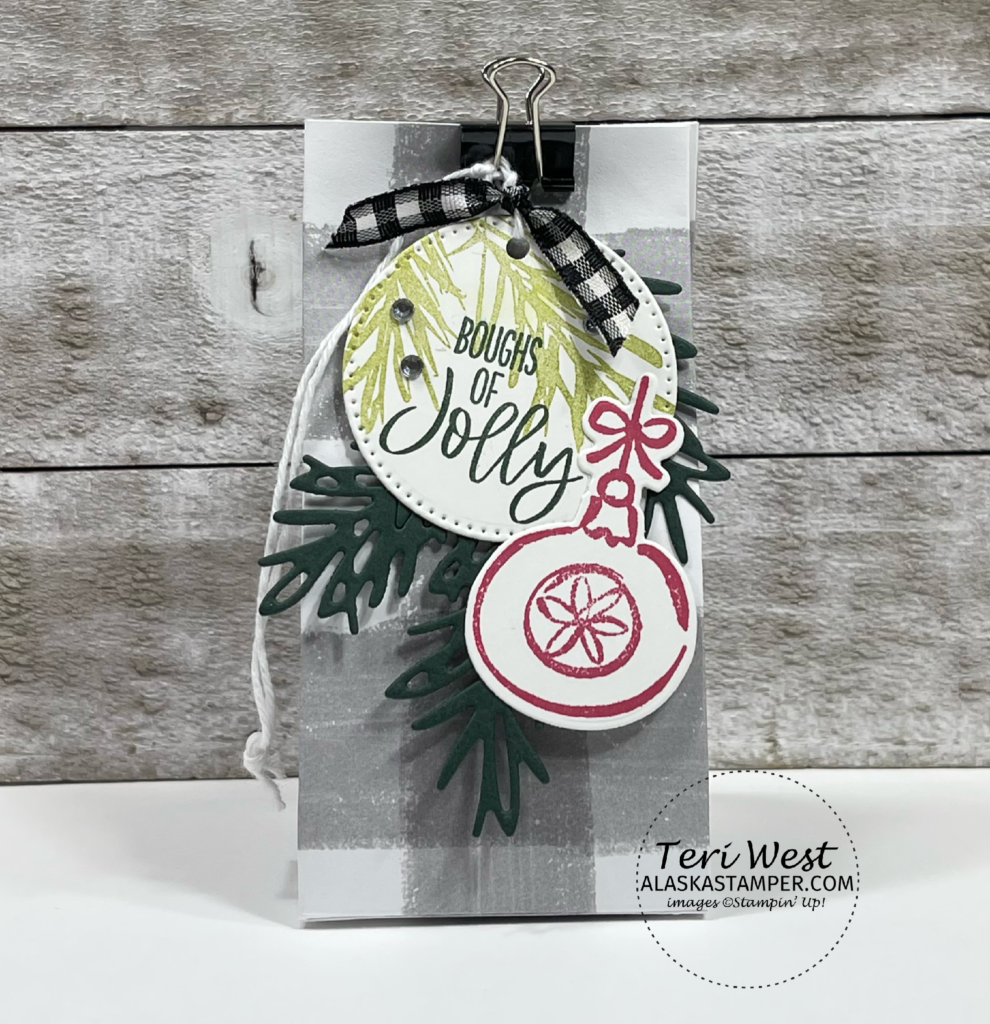
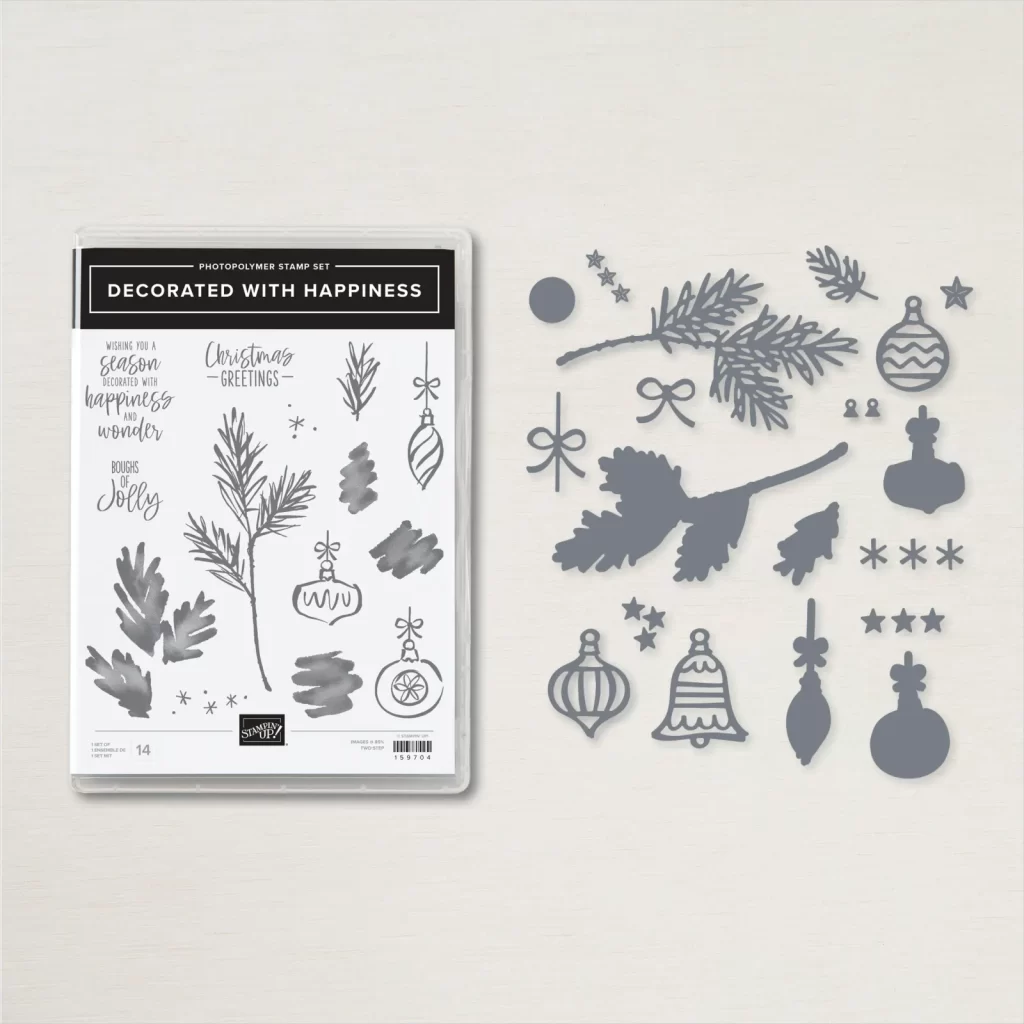
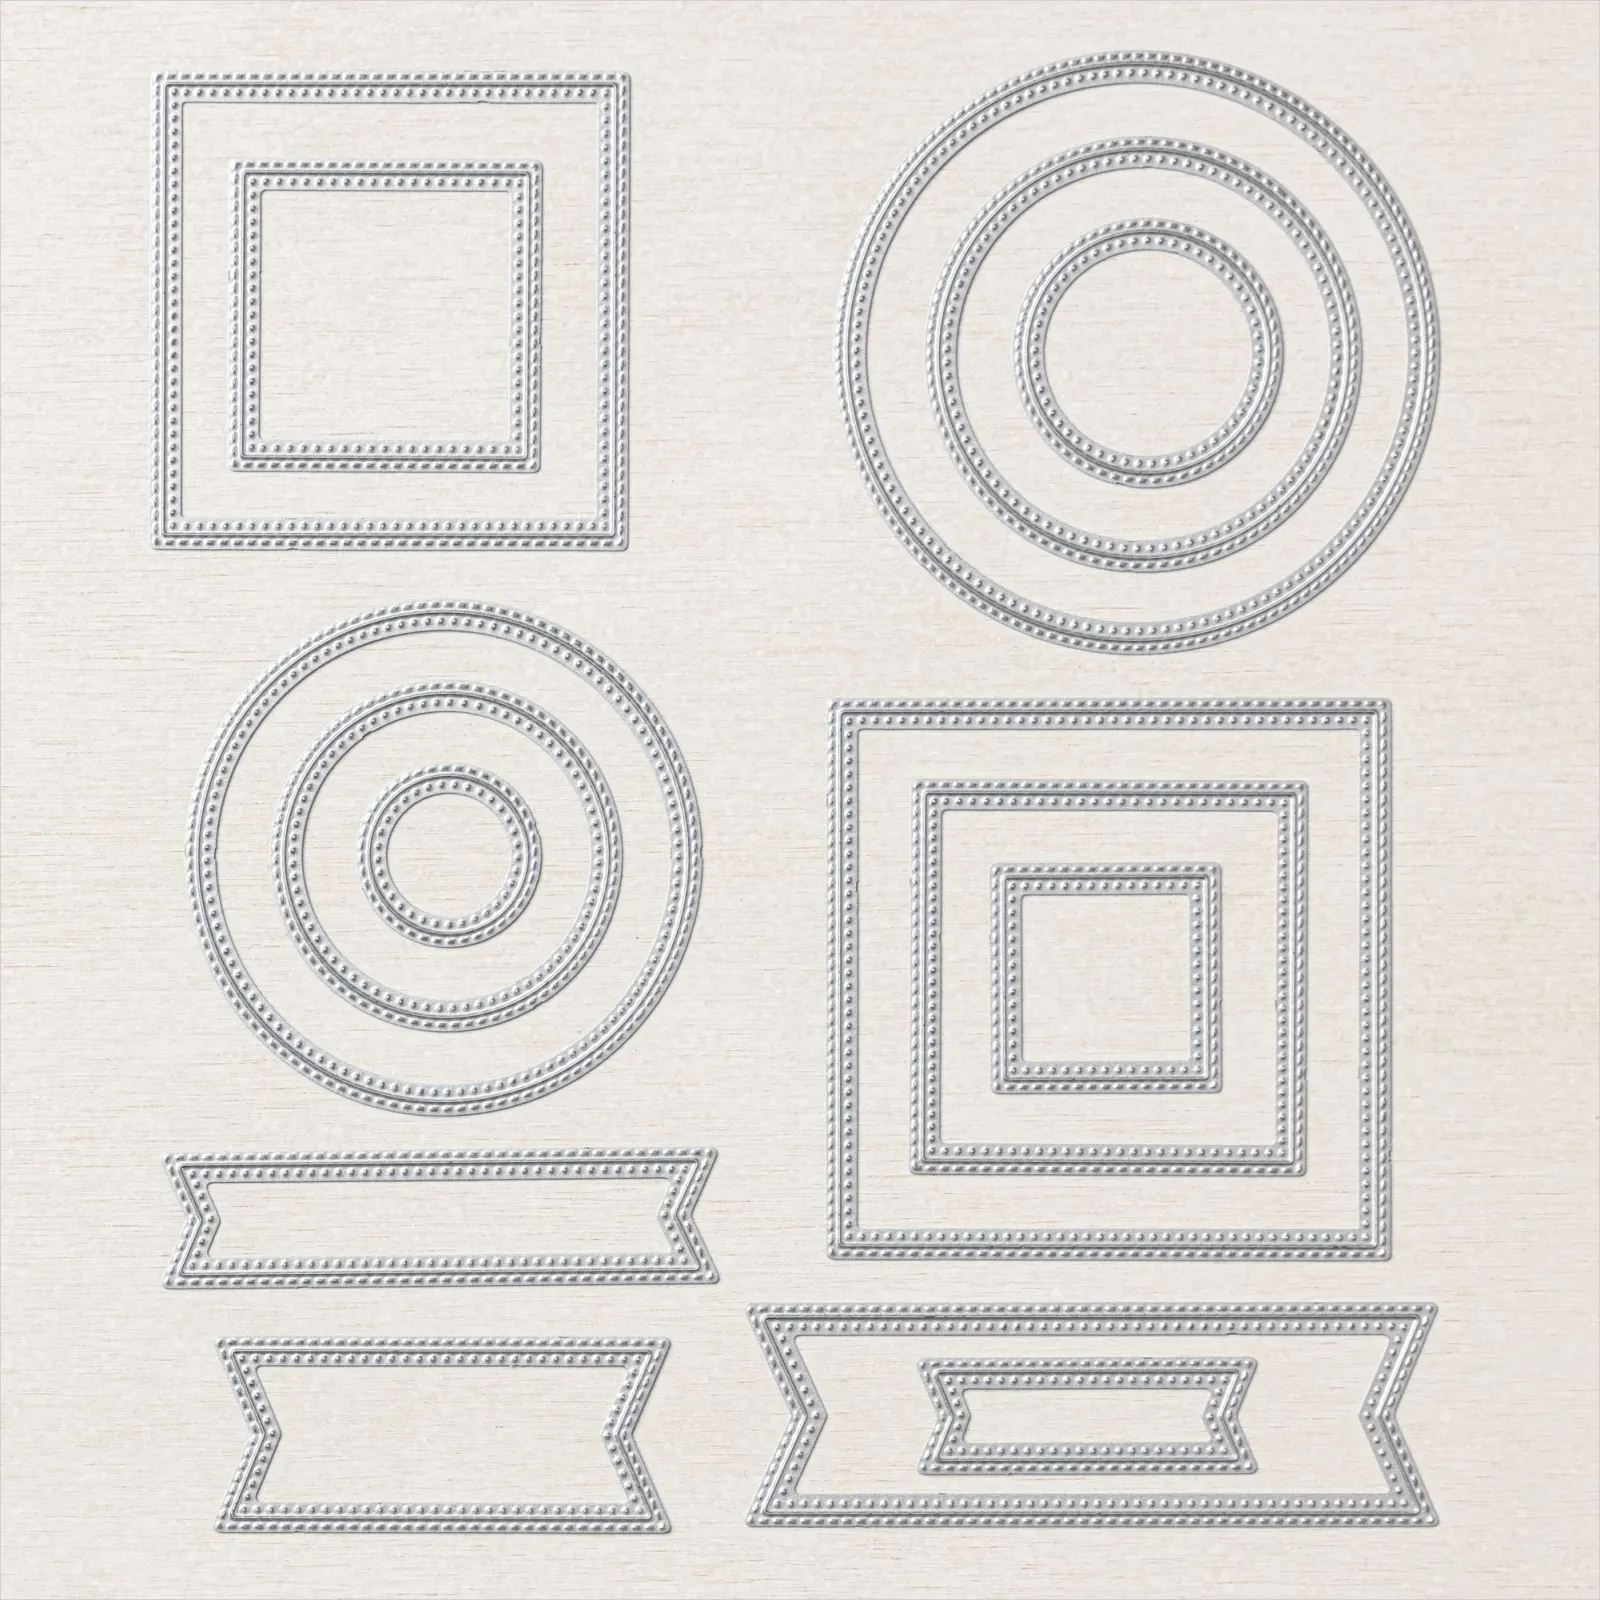
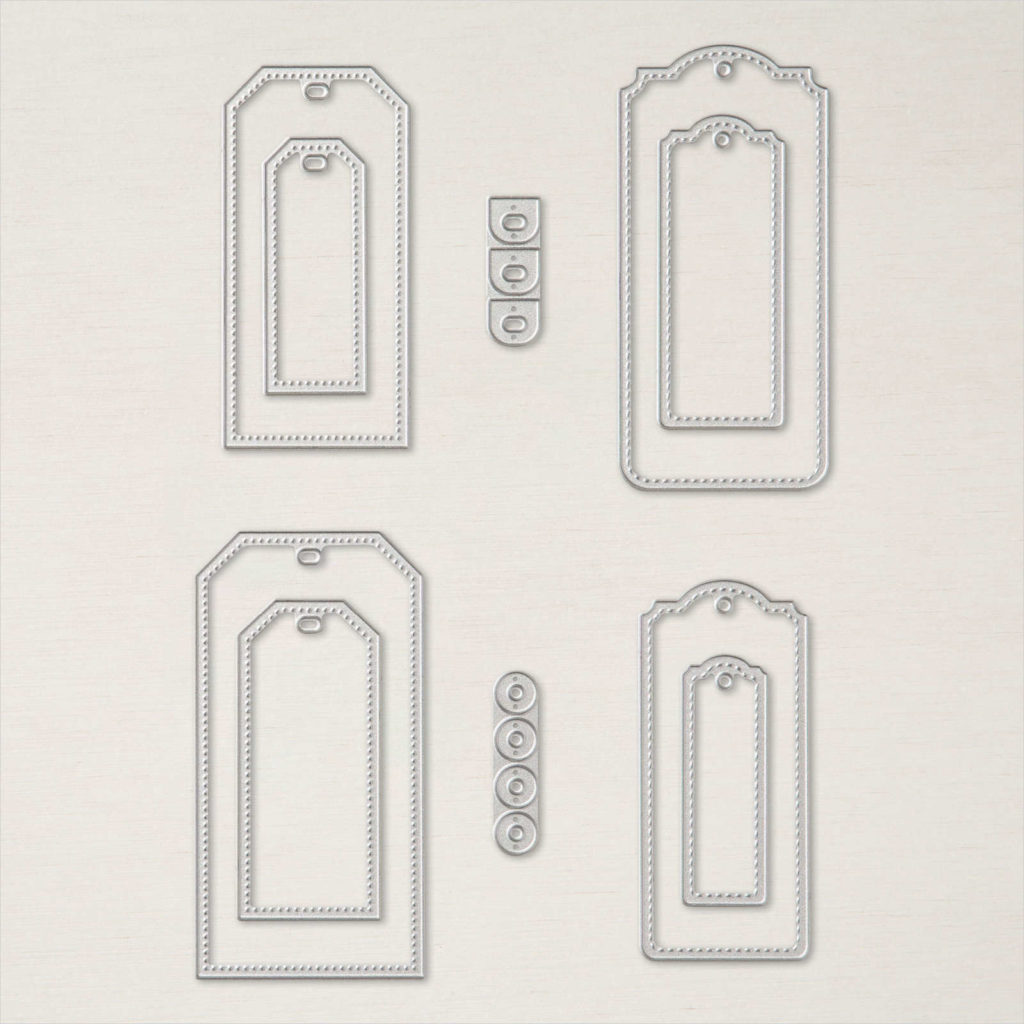
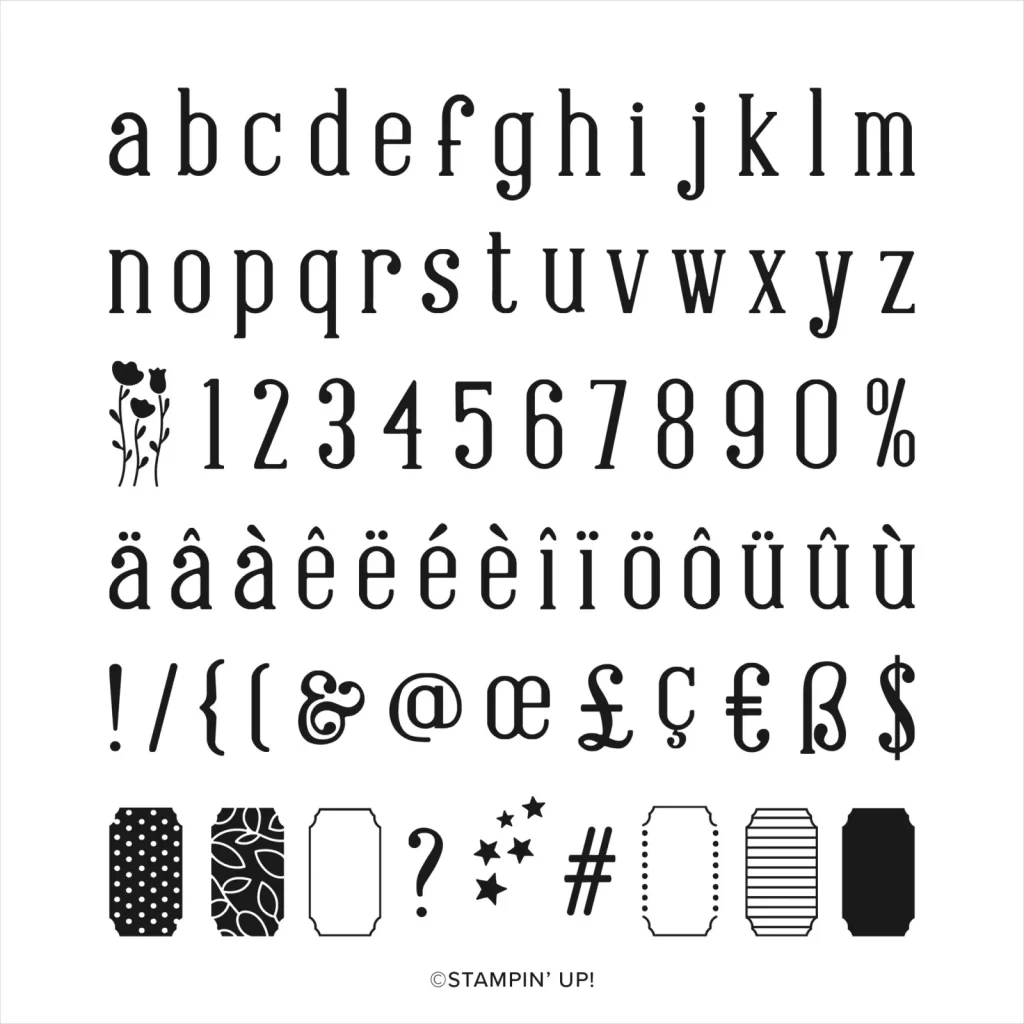
My paperscape projects are a treat bag and a place card. The treat back can be filled with any treat for your occasion and the inside of the place card can be used to share a special note to your guest. My projects feature the Decorated with Happiness Bundle; the Decorated with Happiness Photopolymer Stamp Set and the Decorated Pine Dies. I also used the Alphabest Photopolymer Stamp Set, the Stylish Shapes Dies, and the Tailor Made Tags Dies. The colors used for my projects are: Evening Evergreen, Pear Pizazz, Real Red, Basic Black and Basic White.
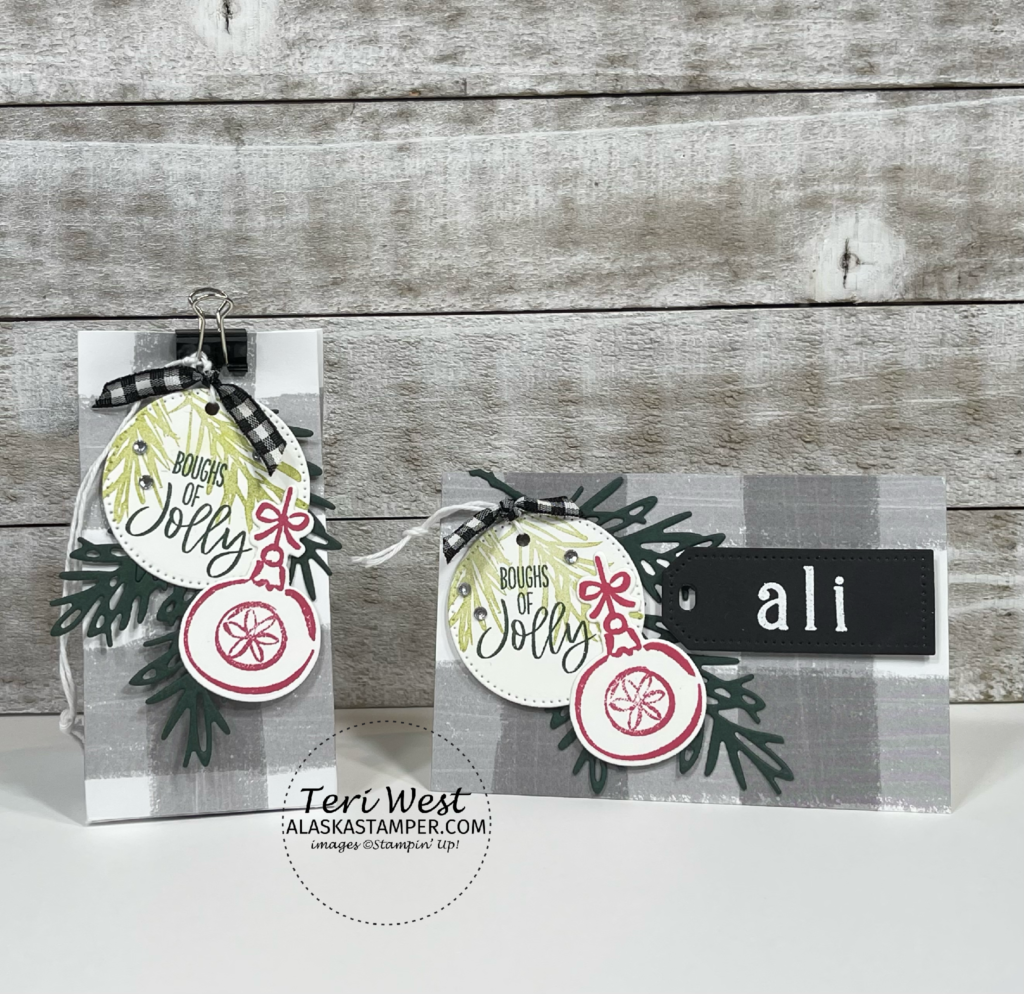
Paper Supplies:
Gift Bag
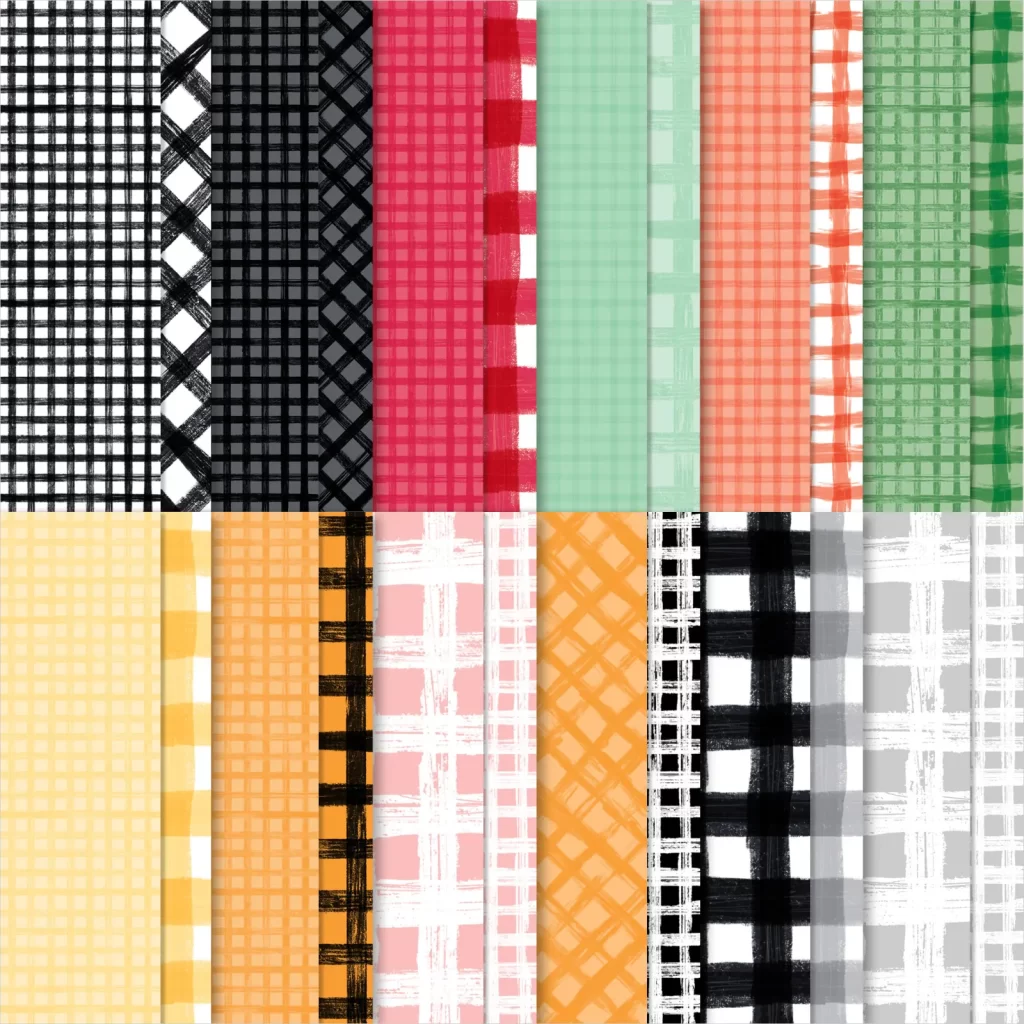
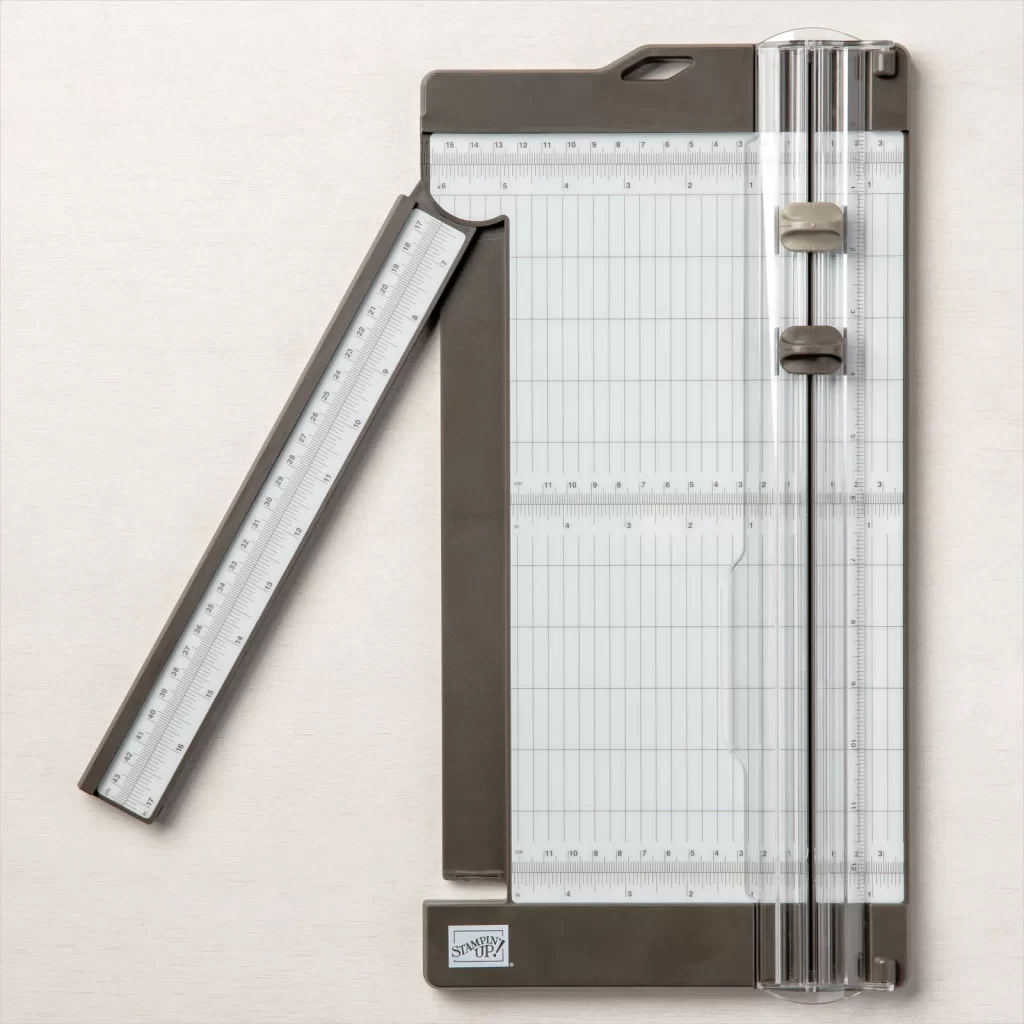
- 6″ x 8 1/2″ piece of the Designer Series Paper (DSP), scored at 2″, 4″, 6″, and 8″ along the long side, the scored at 2″ along the short side
- Cardstock scraps of Basic White and Evening Evergreen
Place Card
- 4 1/4″ x 5 1/2″ piece of Basic White Thick cardstock, scored and folded at 2 3/4″ (card base)
- 2 3/4″ x 4 1/4″ piece of DSP (card front)
- Cardstock scraps of Basic White, Basic Black, and Evening Evergreen
The Prep:
- Die cut two pine branches from Evening Evergreen cardstock using the Decorative Pines Dies
- Die cut two circles from Basic White cardstock using the Stylish Shapes Dies
- Stamp pine branches using Pear Pizazz ink on the circle pieces
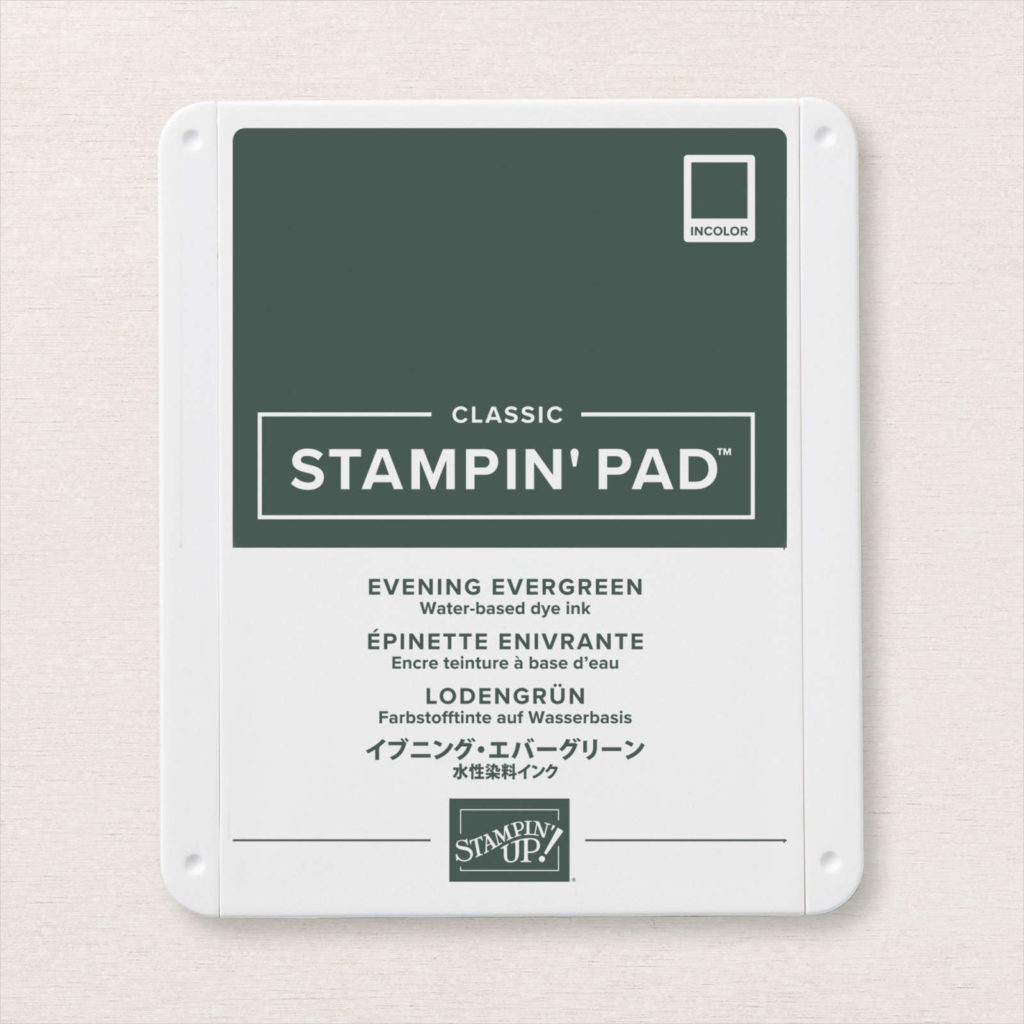
- Stamp sentiment using Evening Evergreen ink over the pine branches on the circle pieces
- Using a hand held hole punch, punch a hole in the circle pieces
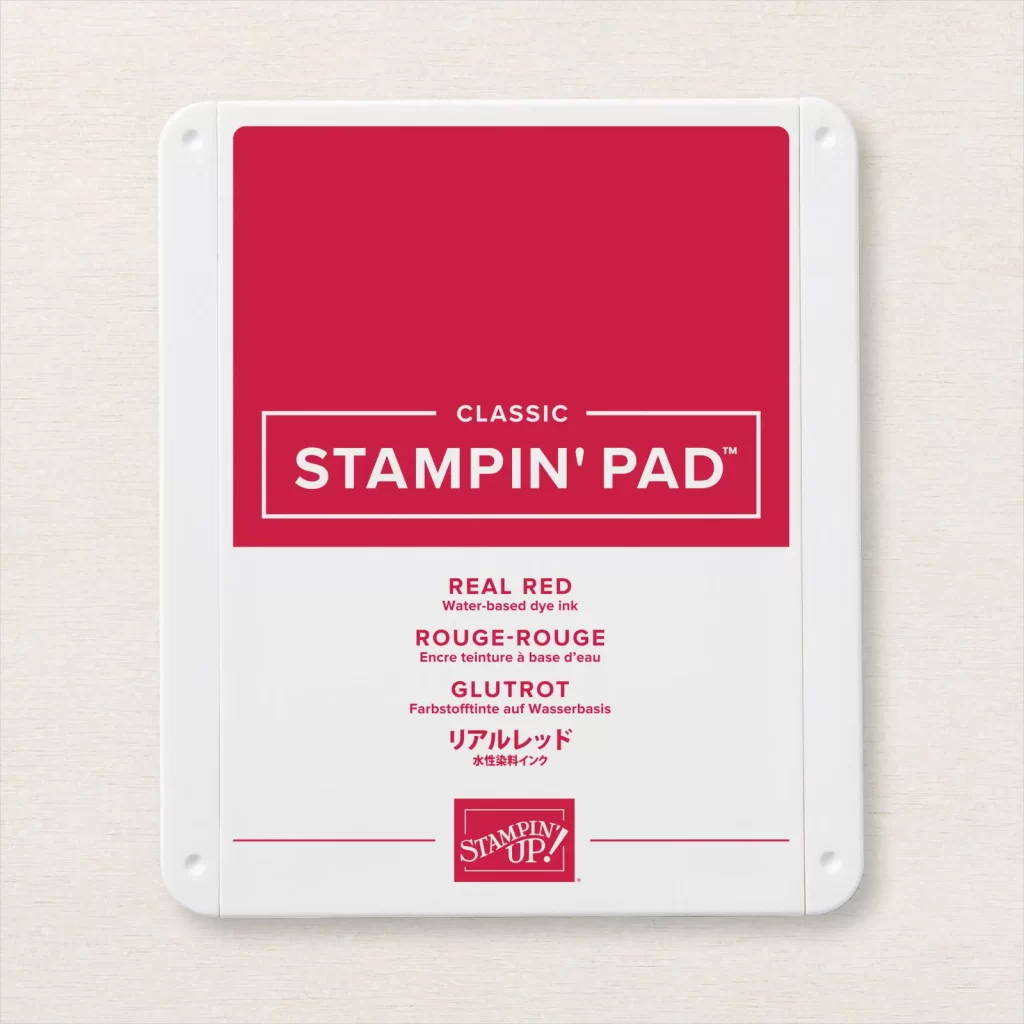
- Stamp two ornament images using Real Red ink
- Die cut the ornament images using the Decorative Pines Dies
- Die cut tag from Basic Black cardstock using the Tailor Made Tags Dies
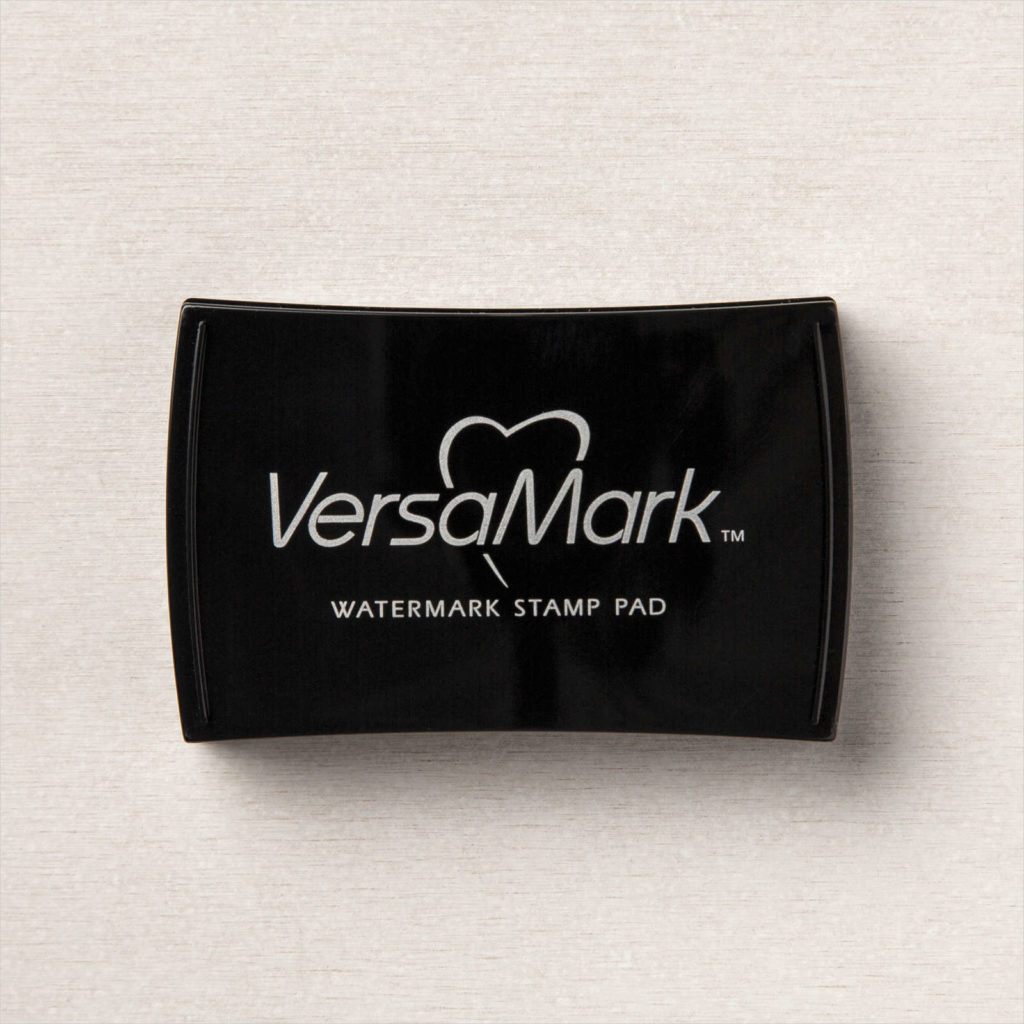
- Stamp name using the Alphabest Photopolymer Stamp Set on the Basic Black tag using Versamark
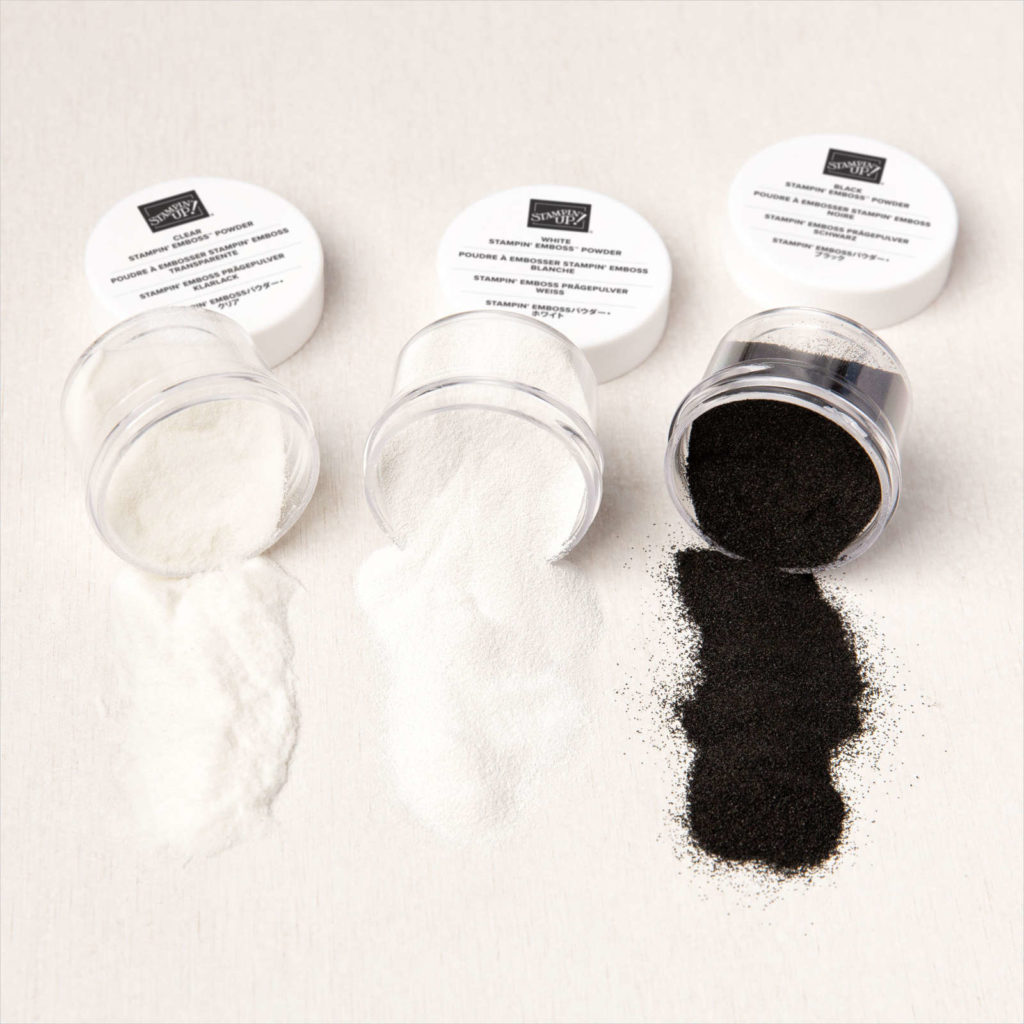
- Heat emboss tag with white embossing powder
Putting it all together:
Treat Bag
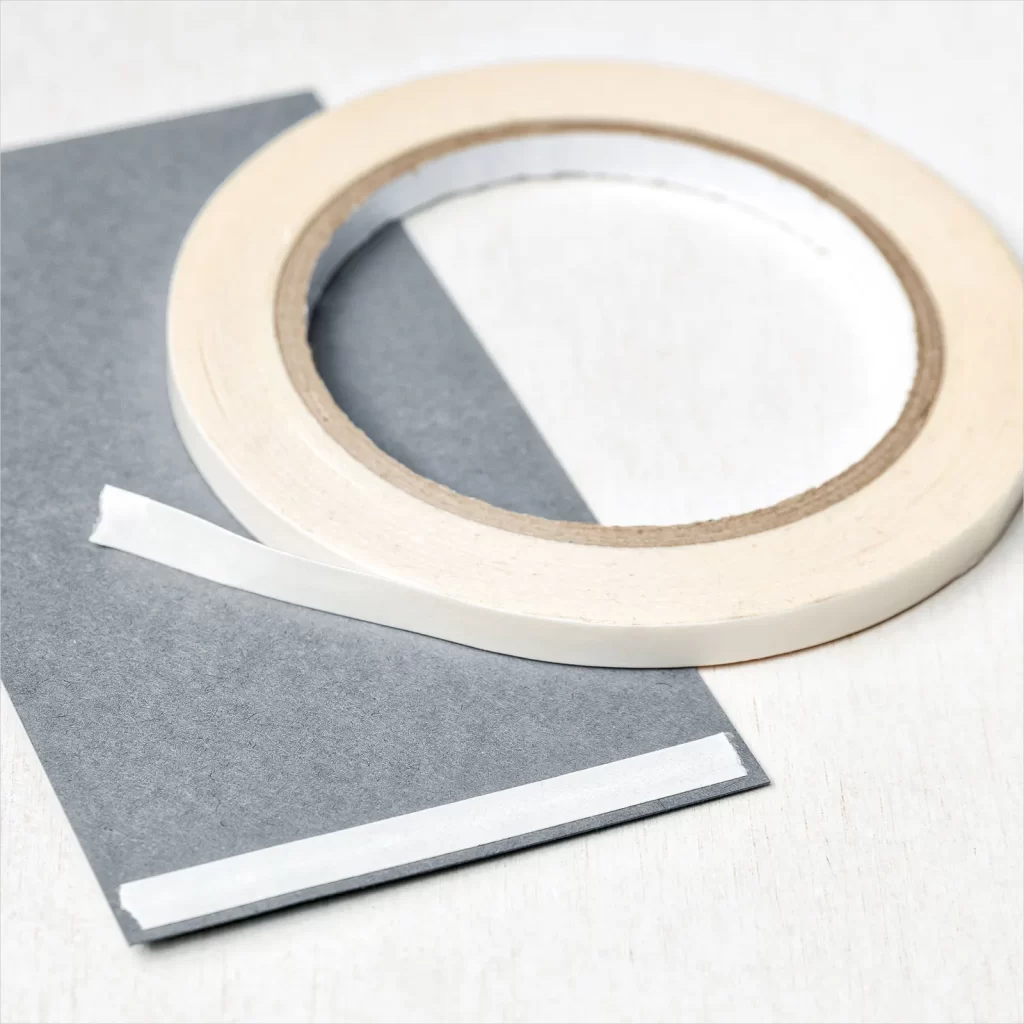
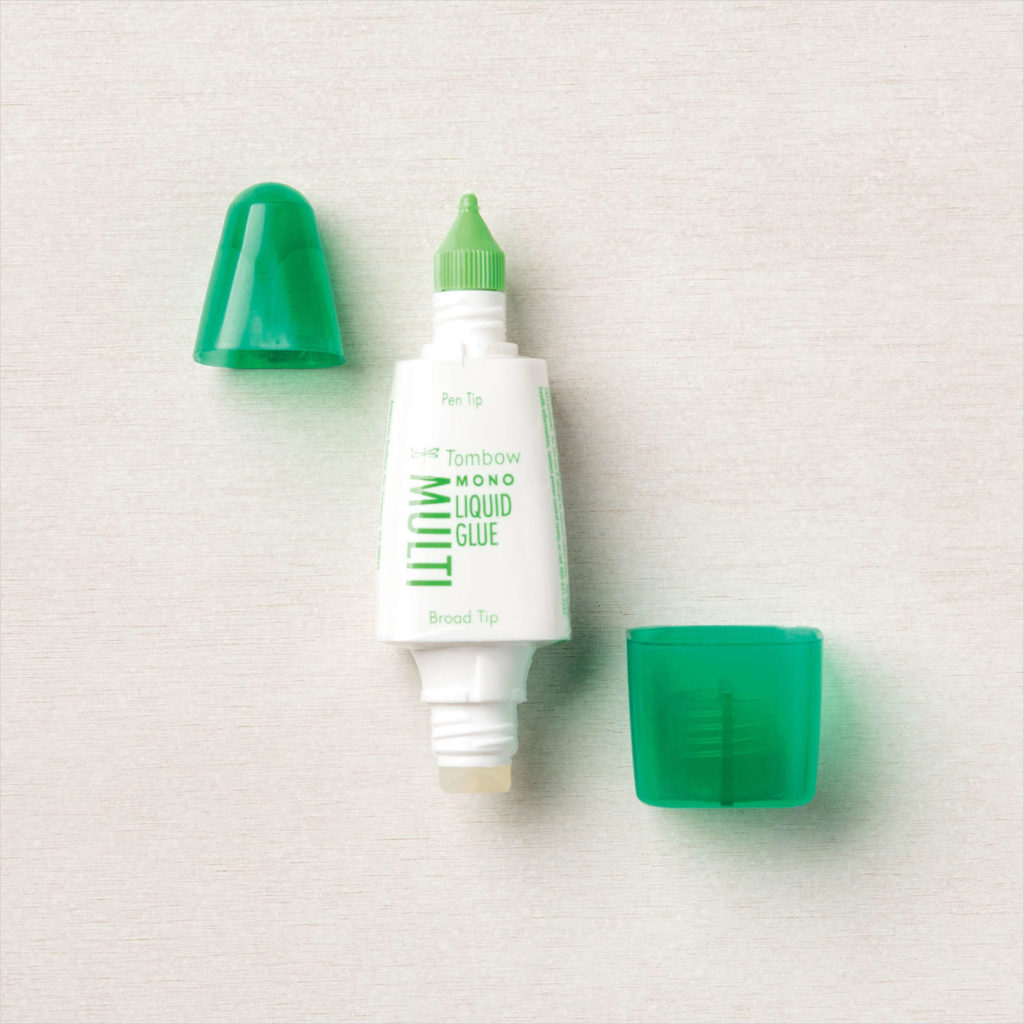
Fold DSP along all scored lines and cut out 1/2″ x 2″ piece on the corner. Then cut on remaining scored lines up to the 2″ score from the bottom creating 2″ x 2″ tabbed bottom pieces. Place Tear & Tape adhesive on the 1/2″ x 4″ piece (on the patterned side you want on the outside of box). Remove paper from the adhesive strip and fold paper in half ensuring the tab with adhesive is tucked inside so that it adheres to the edge of the opposite end of the paper; this will form the box sides. Using the Multipurpose Liquid Glue, glue each bottom tabs together to create the box bottom. Then, with one side facing you, grab the front and back and tuck in the side to create a pleat to close the top of the bag. Place a binder clip on the top edge to hold the treat bag closed.
Adhere a circle piece to the Pine Branches, then adhere the ornament piece to the circle piece. Thread twine through the hole on the circle piece. Using the Black & White Gingham Ribbon, wrap it around the bottom of the twine and tie a square knot (trim ends at an angle). Add the Rhinestone Basic Jewels to the circle piece. Tie the whole tag piece to the binder clip with the attached twine.
Place Card
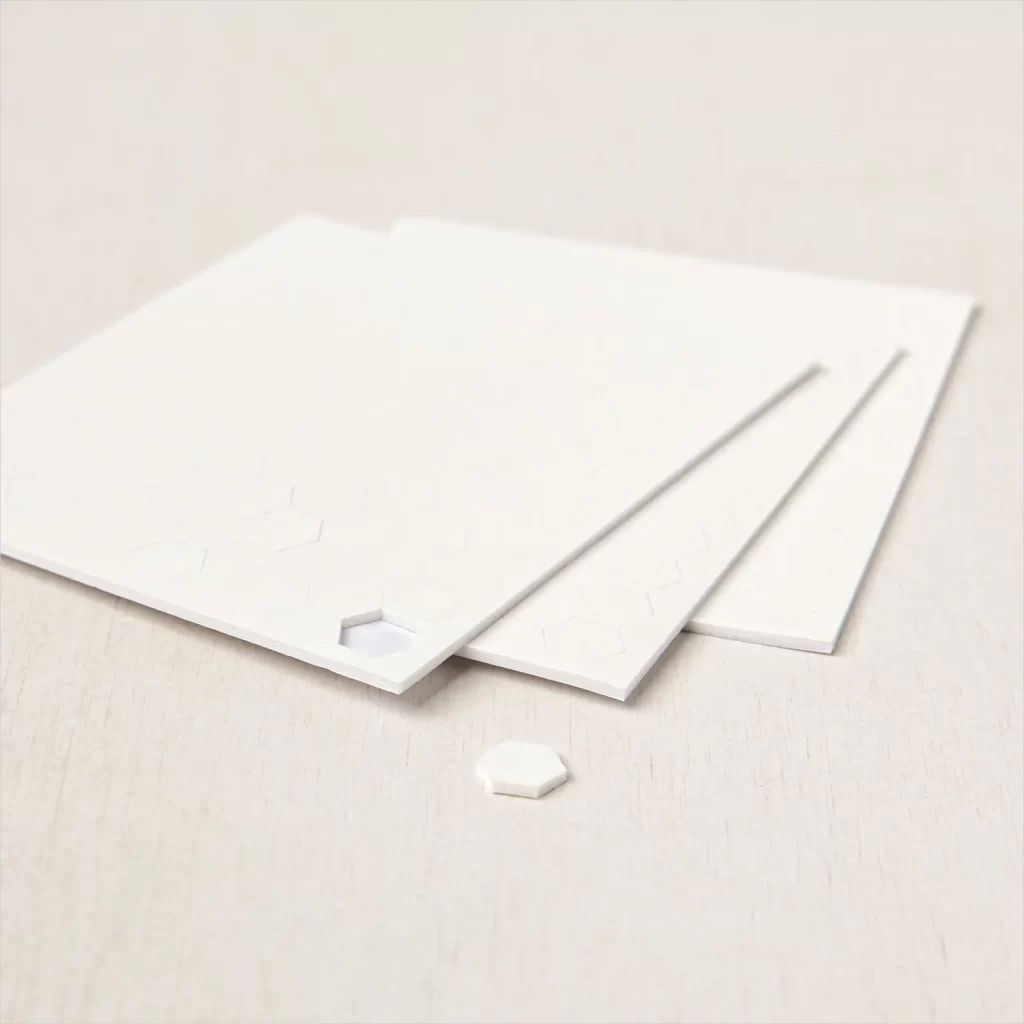
Attach the DSP to the card base and the pine branch piece to the card front. Thread twine through the hole on the circle piece and tie of the ends. Using the Black & White Gingham Ribbon, wrap it around the bottom of the twine and tie a square knot (trim ends at an angle). Add the Rhinestone Basic Jewels to the circle piece. Adhere the ornament to the circle piece, then attach Stampin’ Dimensionals to the back of the circle piece and attach it to the card front over the pine branches. Lastly, attach the name tag to the card front using more Stampin’ Dimensionals.
Thank you for visiting my blog! I’m so excited to see what the other team members have created! Join me in visiting the other AWOW Blog Hop Team members for more inspiration. Click on the image below to visit Cheryl Hamilton from Hawaii, US and don’t forget to continue following links to see everyone’s amazing projects!

Around the World on Wednesday Blog Roll
Teri West – US (YOU ARE HERE!)

THIS IS US!
Below are the supplies and tools used on my projects. Click on photos to view the product detail information or click the buttons below to add items to your shopping cart.
STAMPS, DIES, PUNCHES, AND EMBOSSING FOLDERS
PAPER AND PACKAGING
INK AND COLORING
EMBELLISHMENTS
ADHESIVES
TOOLS

oh. I have a little trouble with gray but your packaging is very pretty and the idea is really nice. Thank you for sharing! Xx
Very cute!! Love that plaid paper!
That is one very smart, very stylish combination. I love the Alohabest bundle too and am so glad I invested in it. The colour combo you’ve chosen is very chic.